Feeds:
Posts
Comments

Archive for the ‘Cooking/Baking’ Category

I tried this recipe several years ago out of a “Quick Cooking” Magazine. It instantly became a favorite!

baby L with a jumbo molasses cookie Baby J with a jumbo molasses cookie

These cookies are huge and chewy and not overly spiced. The recipe makes a very large batch- I always get between 36 and 42 cookies if I make them full size.

I’ve also made them smaller and I’ve flash frozen them and pulled them out to bake later (just roll in sugar before baking).

It does make a huge batch- so unless you’ve got a 6qt. mixer bowl or another huge bowl with a hand mixer, you’ll need to half the recipe.

jumbo molasses cookie closeup

Here’s the recipe (link to online recipe at Taste of Home is here).

3 c butter-flavored shortening (I use a combination of butter or margarine and shortening instead)

4 c sugar

1 c molasses

4 eggs

8 c flour

2T plus 2t baking soda

2 t ground cinnamon

1 t salt

1t ground cloves

1t ground ginger

Additional sugar

In large bowl, cream shortening and sugar. Beat in molasses and eggs. Combine dry ingredients (except for additional sugar), gradually add to creamed mixture.

(I mix together everything but the flour first. Then add about half the flour, then add 1c at a time while mixing to get the remaining flour in.)

Cover and refrigerate 1-2 hrs.

Shape 1/4 cupfuls of dough into balls, roll in sugar. (The big ice-cream scoop, if you use them to scoop your cookies.)

icecream scoop cookies rolled in sugar

Place 4 cookies on a greased baking sheet at a time. (I sometimes flatten mine a bit)

jumbo molases cookies 4 on a sheet

Bake at 350 for 18-20 minutes or until edges are set. (check by 15 minutes, watch closely, rotate in your oven if it doesn’t heat evenly. I used 325 the last time I made them just so I’d be less likely to burn them.)

Remove to wire racks to cool. (Often they have to cool on the sheet for a minute, or they disintegrate when you try to transfer them to the cooling racks, or fall to pieces through the wires once on the cooling racks.)

jumbo molassses cookies cooling

Yield 3 1/2 dozen JUMBO cookies.

Read Full Post »

These treats aren’t from scratch, but they’re pretty neat (and easy!)

an assortment of finished giant jolly rancher lolipops

an assortment of finished giant jolly rancher lollipops

I found them on pinterest last fall, you can see them over here at The Decorated Cookie.    There’s tons of tutorials out there now on how to make these.  There’s one here from recently that shows you how to make them into shapes (like hearts.  I think they put the crushed candies in a cookie cutter to make the shape, then remove the cutter before baking- but I didn’t see that detail in the directions).

Hard candies of your choice, placed on a baking sheet lined with baking parchment.  I put my candies inclose together, but not necessarily touching since they meld together some as they melt down in the oven.  Oddly placed candies should still be okay, as long as there’s something within, say 1/2 and inch.  Melt in a 275 degree oven for 5-10 minutes (melt them, but don’t let them get too thin and runny, and/or bubbly around the edges).  Add a stick immediately when you pull them out of the oven, then let sit to cool.  (Roll the stick to cover it with the molten candy when you put it into the lollipop.)

candies in the parchment paper 'form'

candies in the parchment paper ‘form’

lolipops baked/melted with sticks inserted

lolipops baked/melted with sticks inserted

I used jolly ranchers.  I also made one from warheads.  Most any hard candy *should* work.

So here’s my spin:  I used round wooden dowels (3/16, about 12″long).  These are inserted after baking just like the original post.  They can also be put in the oven without a problem if you prefer to have that part done ahead of time.

I also used a lot more candies and molded my parchment paper to a lid to form about a 6″ circle- not precise, but enough to give it the basic shape.  (Remove the lid from the paper before continuing!)  Then I proceeded with the melting.  These took closer to 10 minutes with all that candy.  I didn’t chop/smash/grind up the candies in any way, just put them in whole and they melted together.  If you use crushed candy, don’t leave spaces or get the layer too thin.

forming the parchment paper into a large circle

forming the parchment paper into a large circle

I wrapped in plastic wrap once they cooled.

The result was jumbo lollipops (Christmas gifts- well received!  Need to see if my mom has a picture of some with theirs.)

Read Full Post »

I had my first scary experience as a canner the other day.

Background:  I’ve canned independently (aka-not with my mom) for 8 years and used tattler lids for 2- several hundred cans in most of those years, using mostly Tattler lids in the past 2 years.

I went to tighten the band on my jar of chili- just pulled out of the pressure canner (NOTE:  normal metal lids don’t get tightened in this process, Tattlers do- just a reference for anyone unfamiliar with them).

And it happened.  The lid and screw band burst off the top of the can- and scalding chili flew on my window, wall, counter, floor ceiling, stove, the 12 quarts of applesauce cooling on the counter, 15 feet down the wall at the dining nook, EVERYWHERE.  Some ended up on me- a bit at my elbow and some on my face.  About 1/4 of the jar was left in the jar.

canning jar explosion- what's left in the offending jar.

canning jar explosion- what’s left in the offending jar.

canning jar explosion- all over everything, including 15 feet down the wall to the dining nook

canning jar explosion- all over everything, including 15 feet down the wall to the dining nook

canning jar explosion- all over the window and walls

canning jar explosion- all over the window and walls

canning jar explosion- on the ceiling

canning jar explosion- on the ceiling

SCARY!

I immediately went to the bathroom (with my eyes closed to keep the chili out of them) and rinsed repeatedly with cold water.  I tried to process what had happened and thanked God most importantly that my little girls were not in the kitchen when it happened.  And then that it wasn’t any worse for me.   I used a cool wet cloth and some ice to keep my face comfortable for a while.  It had some “burning” sensation even after an hour- heat and/or chili spices related.  I had red spots, but somehow no blistering.

Here’s what was GOOD that I did:

#1 I had an oven mitt on one hand that protected me from some splatters, and

#2 I had a dry washcloth over the top to hold and tighten the lid.  That saved a lot of spewing scalding liquid from coming my way and potentially causing more damage.

Here’s what I think I may have done WRONG:

#1 I  didn’t let the jars cool once I took of the pressure canner lid.  While I haven’t had a problem before, I read (now) that it’s best to let the jars sit 5-10 minutes after removing the pressure canner lid before moving the cans.

#2 I MAY have left the band too tight when I put the can in the canner.  This is one of those subjective things- how tight is finger tight?  With Tattlers (again, different from metal lids), you tighten finger tight and back it off 1/4 inch.  Metals you just tighten to finger tight (still subjective).

This can (as others have in the past- pressure and HWB canning) had a bubbled up lid when I took it out of the canner.  So it may not have been able to vent as much as it needed and there may have been excessive pressure inside the can for that reason.  I’ll be careful in the future to observe this more carefully and err on the side of a bit looser.  And I’d suggest handling any can with a lid that bubbles up very carefully as well- maybe let it sit for longer before handling so it can vent more.

#3 the jar possibly may have been over-full.  Although I believe I left appropriate headspace, it did contain rehydrated beans that may have expanded more in canning). Or it may have had an air bubble in the can somewhere.  I don’t think so, but I don’t know for sure.

I’ll also use a larger towel (hand towel size) from now on instead of just washcloth size.  Less convenient, but more protection, I think.  I definitely did when I finally worked up the courage to take the rest of the cans from the canner so I wouldn’t “lose” them to not sealing.  But I did so with much trepidation and closed my eyes and turned my head as I tightened the remaining 6 cans!

Here’s a link I found helpful in analyzing what may have happened.  It’s on the Homesteading Today Forum.

I’m going to agree with the original poster at the forum- In my case as it was in hers, this was user error and had nothing to do with the Tattler lids as a dangerous product.  I like them, I feel they do what they should do and love that they’re reusable- you just need to be aware of the differences in how to use them, and follow general safe practices in canning regardless of the lid type.

Another poster commented that they’ve had a metal lid explode out of the canner as well.  I’ve had metal lids seep boiling liquids (peach juice, tomato juice, etc), but never explode them.

Lessons learned.  Hopefully it will never happen again, and hopefully it will never happen to you.  I know I’ll be relaying this info to any of my canning interested friends.

Leave the cans to cool 5-10 minutes after opening the pressure canner.  

Always use a hand towel over the top of the can in the tightening process (tightening for tattlers only).  I may be inclined to don a long sleeve shirt when removing cans- metal or tattler lids.

(Continue to) Keep the kids out of the kitchen when removing cans from the canner.

Read Full Post »

I wanted to make some jam that wasn’t sickeningly sweet and highlighted the fruit flavor better.  I tried to modify a no-pectin strawberry jam recipe with less sugar, but came out disappointed.  The flavor was good (and for no-pectin jam, the recipe I used was here, and it worked great to separate the juice from the berries to prevent scorching and add back some fresh flavor.)  But you really need more sugar.  I cooked and cooked and cooked that jam, was careful to watch my temperatures, did test plates to check the gel in the freezer, and only after a significant amount of cook time did I get it to thicken enough to be tolerable (read:  it’s still runnier than I would have liked- and won’t work well for PB&J to travel, but it’s still yummy jam!)  That long cook time also significantly decreased my yield- I expected I’d get 12 pints and I ended up with 7.  Needless to say, don’t skimp on the sugar if you make this no-pectin version!)

I ran across Pomona’s universal pectin and decided I’d order some and give it a try.  There’s nothing like hours over a vat of strawberry jam to kick the DIY cheaper out of you…

My mom has been picking her blueberries and red raspberries and always gives me a bunch (Thanks mom!).  I’d gotten some strawberries and threw them in the freezer so I’d be ready when I got my pectin, so triple berry jam seemed a great place to start.  I picked a few wild black raspberries, red raspberries, and a handful of the first to ripen blackberries, so really it’s more of a 5 berry jam, but that’s beside the point.

I read the directions carefully- although it seems hard to mess up, I didn’t want to end up ruining my jam (although it sounds as if it’s easy to fix if it’s too stiff or too runny).

It says you can double or triple your recipe- something you don’t dare do with normal pectin.  So I did.

I did a double batch first.  I mixed up the calcium water and set it aside.  8 cups of mixed mashed berries, 4t calcium water, and 1/4 c lemon juice (only part of my berries needed lemon juice added) went into the pot and I heated it to boiling.  I added 1/2 c sugar, too, to help get the juices flowing from the strawberries.

Then the sugar and pectin is added.  (You can also use honey or other sweeteners- The pectin is activated by the calcium water, not the sugar).  I mixed 4 teaspoons pectin into 2 cups of sugar, then added it to the pot and stirred.  So my total sugar added for 8 cups of berries was only 2 1/2 cups.  Normal pectin would have required 8 or more cups!  The recipe guide on the little paper suggested 4 cups, but your sweetener choice and quantity (if any) is completely up to you!

I brought it back to a boil, then ladled it into my jars and processed it in a hot water bath.  My yield from the double batch was 4 1/2 pints.

SInce that went so quickly and easily, I whipped up another batch, tripled this time.  Same process as above.  I added a touch more lemon juice for flavor and a bit more sugar just to see if there was much difference.  This yielded 6 1/2 pints.  So I’ve got 10 pints of jam for the shelf and 1 in the fridge (I jus mixed my 2 half pints together).

Easy, delicious, and great real berry flavor!  Not to mention I saved money by using only a fraction of the sugar I would have on jam with normal pectin…

And for a price break-down:  If you can’t get it locally, you can buy pomona’s online here (shipping costs included).  I about fell out of my chair seeing the price was $6 a box, but that box makes several batches of jam, so I think the price evens out fairly well.  It also drops in price if you buy in bulk quantities, and it supposedly will not go bad over time- so you don’t have to worry about if your pectin is too old to set your jam anymore.  Add to that the savings from not having to add as much sugar, and I think I’m making in cheaper now than before, not to mention being healthier and tastier!

Since making the triple berry, I’ve moved on to plain raspberry, blueberry, blueberry raspberry, and strawberry.  Each batch has been completely successful with perfect texture, no picky treatment required, and all have been triple or quadruple batches.

33 pint jars of jam on the shelf so far this year, plus we’ve enjoyed some in the fridge.  So far, I think it’s well worth trying!  It seems to be a very flexible pectin (not texture, but use).

*I have no connection to pomona’s and I’m not being paid or reimbursed in any way to write about it.  I just tried and liked the product and thought I’d share.

Read Full Post »

I think one of the top convenience foods for the freezer is ready-made pizza.  It’s an always welcome food at our house, and so easy when it can just be popped in the oven.  Unfortunately, I hate to buy them and much prefer the taste of homemade- I think the store-bought ones just keep getting worse!  While this homemade version isn’t quite as quick as the boughten, it’s pretty close.  Plus it’s so much better tasting!  When I make homemade pizza, I’m now doubling or tripling the dough just so I can keep these on hand.  It’s the latest “go-to” meal at our house.

Here’s the basic dough recipe I use (and double or triple now)

1 1/4 t yeast

2 c warm water

5-6 c flour

4 t olive oil

1 t salt

dried basil, oregano, onion, garlic, parsley, etc.  1/4-1 t each.  Can also use part of a spaghetti sauce seasoning packet.

Disolve yeast in warm water, add 4c flour and all other ingredients, beat smooth, add remaining flour to make a soft dough.  Knead ’til smooth and elastic.  Place in greased bowl, cover and rise 1 hr.  punch down, divide onto pans and spread.  Top as desired.  Bake 15-25 minutes at 400-450.

To make pizzas for the freezer, spread the dough into circles and flash freeze on a tray in the freezer.  Then pop them in a gallon size ziplock bag for storage.  They can be made various sizes- whatever you choose- so long as it still fits in your bag.

To use:  Pull out of the freezer, top with your choice of sauce and toppings, and pop it in the oven.  No need to thaw it before using- they bake up just fine from frozen in the oven. It works on a baking sheet or on a stone.  If you like to use a pizza stone, preheat your stone before you take out your dough.  Then add toppings, and you can pick up the whole mini pizza (since the dough stays stiff when frozen) and set it on your stone to bake.

It may take a bit longer than your usual homemade pizza to bake, but you didn’t have to make the dough and wait for it to rise.  Bake time is more like 20-35 minutes, depending on how “done” you like it.

Note:  I haven’t tried topping them when I flash freeze them, but it’s reasonable to say they’d probably do just fine if you want pizza that’s completely ready to throw in the oven.  Just maybe a bit messier to store and a bit longer to finish baking?

ETA:  I made some the other day.  Here’s pics of them going in the oven and coming out.  Yum!


Another edit.  I made some full size and scored them before flash freezing, then broke into chunks for longer term storage in ziplocks.  To use, just put those puzzle pieces back together for a full size pizza.  If you’re baking on a stone, move quickly to get the topped pieces onto the preheated stone before they thaw too much… or let them completely thaw and rise a bit before baking.  We’ve found that if you start the frozen dough on a cold stone the crust isn’t very good.  And don’t do big scores, do smaller ones so you don’t have as big of gaps to contend with- I have since modified my technique again.


Read Full Post »

Our February MOPS creative activity was coating/decorating truffles.  We made a bag for ourselves and a bag to give as a gift.  Each bag had 10-2 of each flavor.  Our steering team each made 6 dozen balls and brought them frozen to our meeting.  Then we handed them out on wax papered trays and everyone started decorating- all we had to do was melt the chocolate coatings in the microwave.  Then we waited for the chocolate to set up and bagged them.  Bags were donated from a local flower and candy shop, but I think there were decent valentines themed ones at the dollar store (= inexpensive!)

If you have a particularly soft or sticky truffle, get those done first before they have much time to thaw.  Also, if you’re using the powdered sugar or sweetened cocoa as a cover, be aware they then squish in your bags… Maybe put them in a separate bag?  I think that was the big fail of this project.  And make sure your candy bags are big enough to comfortably hold all those truffles!

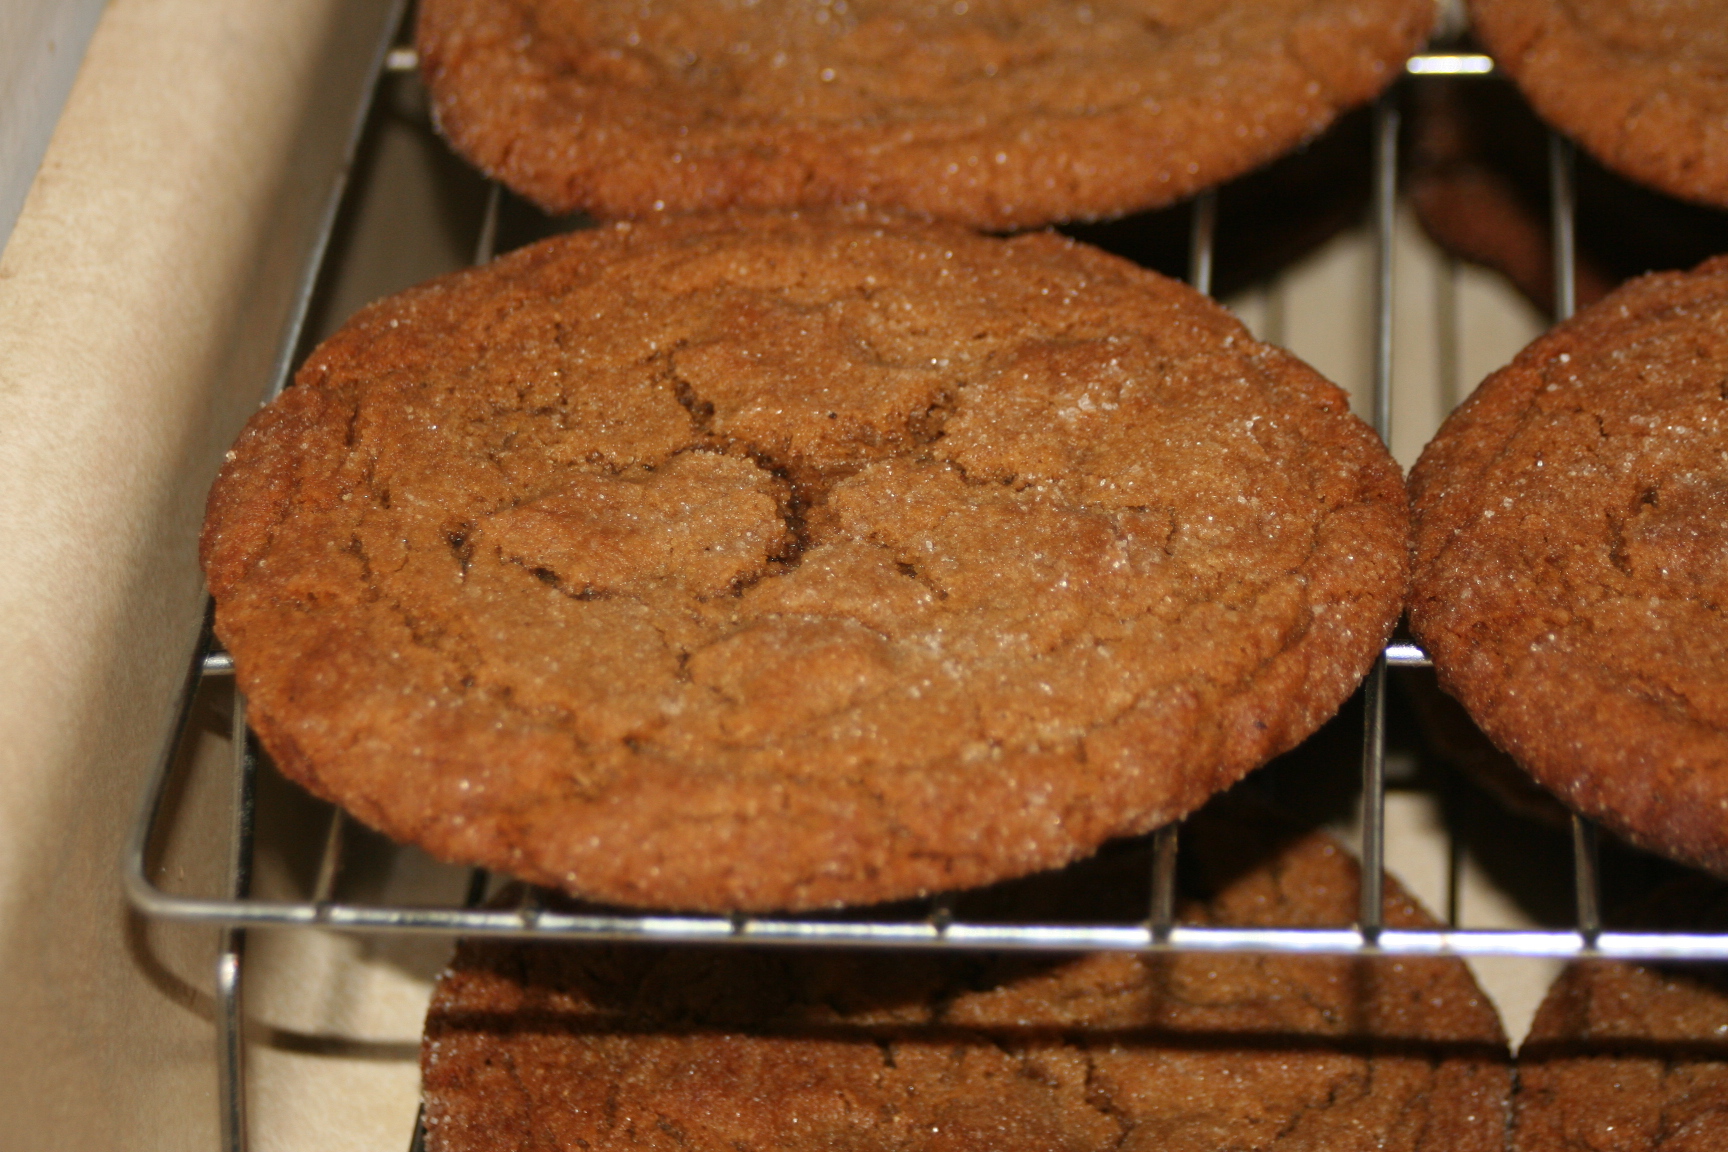
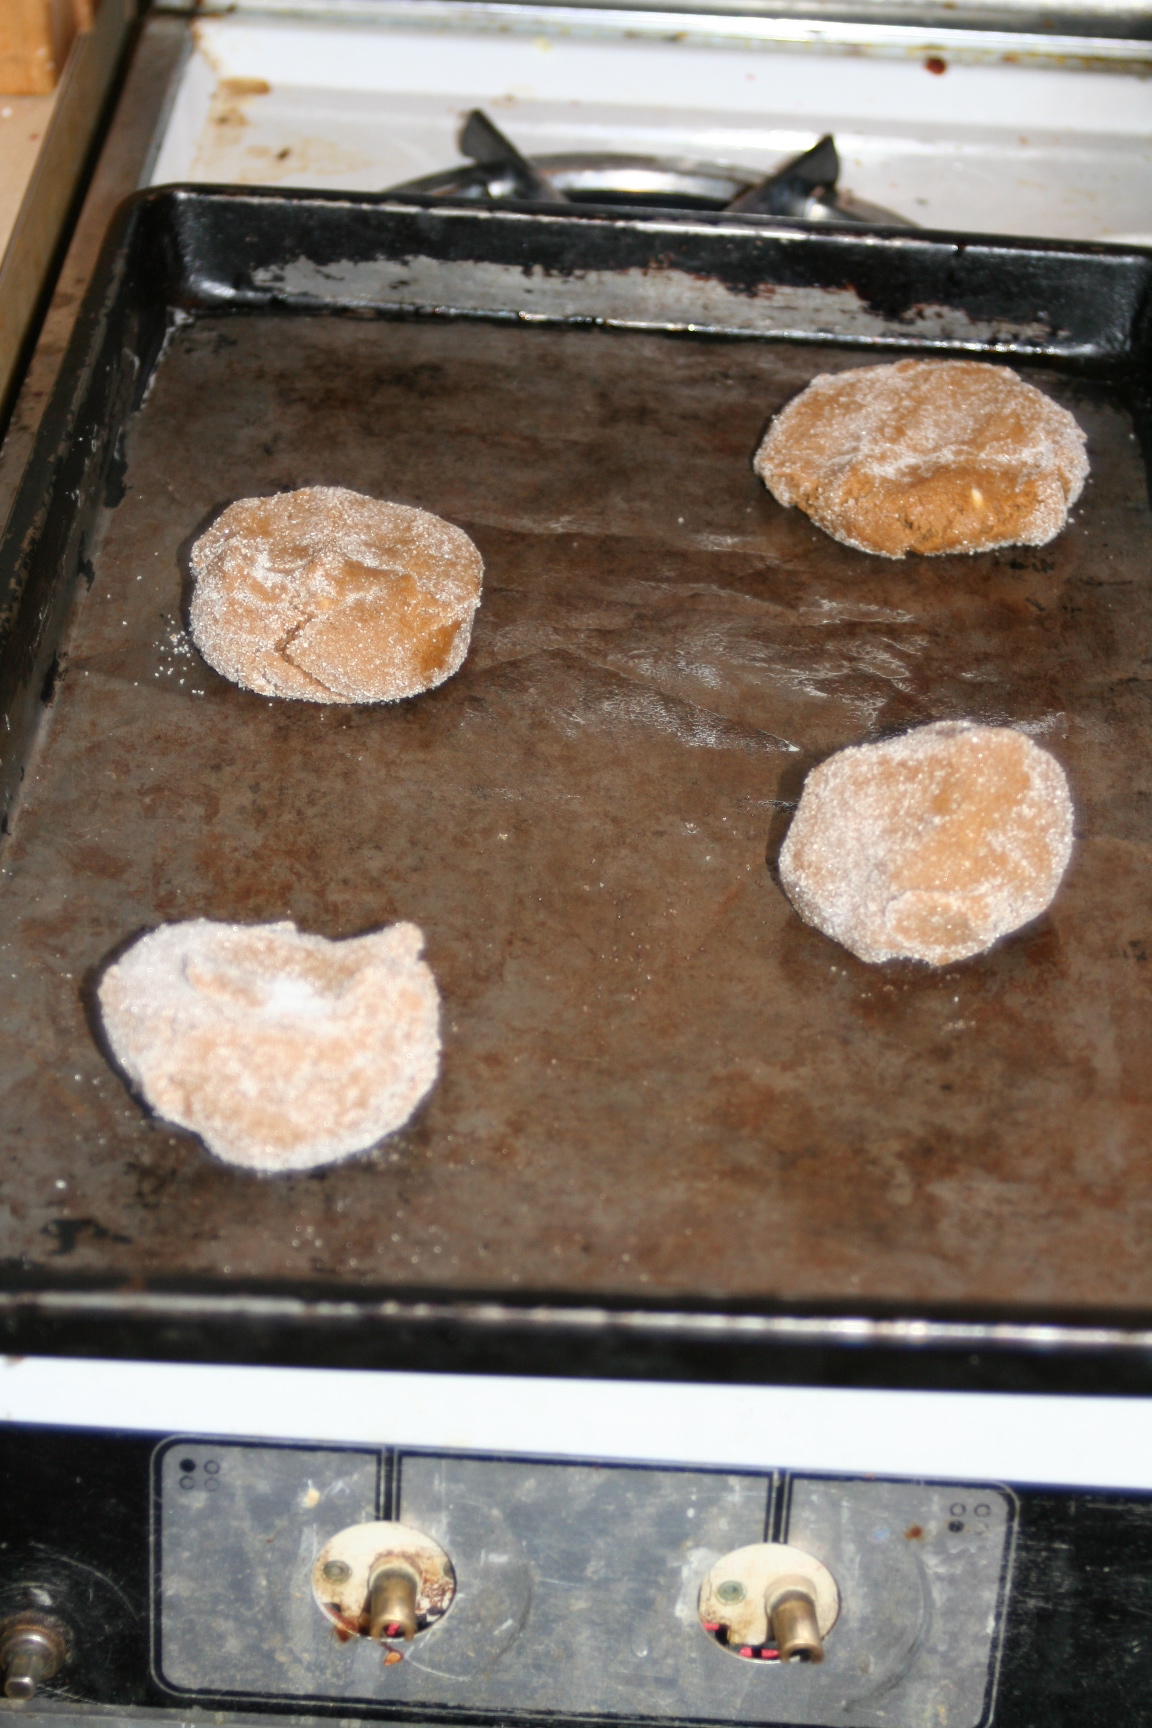
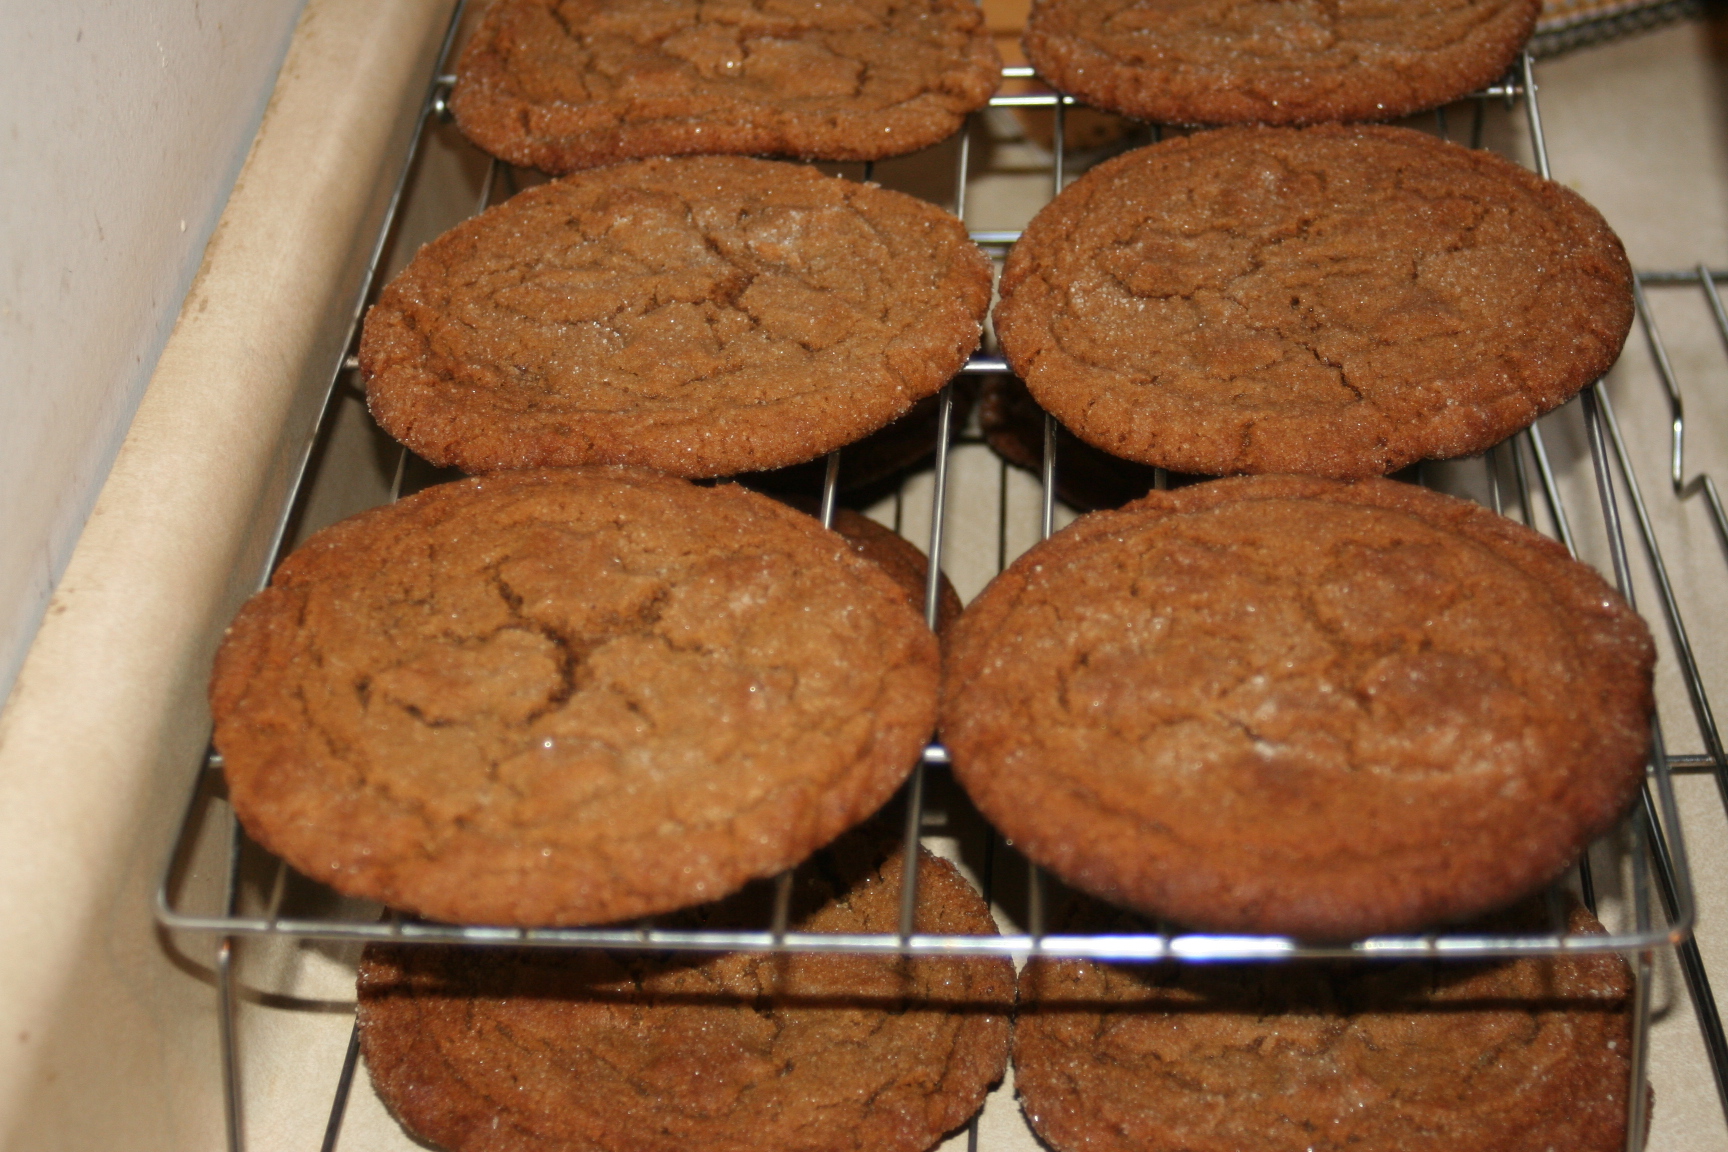
Here’s how they turned out- thanks Rachel for sharing the pics!


The following is copied and pasted from my handout.  I spread it into 2 pages-  a directions page and a recipe page.

Coating options:

Powdered sugar or sweetened cocoa– roll truffle in the bowl to coat

Almond bark or candy melts– melt at short intervals in the microwave (or double boiler), stirring as it melts.  Use a fork or toothpick to dip the balls into the chocolate to cover.  Shake off excess/let it drip off, then put it on a piece of wax paper to let the coating set.  It can go in the fridge or freezer to set more quickly.

Leave the toothpick IN for less mess.  remove it after the chocolate sets up.  You can also use a spoon or try 2 popsicle sticks.  Whatever works best for you.

*you can also use chocolate/white chips and add a bit of shortening to help it “flow”.  DON’T add water- it can cause the chocolate to “seize”

Add garnishes before the chocolate sets.  Sprinkles, colored sugar, cookie or graham cracker crumbs, orange zest, etc

“Pipe” on swirls, flowers, leaves, dots, etc. of melted chocolate/almond bark With cake decorating bags or squeeze bottles.  Put melted chocolate in the bags as you would frosting/icing.  If it cools and needs to be re-melted, make sure to take off any metal tips before putting it in the microwave, and heat carefully/slowly to prevent overheating the bag or container.  You can also use a baggie and cut off the corner if you don’t have cake decorating supplies, or just drizzle another color chocolate with a spoon.

Recipes:  Here’s the quick version of each, a few have some modifications.  Follow the link for complete/original recipes.

Cookie dough trufflescream 1/2 c softened butter and 3/4 c packed brown sugar until light and fluffy.  add 1 t vanilla.  gradually add 2 c flour and 1 can (14 oz) sweetened condensed milk- alternating and beating well after each addition.  Stir in 1/2 c mini chocolate chips and 1/2 c chopped walnuts.  Shape into 1″ balls and freeze.  Coat.  5 1/2 dozen

Cake balls bake a cake mix as usual.  After cooling about 10 min, dump cake into large bowl, break up into chunks to cool.  after 1/2 hr, dump in 1 can of frosting (any flavor).  Mix completely, cover and cool 2-3 hrs or overnight.  Roll into 1″ balls, chill several hours.   Coat.

Lemon White chocolate truffles– makes about 2 dozen

Melt 5 tablespoons of unsalted butter and 1 c white chocolate, and 3 Tablespoons of heavy cream in the microwave or in a double boiler.  Stir until smooth.  Add a pinch of salt and 1 teaspoon of lemon extract.  Cover with plastic wrap and chill for 2 hours in the fridge.  It should be handle-able then.  Form it into 1 inch balls and freeze.  Coat.

Peppermint patties– one batch of this recipe should make the 6 dozen.  A can of sweetened condensed milk, 1 Tablespoon of peppermint flavoring, and 6 cups of powdered sugar, mix/knead it, then roll it into balls and pop it in the freezer.  Coat.

Oreo balls– 1 package of double stuffed ores (or fakes) and 4 to 8 oz of cream cheese.  Chop of the oreos fine- a food processor makes quick work of it.  Mash the softened cream cheese and oreos until well combined.  Roll into 1″ balls and freeze.  3 dozen (I think)

Some bonus recipes (we only made the first 5 for our decorating day)

chocolate cream cheese balls– this recipe makes 36.  These are a tad messier to roll.  I kept a light coating of oil on my hands and that worked for me to form them.  It’s just 8 oz of cream cheese, softened, and then you add 8 oz of melted chocolate chips.  Chill in the fridge for an hour or so, then form into balls and freeze.  Coat

chocolate orange truffles 2 c crushed vanilla wafer cookies, 2 c powdered sugar, 1/2 c cornstarch, 1/2 c butter (melted and cooled), 1/2 c orange juice concentrate, thawed, 1 teaspoon vanilla, and a dash of ginger (not a big deal if you don’t have it- just skip).  Mix it all, chill an hour, roll into 1″ balls and freezer.  It’s supposed to make 4-5 dozen.

Butterfinger balls– 1 pound of candy corn melted in the microwave and add 1 c peanut butter.  When it’s cool enough to handle, form it into balls and pop it in the freezer.  Not certain how many balls this would make… I’m sure at least 2 dozen, maybe 3… I’ve never actually made them into balls, just bars.

More to try at our pinterest “candy” board if you’re looking for ideas!

Read Full Post »

Our MOPS 4th Wednesday activity today was make ahead meals.  We make one for that evening’s meal and one to put in the freezer (or fridge) and use another day.  There’s more recipes of meals we’ve made in the past for this in the recipes tab.

The meal for tonight’s use is a broccoli, chicken, and cheese braid in crescent roll dough.  Everyone made two braids to take home.  One braid will just barely feed 4 with a side of salad. Note:  I don’t know if this dish will freeze well.  I’m trying it with an extra braid and will report back if it worked or didn’t work later!

ETA:  We pulled it out of the freezer and baked it up.  It worked fine and tasted about the same to me.

The freezer meal is Tatertot casserole.

Recipes are below.

A few details.  For group logistics:  We have no childcare on 4th wednesdays.  We break into 2 groups, half do meals while the other half watches kids and we switch part way through.  We figure the same time frame and day of the week as we usually meet for MOPS, since everyone should be free then.

We cook the meat ahead of time, since that takes a long time to do.  We have a sign up list so we know how much to purchase for ingredients, and we ask for money to reimburse the cost of ingredients.  We’ve done $10 for the two meals and that mostly covers it.

I printed off the recipes for everyone to follow and take home.

An explanation on the braids:  There’s (at least) two ways to do this.  Pics of the two methods are here, since this can be the confusing part from just written directions.  NEITHER way will completely cover the filling.  It will ooze a bit in baking.

Method 1:  Lay the crescent roll dough as pictured.  After the filling is in, pull the corners of the crescent rolls up over the filling.  Overlap so they stick to each other.


Method 2:  Lay the crescent rolls on your baking sheet as shown.  Use your fingers and the palm of your hand to flatten and blend the edges of the crescent rolls together.  I spread mine to fit my baking sheet (Note this is a smaller baking sheet, not a huge one!  The rolls are straight from the tube in the first photo, so there’s not a huge distance for them to stretch.)  Put your filling in the center as above, then cut slits in the edge  of the dough.  The paper has lines drawn in the same way that I cut slits in the dough.  It’s the same way I do my Stromboli.  Then fold them across the filling.  Overlap so they stick to each other.


Substitutions: you can use bread dough instead of crescent rolls, corn instead of green beans, cream of celery soup instead of cream of mushroom, or mashed potatoes in place of tater tots.  Make it flex to your tastes and ingredients.

Here’s the recipes- copy and paste to make your own printouts.

Chicken, broccoli, and cheese braid

1 8 oz tube crescent rolls-

4 oz velveeta/processed cheese, cubed

1 c cooked cubed chicken

2 c cooked broccoli

You are going to make 2 of these.  Each braid gets the above ingredients.

Put a piece of foil on the cookie sheet.

Spread one tube of crescent rolls out on the foil.  Flatten, stretch, and “fix” the seams.  Place on the center line of the dough the cooked chicken, broccoli, and cubed cheese.  Cut strips in the crescent roll base from both sides.  Pull strips of crescent roll over the top of the filling- it will NOT fully enclose it.

Pull the braid off the sheet with the foil, repeat with a second braid.

Baking:  375 for 15-20 minutes- ’til golden brown crust and heated through.

Tatertot Casserole

Layer in a 9×13 pan:

1 lb cooked ground beef (approx. 3 cups)

1 can of green beans, drained

1 can cream of mushroom soup, undiluted.  spread this over the top of the other ingredients, and use a bit of water to rinse the can, if desired.

onions/onion flakes if desired

6 pieces of sliced cheese, or sprinkle with shredded cheddar, your choice.

Top with 1 1/2 lb of tater tots (3/4 of a 2 lb bag)

Baking:  350 until heated through.

This dish is freezer friendly and can go directly from the freezer to the oven!

Read Full Post »

We processed our last pig of the year (or maybe I should say the first of this year?) on Saturday, let it hang for the weekend and cut it up Monday.

An update on the pig tractor– it’s functioned well.  I’ve been happy with it and we’ll use it for this summer, and plan to really get the wheels on for this year.  It was a mild winter so far, so other than getting really muddy, we had no problems keeping the pig in the tractor into January.  A pile of hay to snuggle in and a tarp that inclosed much of the tractor worked well.  That mud was the only challenge.  I did move it a couple times when it got bad and wasn’t frozen to the ground, but its a much bigger challenge to move with mud.

I’m still working to find a good ham and bacon recipe, so I’m not going to share any of those yet.  I will share the breakfast sausage recipe we’ve tried and like.

Breakfast Sausage

1 lb ground pork

1t. sage

1t. salt

1/2t. pepper

1/8t. marjoram

1/2T. brown sugar

1 pinch crushed red pepper or cayenne

1 pinch cloves

mix spices, mix into pork evenly, and form into patties.  Saute 5 minutes each side/to 160 internal temp.

 I’ve used this a few times, one pound at a time as well as 5-10 pound batches.

I found it on Allrecipes.com; there it’s portioned for 2 lbs at a time.  Click here to go to the original recipe.

A few notes:  add a touch more red pepper or cayenne for a hotter sausage, if you so desire.

We used very lean (home) ground pork- pretty much all the fat had been trimmed off the first time we processed a pig.  It was so lean that it was almost dry, although still great flavor.  We made sure it had a bit of fat added into the ground pork the next time.  Make sure you get the spices mixed in very well, especially in larger batches, or you get pockets of spices…

Enjoy!

If the ham or bacon works better for me this time, I’ll share those recipes later.

Read Full Post »

Another recipe.  We had cheeseburger meatloaf last night- the second time I’ve made it.  It’s very good and fairly simple.  And it does taste like a cheeseburger.

Sorry no real pic.  The best I could do is give you a picture of the picture in the cookbook…

It’s from Taste of Home Contest Winning Recipes 2006 and is mostly unchanged.

Combine 1 lb. lean ground beef with 1 egg, 1 t onion powder (I’ve also chopped up fresh onions and mixed in), 1/4-1/2 c bread (or cracker) crumbs, and 1/4 c ketchup.

Put a layer of plastic wrap or wax paper on a baking sheet and flatten the meat mixture to the size of the pan.  Spread on the meat:  1/4 c ketchup, 2 t mustard, and 2 t dill pickle relish (or chopped dill pickles).  Honestly, I squirt it on and don’t measure until it looks good to me.  Add cheese slices- Mine took 5 slices (2 1/2 across in 2 different places.  The whole thing doesn’t get covered with cheese.  It was more like 1/2 covered.  Roll up jelly roll style.  Use the plastic or wax paper to lift and shift as needed.  Put the roll on the baking sheet and remove the plastic/wax.  Bake at 350 for 45 minutes/until meat thermometer registers 160.  Set 3 more slices of cheese on the top and let stand to melt the cheese.  Slice and serve- 6 servings.

Read Full Post »

I saw these on Pinterest the other day and thought they looked delightfully yummy.

I decided to make them for dinner a few nights ago and wrote down the recipe. Then I looked at it again and realized it was for 4 pancakes, and to triple the batch was going to put me out a LOT of butter. I’m usually pretty tolerant to lots of creamy butter in a recipe. But it was too much for me- roughly half a stick of butter Per serving (1 pancake).  Maybe okay for a special treat, but not gonna work for a meal.

So I made some modifications, and here’s what I got.  I’ll say they may not be quite as decadent, but they were VERY yummy still, and something I felt okay about serving me family, and eating 2-3 instead of 1 (or maybe less…)

This made me roughly 30 pancakes- 1 family meal for now and 2 for later.

Cream cheese glaze:

4T butter

4 oz. cream cheese

4T milk

2 1/2 c powdered sugar

1t vanilla

Filling/swirl:

1-1 1/2 c applesauce

1/4 c butter (may be able to just skip this here)

1 c brown sugar

1 1/2 T cinnamon

1 1/2 c flour

Pancake batter:

5-6 c flour

2T baking powder

2t salt

5-6c milk (or combo milk and water)

2T oil 3 eggs- lightly beaten

Melt butter and cream cheese in a bowl. Stir in powdered sugar. Add vanilla and milk. Set the glaze aside.

Soften the butter if using for filling. Combine in a ziplock (quart or gallon) the ingredients for the filling. If using butter, do the butter and sugar first, then add the rest (the cold applesauce may cause the butter to cool into chunks rather than mixing in=chunks that clog up the hole of your bag when you try to squeeze it out). Set bag aside. You don’t want this to be runny, so if it seems to gushy in the bag, add some more flour. Mine ended up like goopy runny toothpaste texture, not as firm as the toothpaste texture the original recipe called for.

Pre-heat griddle/pan.

Combine pancake batter ingredients just until moistened. Lumps are okay. Pour batter onto oiled griddle/pan. Snip the corner of the ziplock and squeeze out filling in a swirl onto the wet side of the pancake.

Wait for bubbles on the surface of the pancake to show it’s cooked, then flip (carefully- the top can be a bit soupy). Basically, this is cooking pancakes as usual, but with some extra attention for the swirl and  making sure you don’t flip too soon. Your griddle may end up with a bit of coating from the brown sugar- my pancakes had faint swirls from the last batch after a while. Re-oil griddle as need.

Finish cooking the pancakes and continue until your batter is gone. Serve with glaze.  Sorry no picture.  I guess they were too inviting to take a picture first.

I divided the pancakes and glaze into 3 so I could put 2 batches in the freezer.

Read Full Post »

Older Posts »