Our final MOPS creative activity of the year was these concrete garden stones. I can’t say yet for sure how they all turned out, since I can’t take off the frames and until Friday. But I think they should be great!

Update- they DID turn out great!


The concept for this is taken from a “Sunset” Book called “Decorative Concrete” for a reverse pebble mosaic. This is a good intro to basic concepts of concrete without having to worry about finishing the concrete surface or hurrying to get your designs in place.

You will need a form, sand, pebbles/marbles/shells/other embeddable objects, and bagged concrete mix (Get the 5000 lb mix), plus water, a bucket to mix in, and a container for measuring (mine is a 3 cup cottage cheese container).
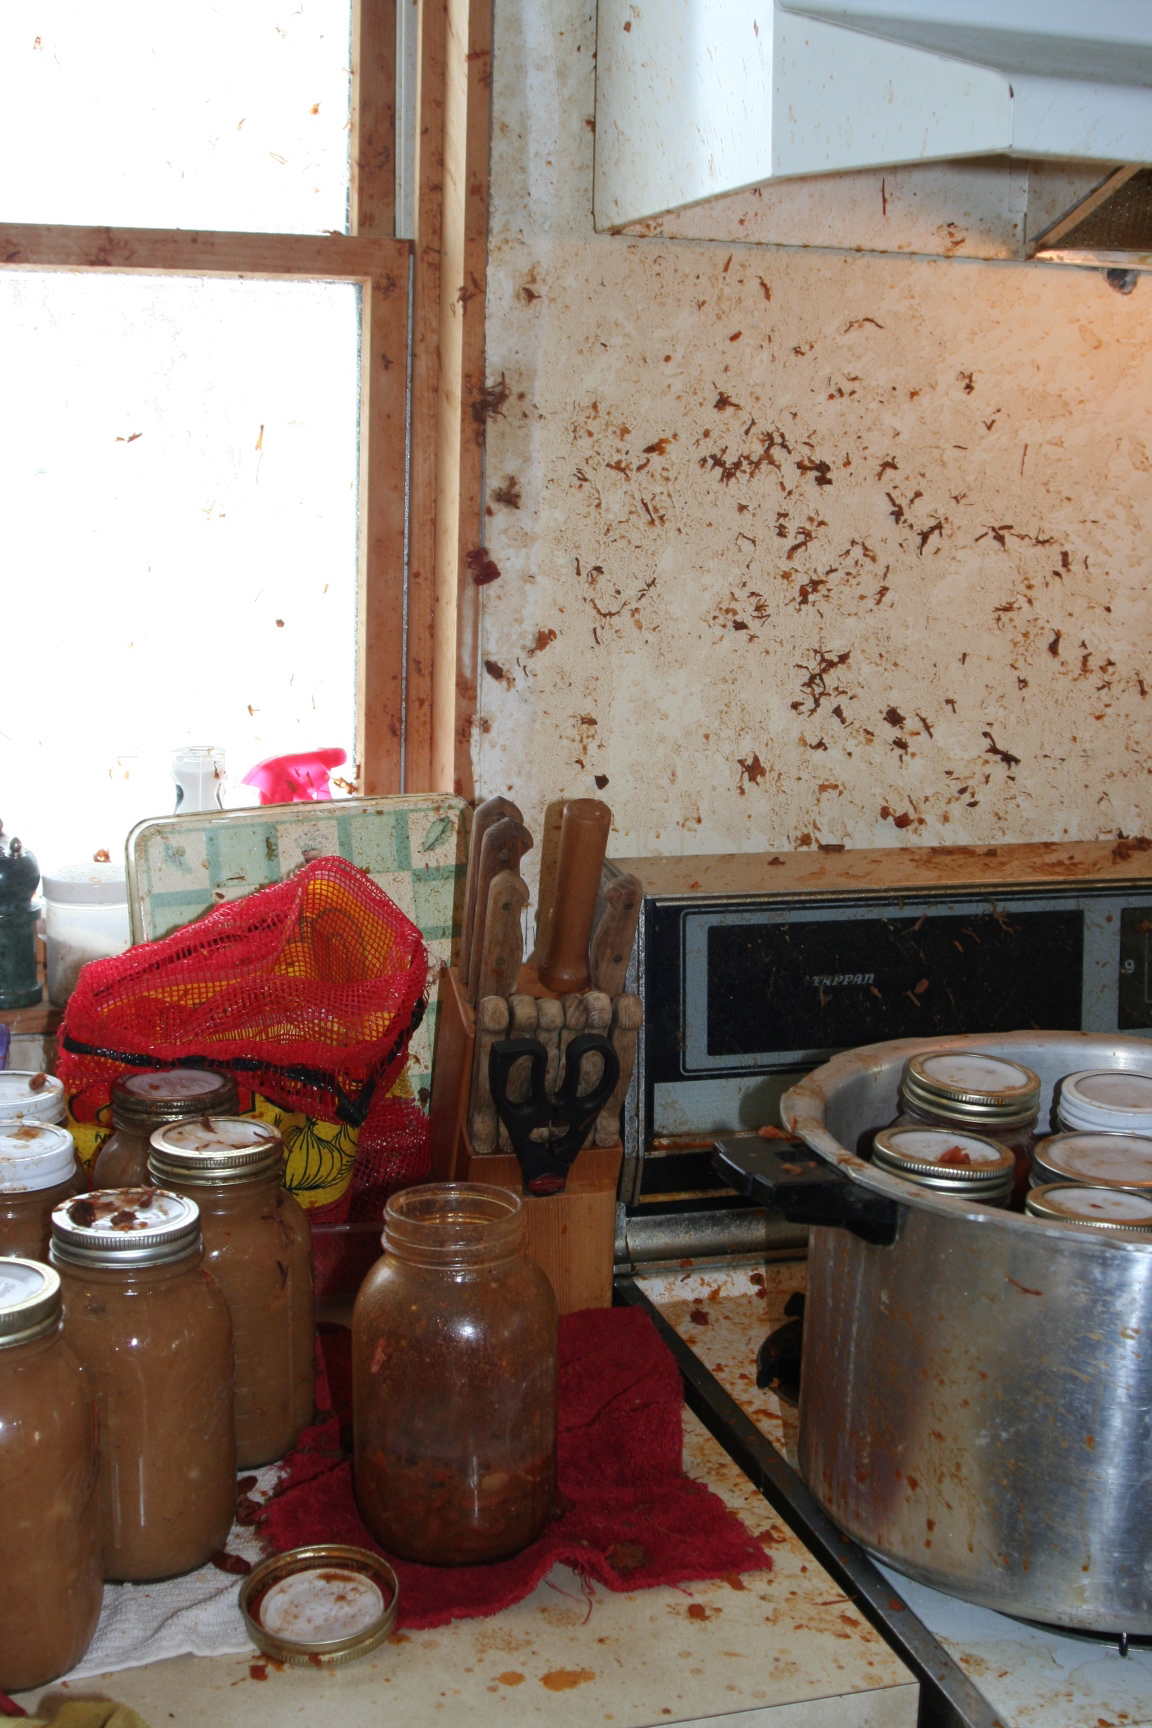
It’s ideal to make these outside or in an unfinished area, just because concrete can be messy. But if you’re careful, it can easily be done indoors. We ended up inside on carpet with 13 women making 2 a piece this morning, and I had almost nothing to clean off the floor (thank you for being neat, ladies!). If outdoors and there’s a threat of rain while it’s curing, you can cover your concrete with plastic. If it’s freezing, or going to freeze overnight, make it inside.
The first step is to make your form. I’ve chosen to make 12″ square garden stones, so there are 2 pieces of wood 12″ long and 2 pieces 13 1/2″ long. These are ripped from 2×4 stock. The dimensions of the ripped profile is 3/4″ by 1 1/2″.

All volumes that I give for materials will be measured for filling this size form. If you alter the dimensions, realize the volume of the form will change, so amounts of sand, concrete, and water will also change.
Because of the small size of the wood, it is best to pre-drill a pilot hole for screws to go in to prevent splitting. The bonus is that this will be a re-usable form. The alternative is to nail together with finish nails (regular nails will also likely cause the wood to split). So- pre-drill a hole slightly smaller in diameter than your screws will be in both ends of the longer pieces of wood. I used a 3/32 drill bit. Or skip the pilot holes and chance it 😉
Once the holes are drilled, assemble the frame. The long pieces overlap the short pieces. Then insert screws to secure it. You can “start” the screws so they’re most of the way through the pilot holes before you attach it to the shorter piece for easier assembly.

My screws are a little over an inch to 1 1/2″ long.

The Second Step is to prepare the form. (Or MOPS CA starts here- I had forms already made and instructions written on a dry erase board for easy reference.) Place it on a scrap of plastic that is larger than the form. It should be resting on a flat surface (floor, sturdy table, etc). Then put a layer of sand in the bottom of the form. This should be a thin layer, evenly spread to cover the entire bottom (plastic) of the form. I used a 24 oz cottage cheese container for measuring- it holds 3 cups. I used about 3/4 of a container of sand, or roughly 2 1/2 cups. You will be pressing the decorative mosaic elements into this sand, and they will stick above the finished concrete as far as they’re pushed into the sand.


The Third Step is to make your mosaic. Gather your embeddable objects The thinner the object, the less likely it will adhere properly in the end. Insert whatever decorative elements you want to be visible on the stone into the sand. I used a rough figure of one 1-2 pound bag of stones/marbles for every 2 garden blocks. Your mileage will vary.

Large pieces will have to be worked down into the sand and the sand re-smoothed before continuing (do these first if using). Gently press your objects into the sand in a design of your choosing. Remember that the further they are pressed into the sand, the further they will stick out of the finished block.


A few things to remember: 1) Your image will be reversed. If you’re making a monogram, or word, keep this in mind- the letter must be mirror image and the word needs to be written right to left, not left to right. 2) The surface you will see when done must go into the sand- do not put the side you want to see towards you, or it will be encased in concrete. 3) The sand around the objects cannot be “banked” up or over the edges of the objects inserted.

Anywhere the sand is, the concrete will NOT be when finished. You want your objects to be securely adhered to the concrete. If the sand was smoothed up to the back surface of my tile in the above picture, it would make a channel in the concrete when finished. You don’t want a gap or channel next to these objects. That gap would create a place for water to get in and freeze (f you’re in cooler climates like me), then expand, and the freeze/thaw cycle will damage your finished stone, eventually destroying it.

Once you have your mosaic completed, it’s time for step number Four.
In Step Number Four you will be mixing your concrete and putting it in the form.
Detail note if you’re seeing a discrepancy in the picture: The concrete I used for this example was 4000 lb. mix. It was difficult to get the concrete to be flow-able enough without adding too much water. For our CA we ended up using 4 scoops of concrete mix plus a scoop of sand/portland blend (50/50). The easier thing to do would be to get 5000 lb concrete mix (stronger concrete- it already has more portland in it), use 4 scoops of concrete mix plus 1 scoop of sand. A sand based bagged concrete mix is also available, but hubby says it’s not strong enough… ::)

Again using my cottage cheese container, I measured out 4 (full) scoops (12 cups) of dry concrete mix into a bucket. Then I added 1 (full) scoop (3 cups) of sand and 1 (full) scoop (3 cups) of water to the dry mix. (One 80 lb bag of concrete mix should make about 7 stones). I used a gloved hand or a trowel to mix the concrete. Mix until thoroughly combined- check the corners for dry bits. It should be fairly firm- easy to get clumps of concrete in your hand. If it’s really too dry, you can add a small amount more water. You do NOT want too much water and a soupy concrete mix. Too much water weakens the concrete, and could possibly cause problems with the sand where the objects have been placed.

Add your clumps of concrete by handfuls to your form. CAREFULLY set the concrete on top of your mosaic design so it doesn’t shift. Cover designs first, then fill in any gaps.


Once there’s a layer of concrete on everything and your form is mostly filled, you can pat the surface. This vibrates the mixture and allows it to settle into the holes, cracks, and crevices to ensure there won’t be gaps in your final surface.

Keep patting and gently pushing the high spots of the concrete around with your hands. Make sure the concrete is well worked into the corners and along the edges of the form. It’s fine to do this in stages- put a little in, work it down, repeat. If you don’t get it worked in well, you’ll have this happen:

The edge is rounded over and lumpy. Still okay, but not as nice as it could have been, because the concrete did not get down into the edge of the form next to the sand.
It’s also fine to use a hammer to pound a bit on the top edge of the wooden form. This helps to vibrate the concrete and get it worked down into those edges. A palm sander does the same trick, only even nicer.
The Final Step is to even off this top (someday bottom) surface of the concrete. You should have it already fairly even form the patting with your hands. Now we’ll take a stick to “screed” off the surface to make sure it’s even and basically smooth. The screed stick rests on both sides of the wooden form. It is slid back and forth across the surface of the concrete, still resting on the side pieces of wood on the form. At the same time, it’s slowly drawn across to the other side of the form. So- “saw” the stick back and forth and SLOWLY pull it across the surface. All that jiggling from the “sawing” motion allows the surface to be smoothed s you pull the extra concrete off of it.

If you get a gap where the screed has passed by (1st pic), take a bit from the extra in front of the screed, fill in the hole (pic 2), back up, and re-screed that area.


Continue across the entire surface of the concrete, scraping the extra off the edge of the form.
Dispose of the extra. It will harden and cannot be re-used (unless it is used for another purpose right away).
Now for clean up. Wash off/out anything you want to re-use. Extra concrete can be scraped out of buckets and thrown in the garbage or outside (depending on where you live… Water it down if you throw it outside for less permanent mess). The wash/rinse water from your clean up can be thrown outside.
Go put some lotion on your hands- concrete is pretty rough on them. The solid lotion bars we made on Spa day work wonderfully for this!
You must be PATIENT and wait for your concrete to set up. It will be solid within the day, but it is still very fragile and “green”- do NOT remove the forms yet. Also know that if yo touch the surface of the concrete as it cures, it may feel warm- that’s a chemical reaction thing in the concrete- no worries. Wait 48 hours before taking out the screws that hold the form together.

Once the screws are removed, the wood pieces can be pulled away from the block and the block can be flipped over.


Brush off the extra sand and see what you made!


The block should not be put outside in the weather for a week and if it will be used for weight bearing (sidewalk blocks, etc), it should be allowed to fully cure for 28 days. A sealer can be applied if desired after the 28 days. The stone below is one I made about a year ago and we sprayed part of it with a sealer to see how it would look. These stones were not polished like the ones above, but with the sealer, they look just as nice- so they’re free instead of paying $1 a bag.

For our MOPS CA, they’re staying at the church until cured. I’ll take the forms off and they’ll get to take the stones, forms, and screeding sticks home at the next meeting.
Need a print-able for a group project? Try this: concrete garden stones take-home sheet
Read Full Post »