Feeds:
Posts
Comments

This is a first attempt, there’s tons of room for improvement.  Take the concept and run with it- specialize it to meet your brooding preferences and needs.  This is my first version, and I’ve just gotten chicks to legitimize it works 🙂

"ecoglow"-style DIY brooderWhat you’ll need:
A (seal-able) container, a string of mini Christmas lights, and some sand
Some wide tape and a utility knife
A way to suspend the brooder- some baler twine, heavy string (P-cord),  and a simple frame/table or shelf of wood, sturdy pvc, metal, whatever you have available

This is like an “ecoglow” in that it provides radiant heat/ direct heat that the chicks snuggle up to.
I looked into purchasing one, but it’s out of my price range and I couldn’t justify the cost, especially since I don’t brood very many chicks.
There’s a concept from Confederate Money Farm that uses bulb Christmas lights in a pipe to brood chicks- their “PVC pipe pet warmer”.  The other concept I drew from is from Jessie: Improved. The idea is using Christmas tree lights in sand under seedlings as a warming/propagation mat.

I started with a (roughly) 9×13 plastic lidded container from the dollar store.  I cut a hole in the top for the christmas lights to exit and spread the remainder in the container, then filled the container with sand.  I used clear packing tape and taped the hole inside and out where the lights exit, then taped the lid to the container on all 4 sides.  (Duct tape or something similar will do equally well.)

DIY "ecoglow"-style brooder light entry detail
Use a bigger container or make 2 if you have more chicks to brood.  This one provides plenty of space for 15 and I’m sure would easily accommodate 25 (it’s larger than the “ecoglow 20” that says it’s good for 20 chicks).

Guidelines here:  More lights= hotter.   If yours is too hot, here’s some options:
1) Use a dimmer
2) use a smaller strand of lights
3) pull part of your strand of lights out of the container before filling with sand
4) use a strand with a good portion of lights burned out
5) use a bigger container and more sand

Bottom line: Adjust your lights and container size, or use a dimmer to get the temperature you need, whether you need it hotter or cooler.
The chicks will also move around to find a spot with a temperature they like.  If it’s a bit hot in the center, they’ll move closer to an edge, or just hand out along the side, or hop up on top- just as you sometimes see them do to a broody hen.  I found half a dozen of them contentedly sitting on the top last night.

chick on top of my DIY "ecoglow"-style brooder

My first attempt was too hot- interior temp of the sand was almost 160, directly underneath was 110- too hot for chicks!  (Good thing I didn’t have any live subjects in the trial phase!)  I think this may have caused some of my lights to burn out.  But, that solved my temperature problem.

Next step is to suspend your brooder at the right height.  I used part of a shelf system, but a simple PVC frame could be used, or wood or metal frame.

"ecoglow"-style DIY brooder 2

Mine is high tech: suspended at the correct height with 2 strands of baler twine, taped on the bottom to keep if from shifting.  Please assemble and adjust your brooder BEFORE you put your chicks in!  You want it secure and safe so you don’t squish a baby with that heavy container full of sand!
To make an easy-to-adjust knot/hitch:  tie a loop on one end of your twine (I used an overhand knot on a bite).

loop for knot-hitch system

Put your knots on the top of the frame, run the twine under the brooder, back around to the top, and through the loop.  Pull the loose end of the twine back the direction it came.

loose end through loop

Once you have it at the height you want, pinch it at the loop so it can’t slide.  Tie a “slip knot” with the loose end at your pinch- pull a loop of the loose end close to the loop through- just as if you were tying a simple knot, but only using a small portion near the loop.

starting the slip knot

Tighten and repeat with the other twine.

slip knot complete  simple knot:hitch system from baler twine

Secure with tape on the bottom of the brooder.
If you have chicks of different sizes and want an uneven surface as you can with the “ecoglow”, you can tie one end of the brooder a little higher than the other.

Some other possibilities for suspension:
You could suspend with chain or small rope, either going underneath the brooder or attached to the rim of your container if it’s sturdy enough.  You may also be able to construct legs- perhaps threaded rod with nuts fixed to the corners of a frame supporting the lip of your container- to allow for twist-up or twist-down fine adjustments as the chicks grow.

You could just prop it up on blocks or bricks, but that uses up your brooding space pretty quickly.

I put mine in a corner of my brooder to keep it a cozy little heat-holding space.  I also built up bedding at one side, so it’s mainly one side that is “open” but they can get out another side if they need to.  chicks under my DIY "ecoglow"-style brooder

Advantages: cheaper (especially if you have materials kicking around), DIY, provides a little bit of light so the chicks can see to eat and drink at night, less power input, less fire risk, and a final benefit this booder has that an “ecoglow” or a heat lamp doesn’t have- A built-in reserve of heat.  If your power goes off or your light(s) fail, the heat that has been absorbed and stored by the sand will stay warm for quite a while, extending the time your chicks will survive, especially since they’re already used to snuggling down together under it’s semi-enclosed space- kind of like an ‘igloo”‘ in the ‘cold brooder’ models (see more about cold brooding at The Natural Chicken).
Disadvantages:  It’s heavy, you cannot see your chicks (just as with the ecoglow), it still takes some materials and time to assemble and tweak, and it’s not very refined (yet- but that means a benefit of flexing the concept to meet your wants and needs).

I’ve updated my dexter page with information on the animals currently available for purchase.  Right now we have the following available: Cranberry (4 year old) , Junie B. (coming yearling), Ivy (heavy bred coming 2 year old) and Zelda (coming yearling).  We’re in WNY between Jamestown and Fredonia.  See my Irish dexter cattle page for more information. Cranberry and Junie 1:15Zelda 1:15Ivy 1:15 Also starting a search of my own for Dominique chicks and (if I can convince John) Midget White Turkeys.  Do you know anyone in the WNY/NWPA area who has either one?  I’m changing up what chickens I’m trying to raise. If anyone is interested in working with the White Chanteclers I have, I’d be happy to pass them along.  They are starting to get some age on them (several are my original chicks from April 2011).  I’m not positive if some of them are full Chantecler (the younger ones).  I’ve got 4 original hens plus an offspring rooster and 3 offspring hens.  I’ve also got a Chantecler/bantam ameraucana cross hen. I’m moving on to a different breed in hopes of meeting our needs a little better- more geared to eggs, better camouflage for free ranging, better able to reproduce themselves.  I’ve had poor results in raising chicks, both in surviving eggs (broody or incubator) and in not loosing partly grown chicks to predatory birds.  Everything I didn’t intend to keep, on the other hand, has done better for me.  In some ways I hate to give up on them, but in other ways, I’m okay with moving on.

First of all, I’ll recommend that you just get the color satin you want in the first place- it’s much simpler.

However, for various reasons, you may be looking to dye some satin garment at home.  In my case, I’m taking the white satin flower girl dresses I made for my brother-in-law’s wedding over the summer and making them into dresses to wear for Christmas and beyond.

white satin dress before  flower girls dresses before

IMG_9344

Perhaps you have a yard sale find, something you have on hand, or you happen to really like the uneven dyed effect and/or want multiple colors for a wild dyed look.  Whatever the reason, here’s a process you can try.

This was done on white costume satin- nothing fancy- not silk satin or bridal satin.

Second of all, this is an experimental process.  It worked for me, but I don’t know how long it will last as the dresses are washed, and I’m certain there is lots of tweaking that could/should be done to improve the process.

I haven’t done those experiments- to see if the color can be darkened or evened or what have you.  I’ll pass along a few suggestions at the end, but it’s an untried process.

Thirdly, this is a very messy, smelly process.  The rubbing alcohol can be very overwhelming.  I recommend a well ventilated area and a place you can get messy, and time to let yourself have a breather as needed.  If you clean things up right away, it helps.  However, drying after dip-dying creates run-off.  Unless you really like those colored rivers on your bathtub, protect your surfaces (or use an area where surfaces can be stained).  If you end up with a stain issue, you *should* be able to clean up hard surfaces with some more rubbing alcohol, but please use careful judgement.

messy process

Because it’s a messy process- use tools and/or gloves or prepare to be the same color as your project!  It’ll probably be very drying to your hands as well given the alcohol.

And fourthly- this process has imperfections and is an uneven process.  It will not create perfectly evenly stained fabric.  It will not create deep, rich colors.  In searching for a way to dye satin online, I found the need to use specialty products, and still to expect nothing more than light colors.

close up of dry from dip dye  dry from dip dye   close it's still not even

I only tried this on white fabric.  I am fairly certain only light colors would work, and any color the fabric has will create an undertone color that affects your end result.

Use a scrap and trial your project first.  Some colors wash out differently than they begin (red and orange produced hot pink, dark green turned blue).

On to the process.  You will need rubbing alcohol and permanent markers.  I got my markers at the dollar store- so cheapies work fine.  The rubbing alcohol I used was 91%.  I don’t know if the dilution of the 70% or 50% would affect how the dye worked, but I felt the higher % was probably an asset to this project- for drying time and for dye concentration.

supplies

This is loosely based on the sharpie marker tie dye commonly seen in tutorials online.  I first tried fabric dye dissolved in rubbing alcohol and it didn’t work.  But a trial of rubbing alcohol  dripped onto a sharpie marker spot on a satin scrap did work and didn’t completely wash out.

Proportions:  I used 3 markers to 1-32 oz. container of 91% rubbing alcohol.  (it’s fine to use different color markers- I used blue, light green, and dark green in combination).

I mixed mine up in a pail (first an ice cream pail, then a 5 gallon bucket- obviously use a container that will hold your item if you are dip-dying).

First, get a pair of pliers and pull apart the marker.  Throw the felt (the part you write with) into your rubbing alcohol. Then pull the marker apart and take out the fountain- the part that holds all the extra ink that feeds into the felt.  It’s likely enclosed in a plastic tube/straw.  Some of these will pull apart easily- just take the inside ink portion out and drop it into the alcohol.  If it won’t just pull out, you have to cut off the plastic portion.  I used a seam ripper to rip up one side and then pull out the innards.  A small pair of scissors would also work.  Swirl it all around to disperse the color into the alcohol and out of the marker innards.

marker partly pulled apart          the marker innards in the alcohol

You now have finished making your dye!

Now for your garment.  Dip-dye or spray dye- these are the 2 methods I used.

dip dye in bucket     spray bottle of dye mix

Since I had tucked fabric rather than flat, my process was affected.  It altered how the alcohol evaporated and dripped/ran , so it left the dye unevenly.  I imagine it would work this way with most anything, but especially the tucked fabric.

I also couldn’t just spray the fabric, as it wouldn’t get into all the tucks evenly.  So I ended up dip-dying first, letting it dry, then spraying it (with some attention to get into the majority of the tucks, but not every nook and cranny).

So dip and wring and hang to let the alcohol evaporate (dry) or spray and leave it for the alcohol to evaporate.

just dip dyed       all spray dyed and dry

Repeating the dipping process will NOT deepen the color.  The alcohol dilutes and disperses the dye, so really all that is happening is the marker ink is left on the garment after the alcohol evaporates.  Re-dipping simply allows the ink to be moved into solution again and put into a different spot.  That’s why rubbing alcohol works to remove permanent ink from some surfaces.  But it’s also why this process will work on the satin while water-based dyes will not.

The spraying worked to increase the concentration of the dye a little at a time onto the garment.  A smaller amount evaporates more quickly, leaving more of the permanent ink more evenly on the fabric.  (One of the reasons why I think the higher % of alcohol is a better carrier in this process).  There’s still limits to the concentration achieved by spraying, as fresh alcohol on the surface affects the ink already there.

If you are dipping, then spraying, let the garment dry between applications.  Likewise, let it dry between coats of spray if you are trying multiple coats.  Once you have added all of your dye and let it all dry, you can do a rinse in water.  It should be pretty stable.  You will get some wash-out of the color in the rinsing, as in any dying process. Note below the changes.  The greenish dress on the far left has been dyed, but not rinsed.  The more blue in the center has been rinsed in the water.  So really, do a trial or you may be surprised.  The far right picture shows the completed dresses.

rinsing and magic color change      all done!  rinsed and dry

I’ll also repeat here that I’m unsure of the long-term staying-power of this dye- for all I know it gradually lightens with each washing and will be gone after a half a dozen washes.  If I ever find out, I’ll try to update.  So as a precaution, wash gently- perhaps hand-wash, and use limited soaps or detergents.

Variations to try:

greater concentration of color (=add more markers to increase the concentration of your dye).  Since there’s a limit to the color as it’s dipped or sprayed, your only ability to deepen the color will come from increasing it’s concentration before it’s applied.

“gel stain”- they have gel stains to make them “no drip” for applications like concrete.  To make a gel stain version of this dye, I had thought about trying hand sanitizer (check the % on the back of the bottle).  If the color wont disperse directly into the sanitizer, I would try a very small amount of regular alcohol to disperse the dye, then mix it into the sanitizer.  This would be more expensive, and I don’t know how it would dry.  It still probably dries unevenly and will leave a mottled effect.

You might possibly be able to achieve colors by mixing that you can’t get straight from the marker.  Example: the orange marker turned hot pink, but perhaps red and yellow markers would create an orange-ish color.


Christmas baby

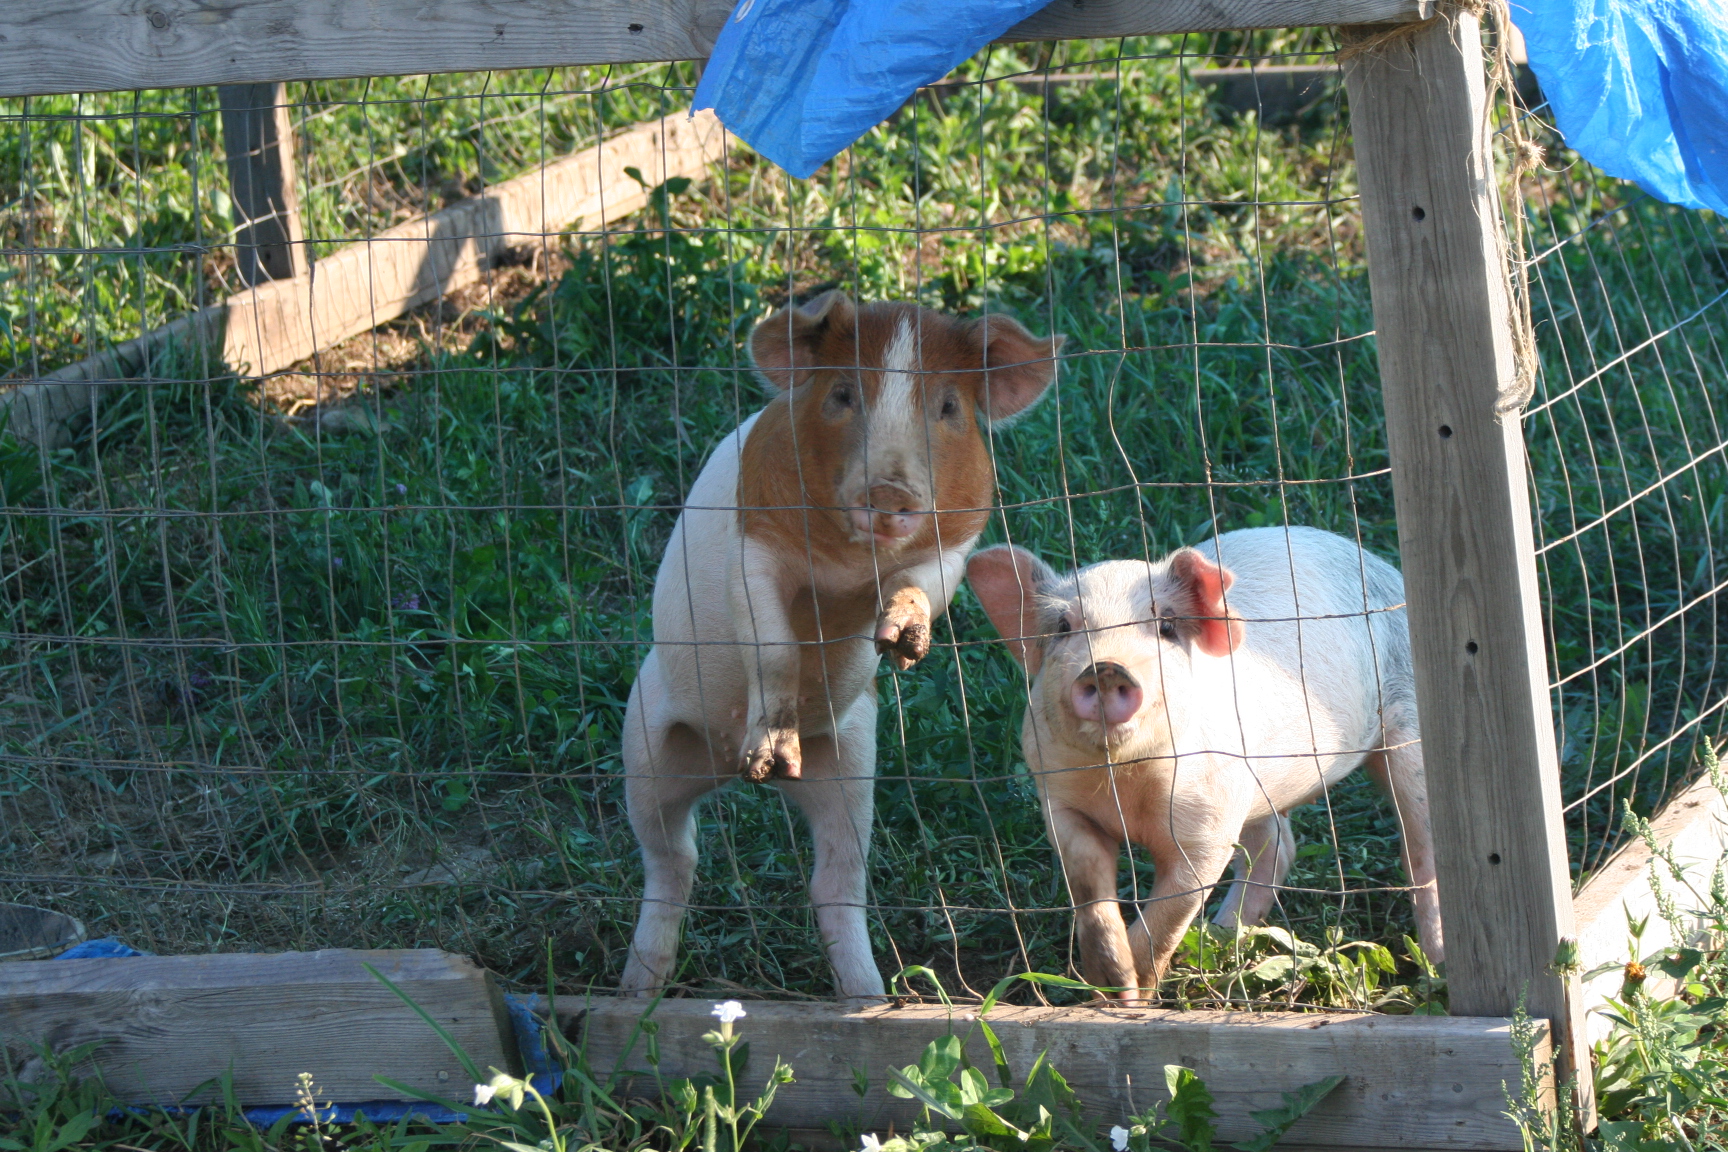
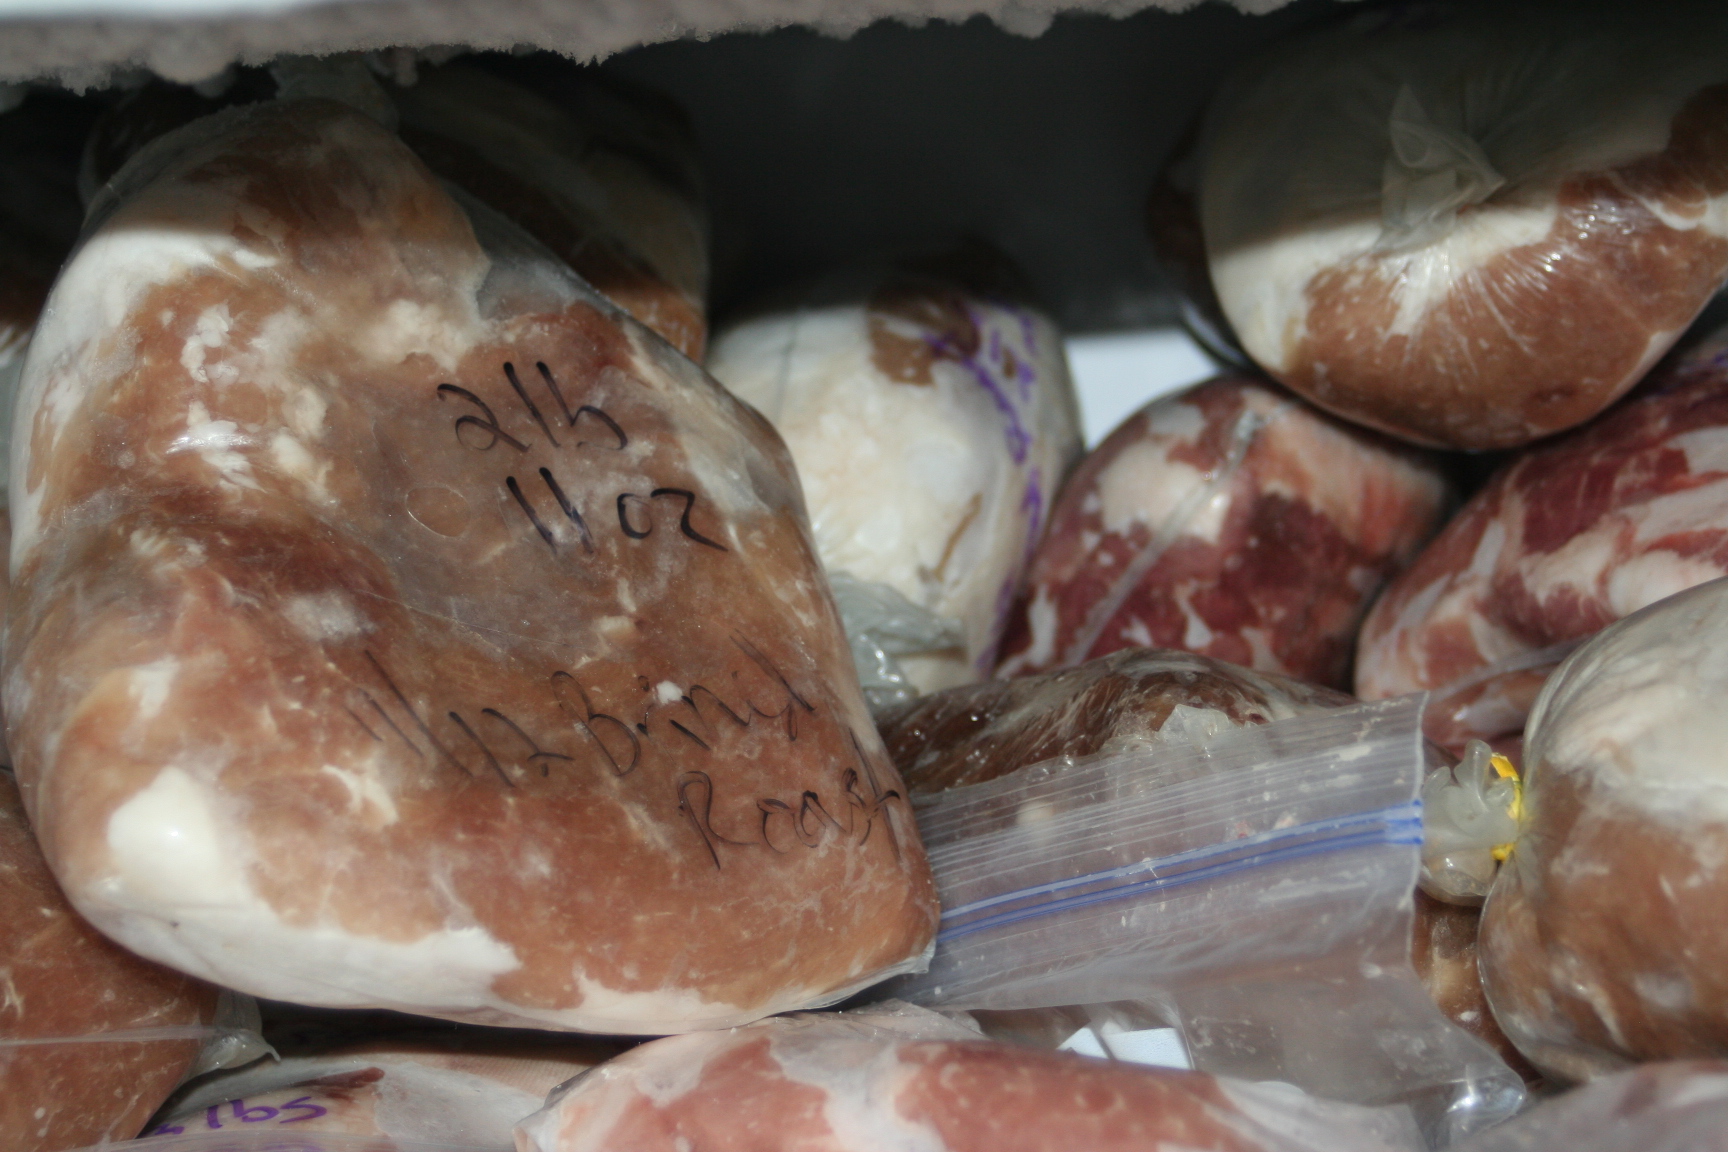
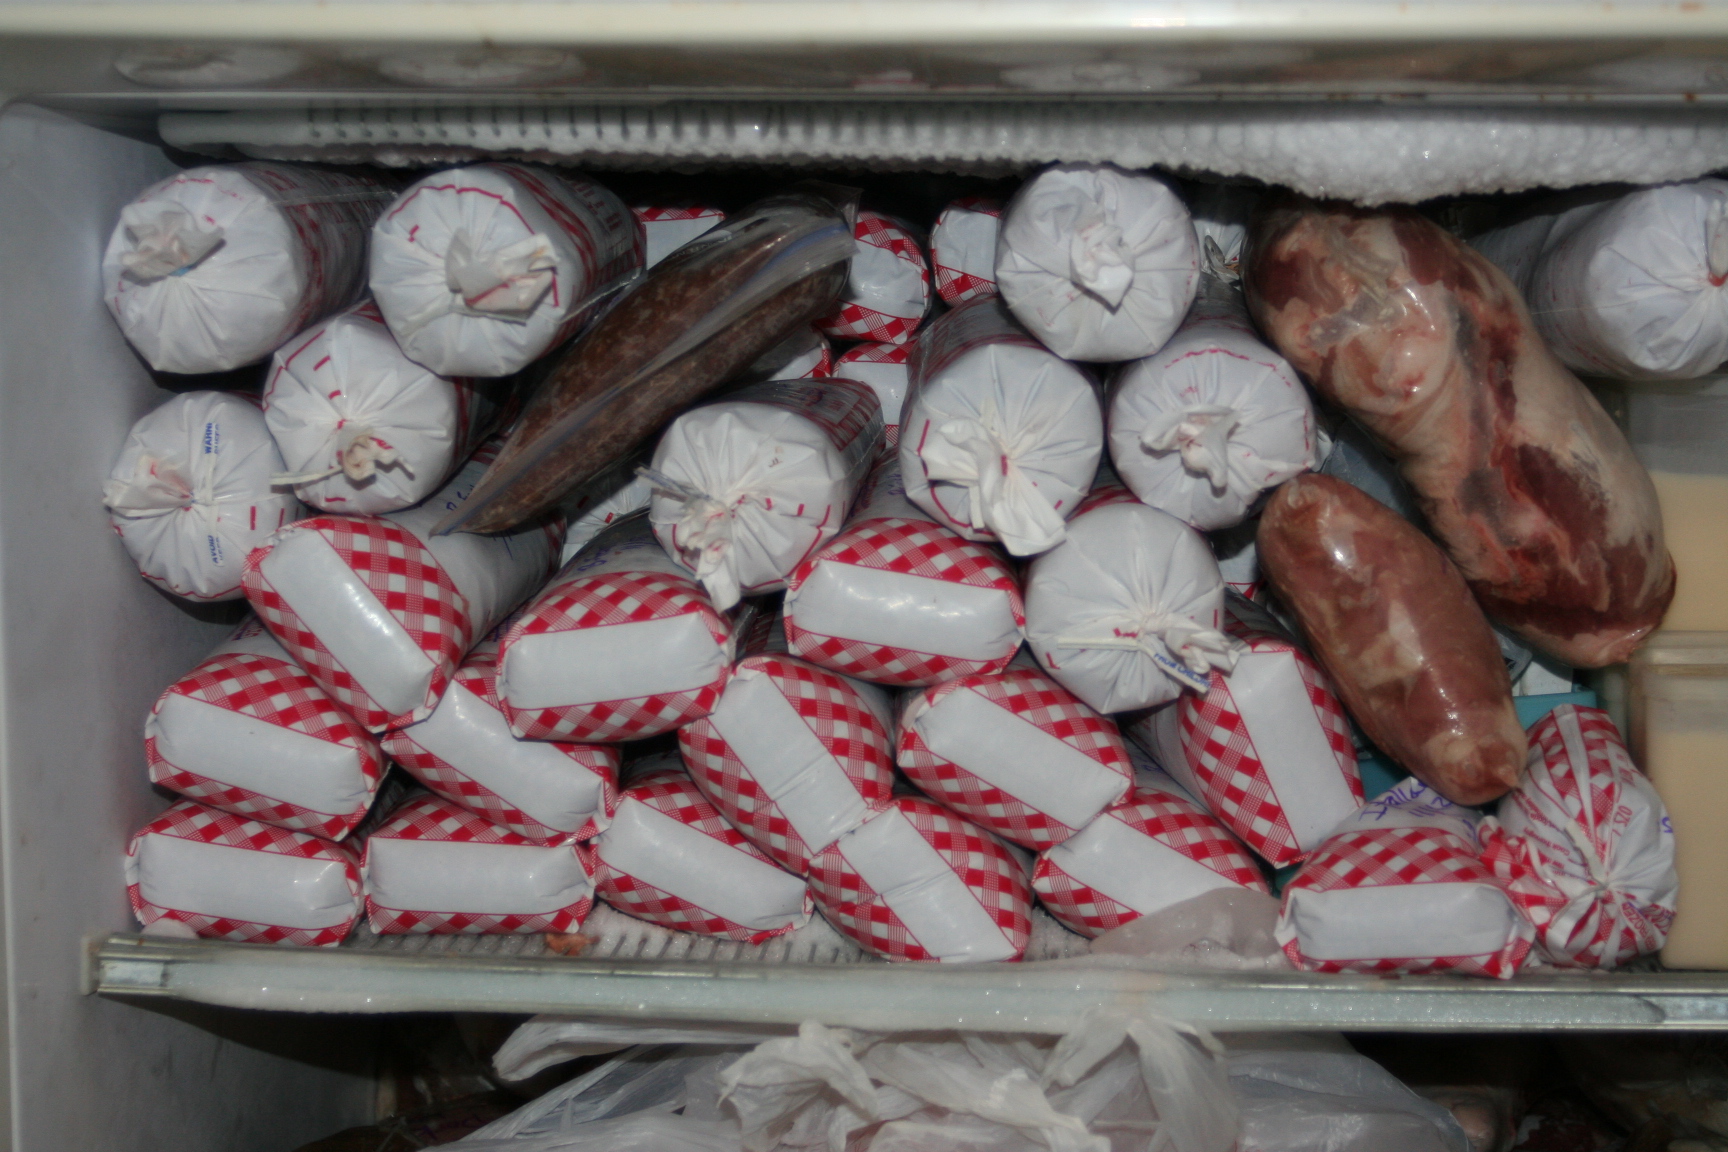
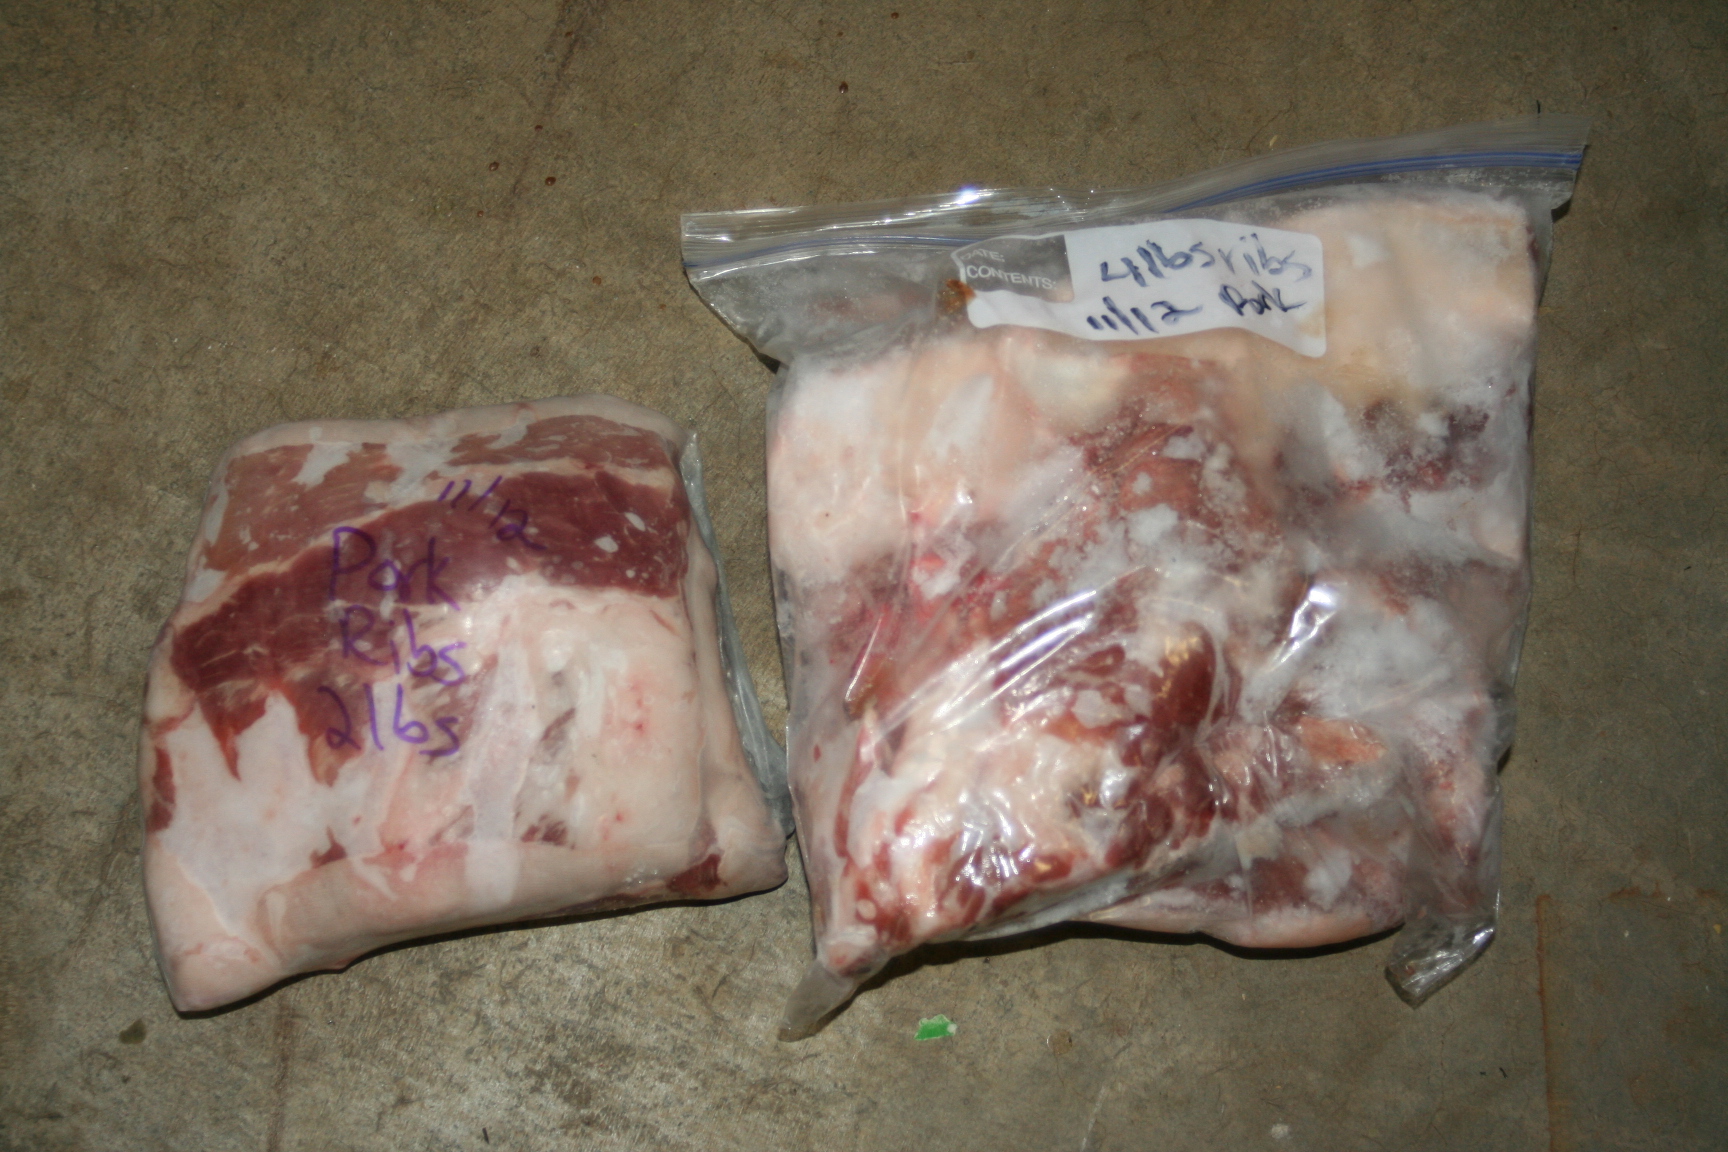
I was a guest speaker at MOPS Thursday morning, speaking on a couple ways our family approaches the Christmas season.  I thought I’d put it into a post here as well (especially since it’s already mostly done, and I haven’t posted anything since… ahem… March.  Can I mention life is busy here?  Baby girl #4 is due in February, and we’ve been going through all the hoops since March for foster-adopt including getting the house finished enough to certify.  We started to homeschool the twins for Kindergarten this fall, and we’ve been doing the “normal” stuff like VBS crafts, 2 pigs in the pig tractor- processed in October, a bull calf processed in November, and hundreds of miscellaneous other projects- if I only had time to blog about it all!  But I guess I’d rather be LIVING it than writing about it).

Public speaking is a big challenge for me, so I write everything out as I’d like to say it.  The following text is my speaker notes (almost exactly- my girls names abbreviated, a few pictures added, and the links completed).

First of all, I’m a MOPS peer and don’t feel quite adequate to fill the “MOPS speaker” role.  I’d be much more comfortable leading you in a creative activity.  But Ella called me and asked if I would share a little with you about some of  the Christmas concepts we’re using in my family.  It’s important enough to me that I agreed to share.

Christmas is probably the favorite holiday of the year at our house.  When I got married, I learned the tradition of setting up the tree right after Thanksgiving and leaving it up into February.  I usually insist the tree finally has to come down by Valentines day.  No, we don’t do a real tree!

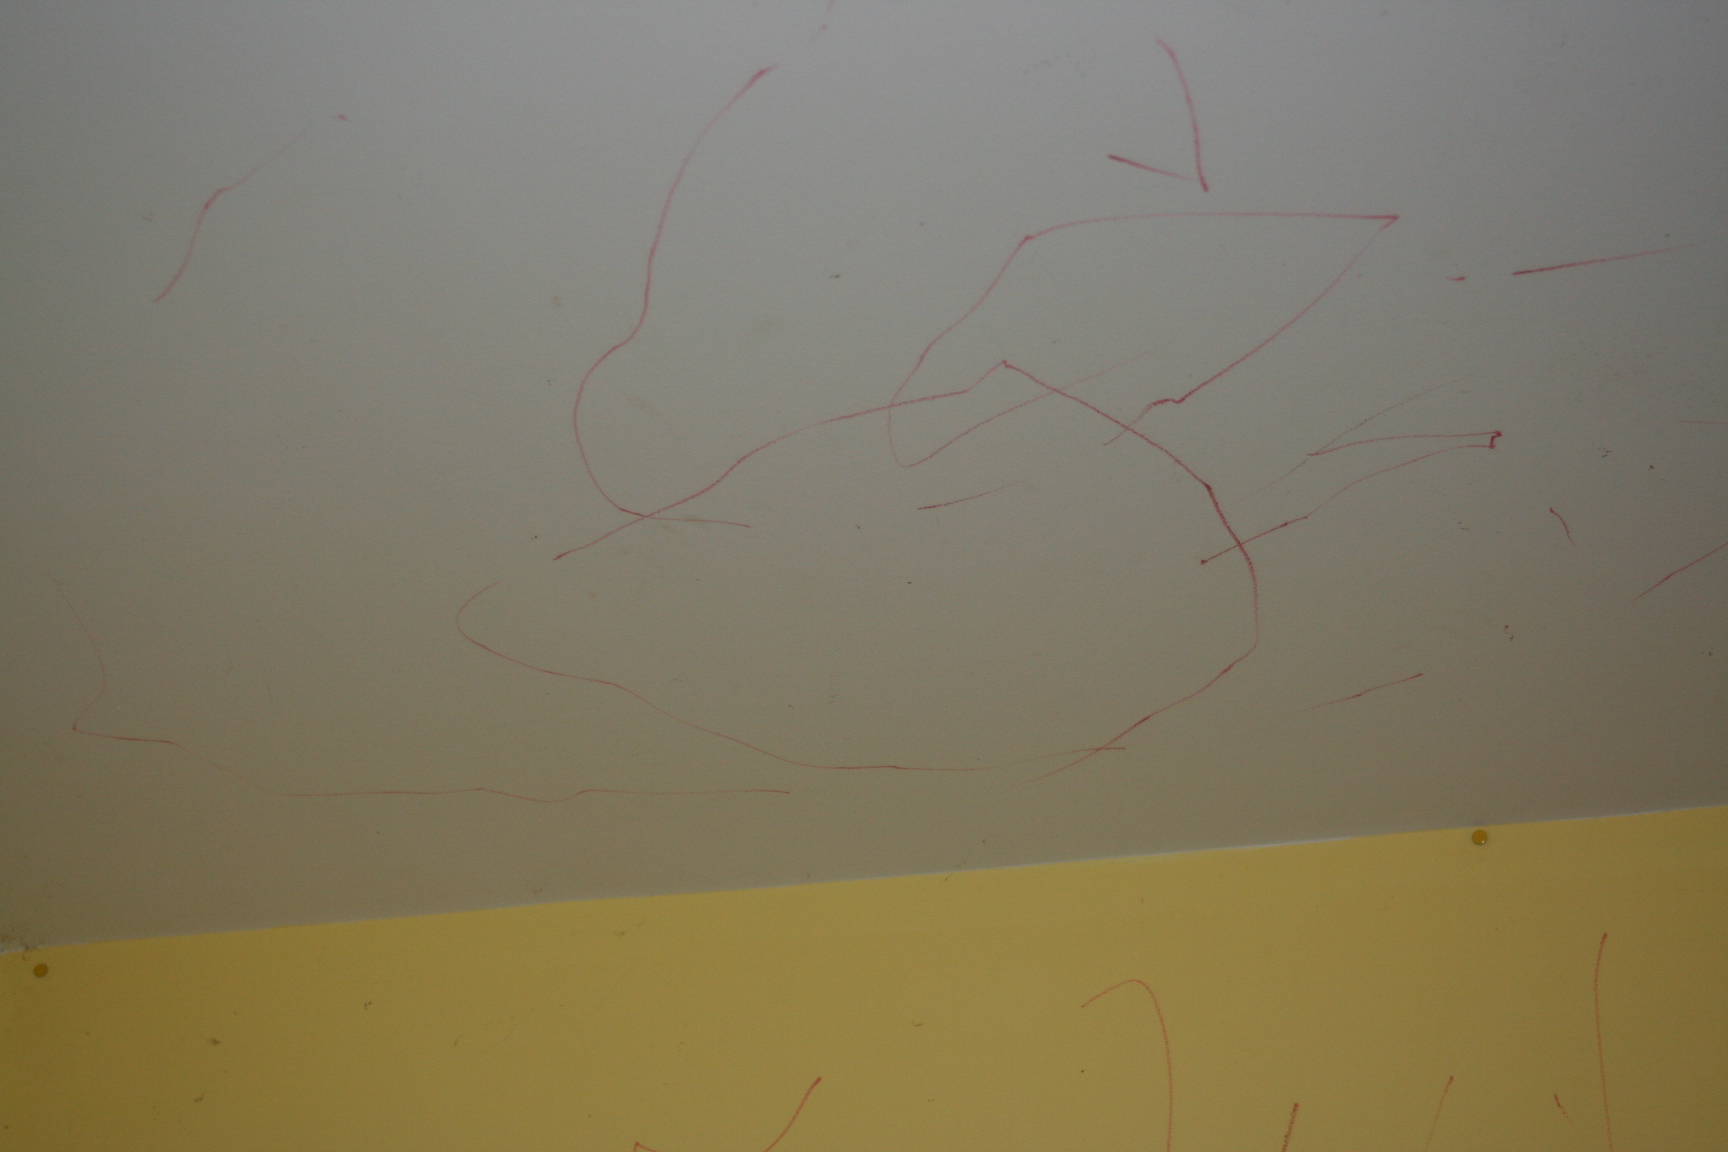
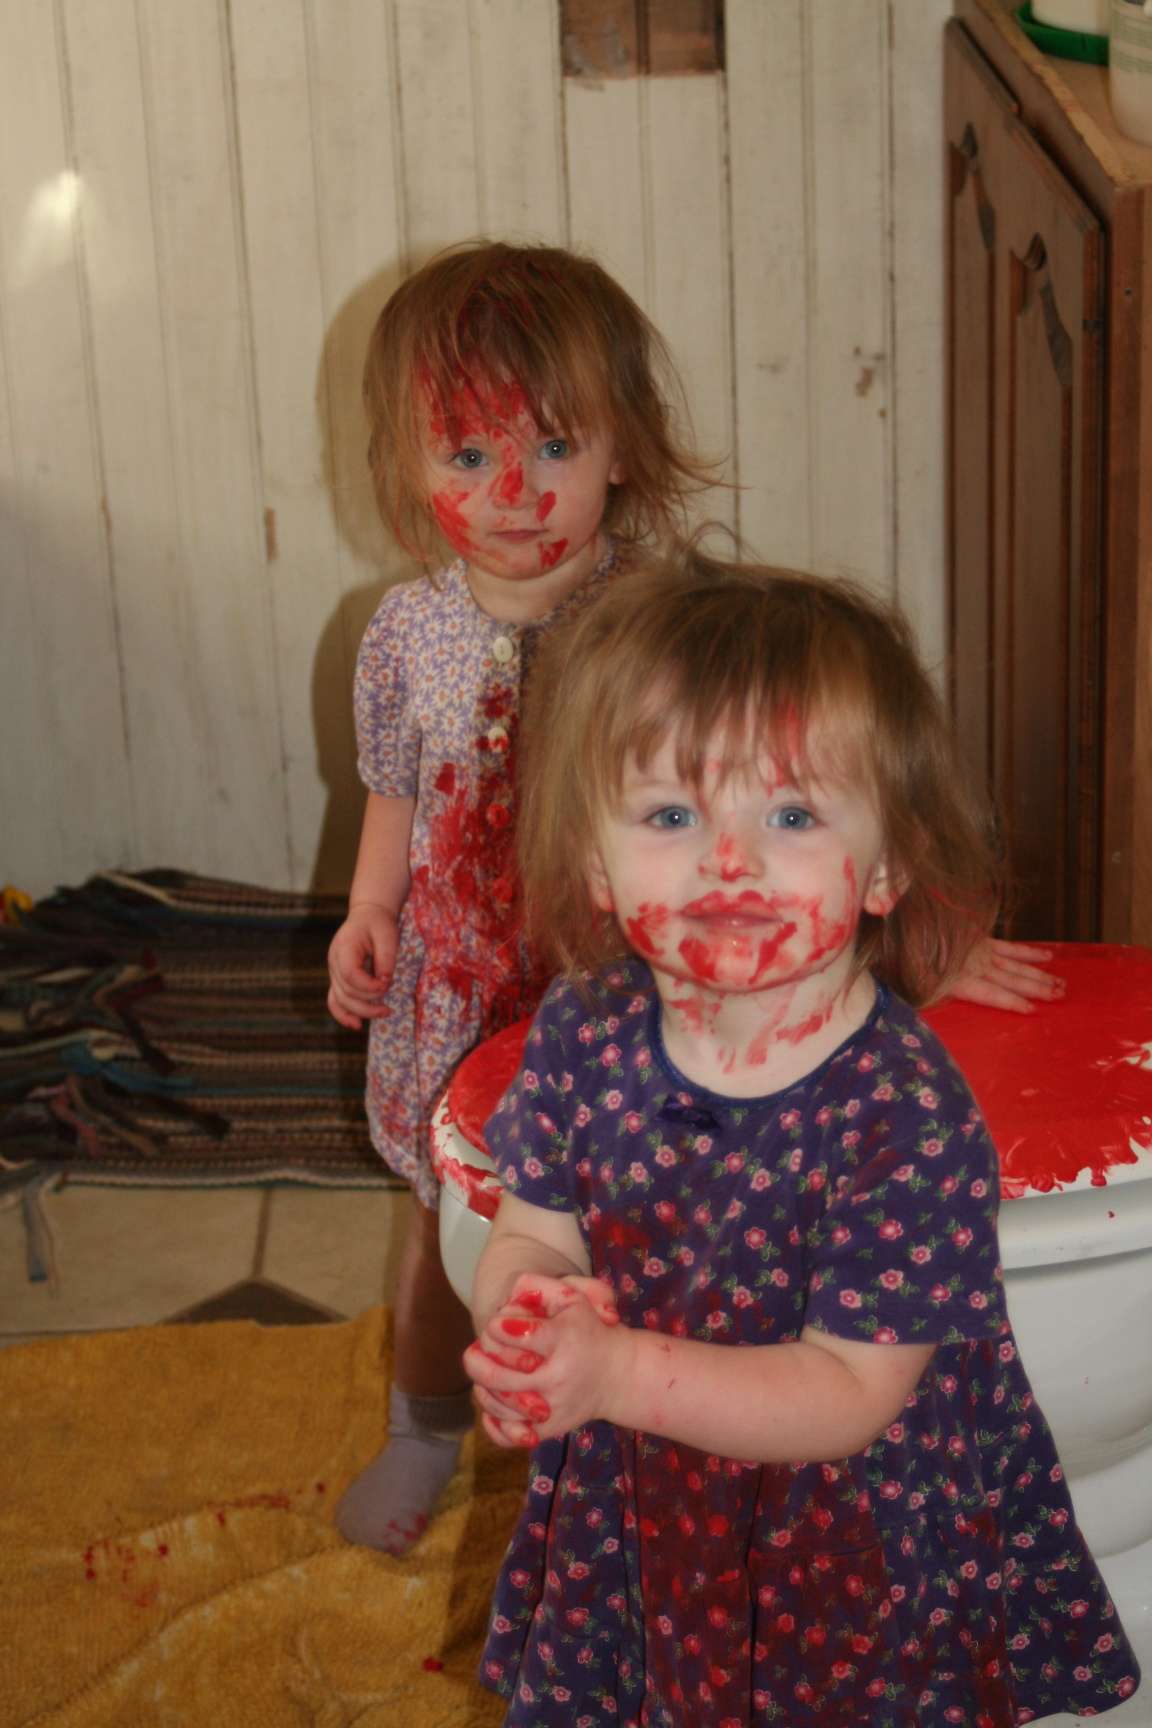
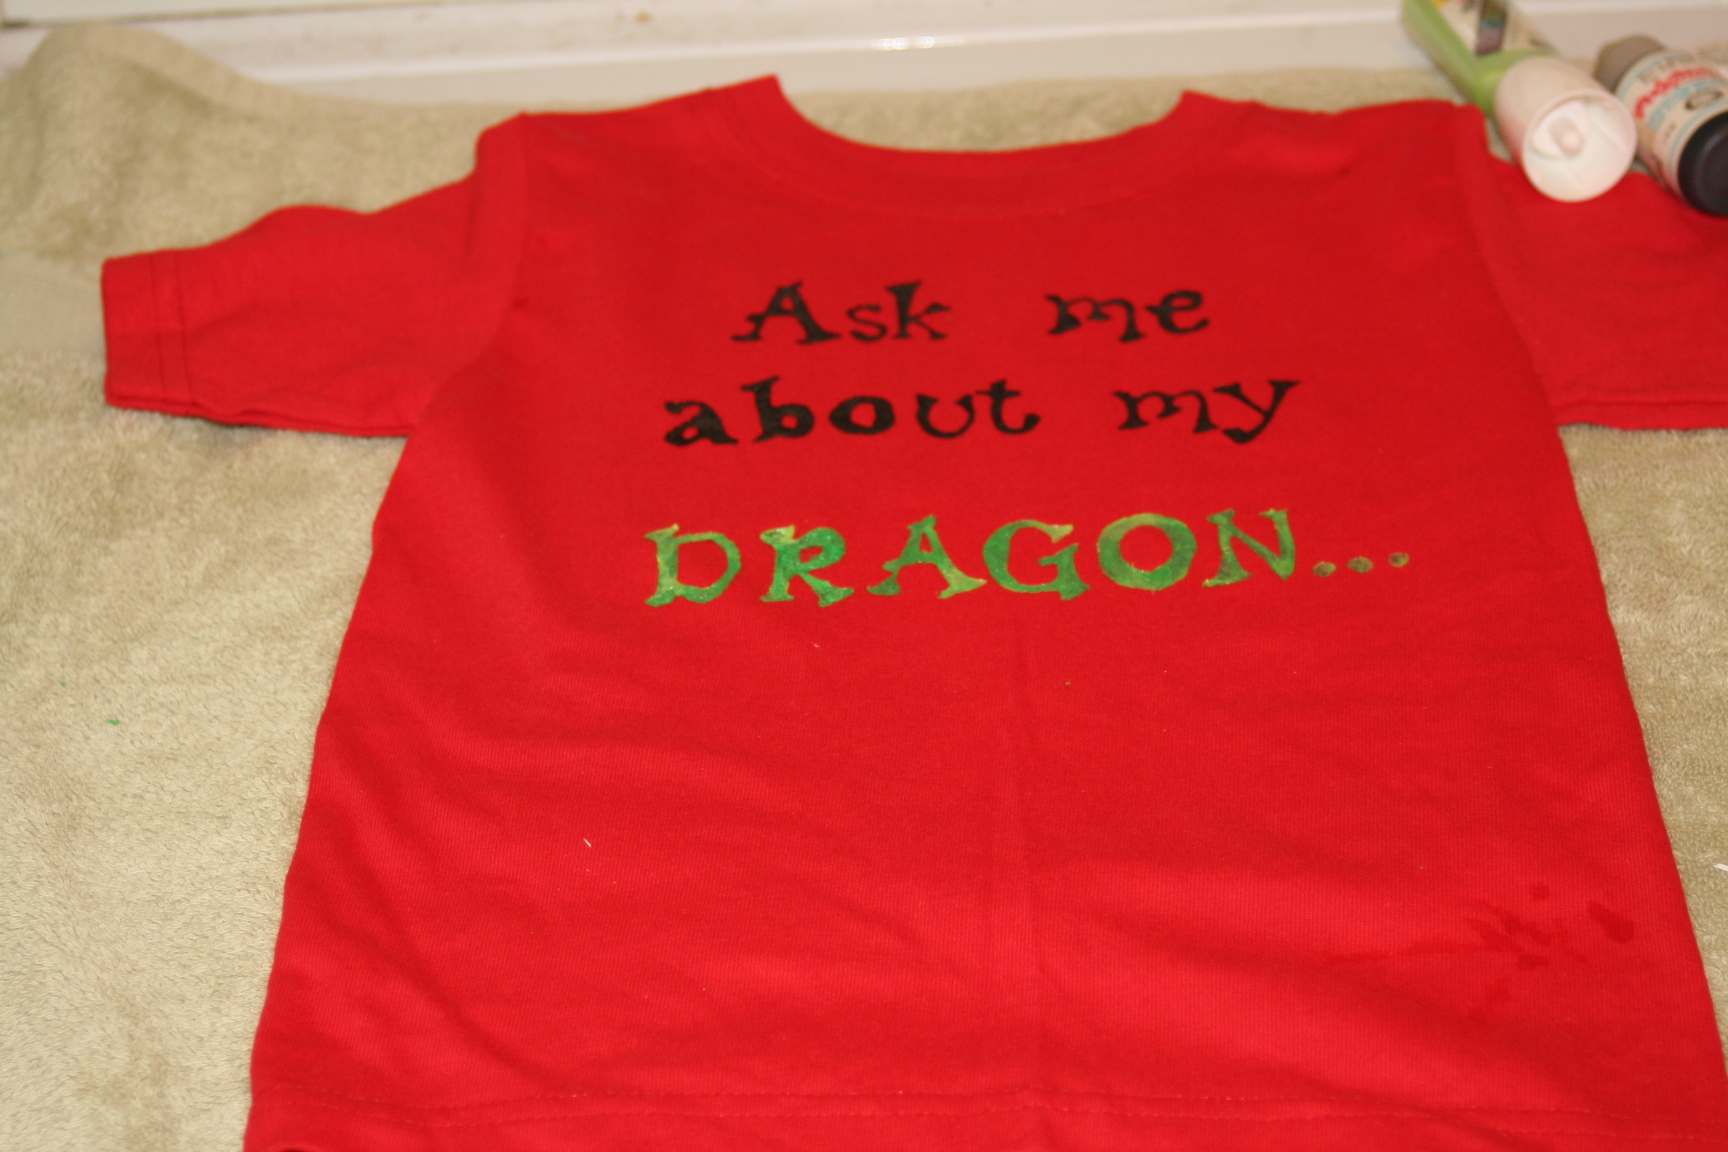
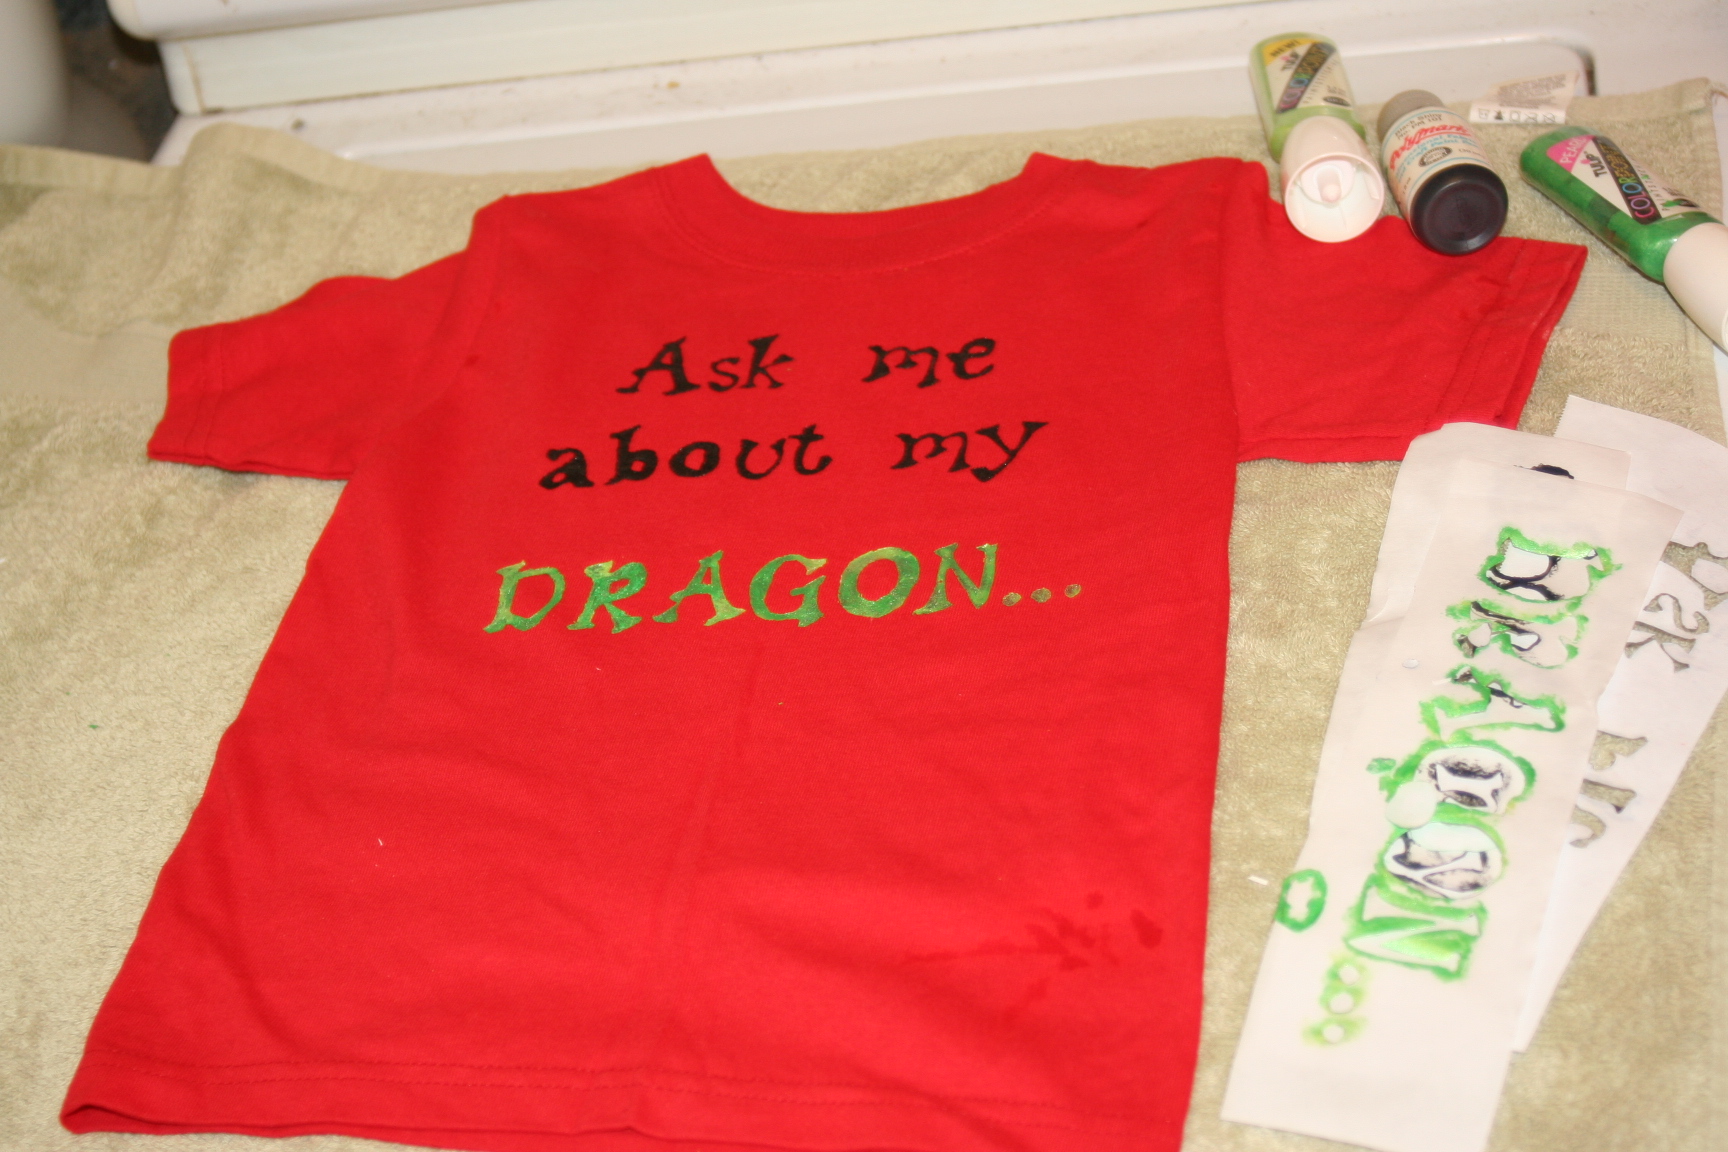
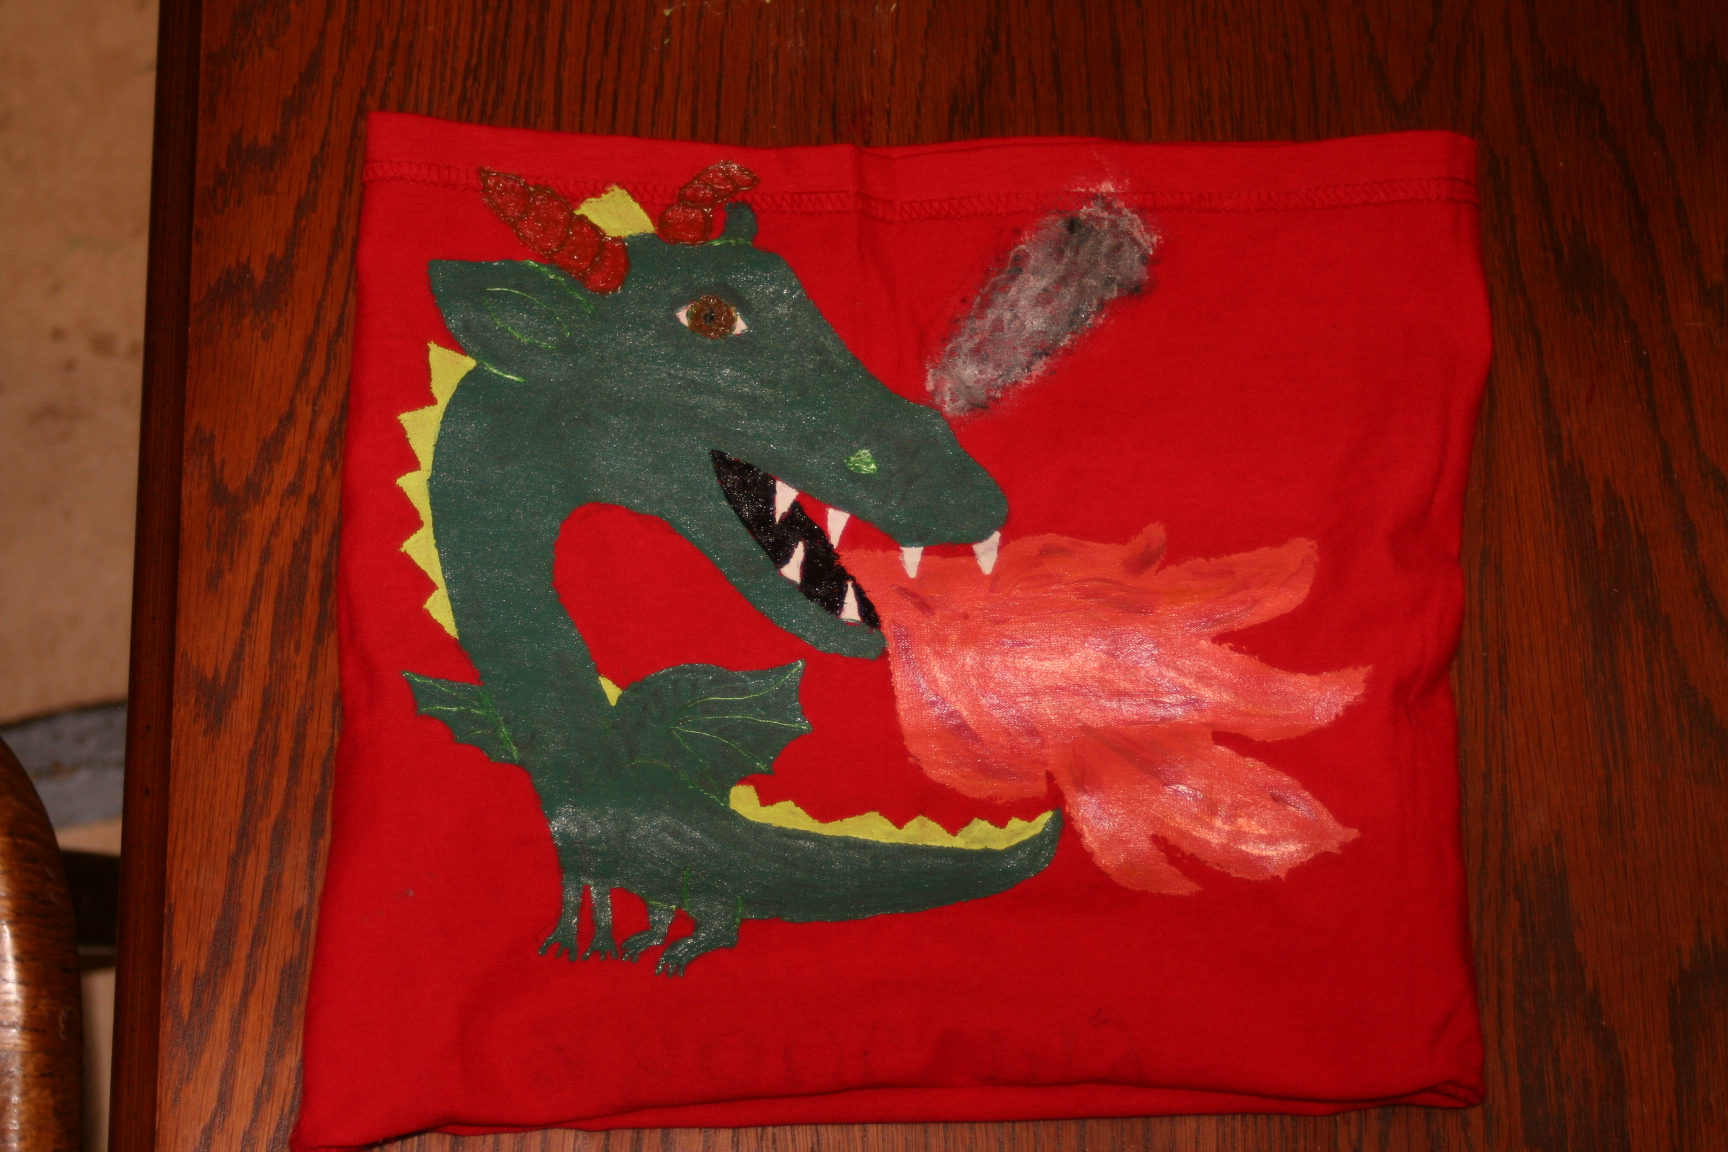
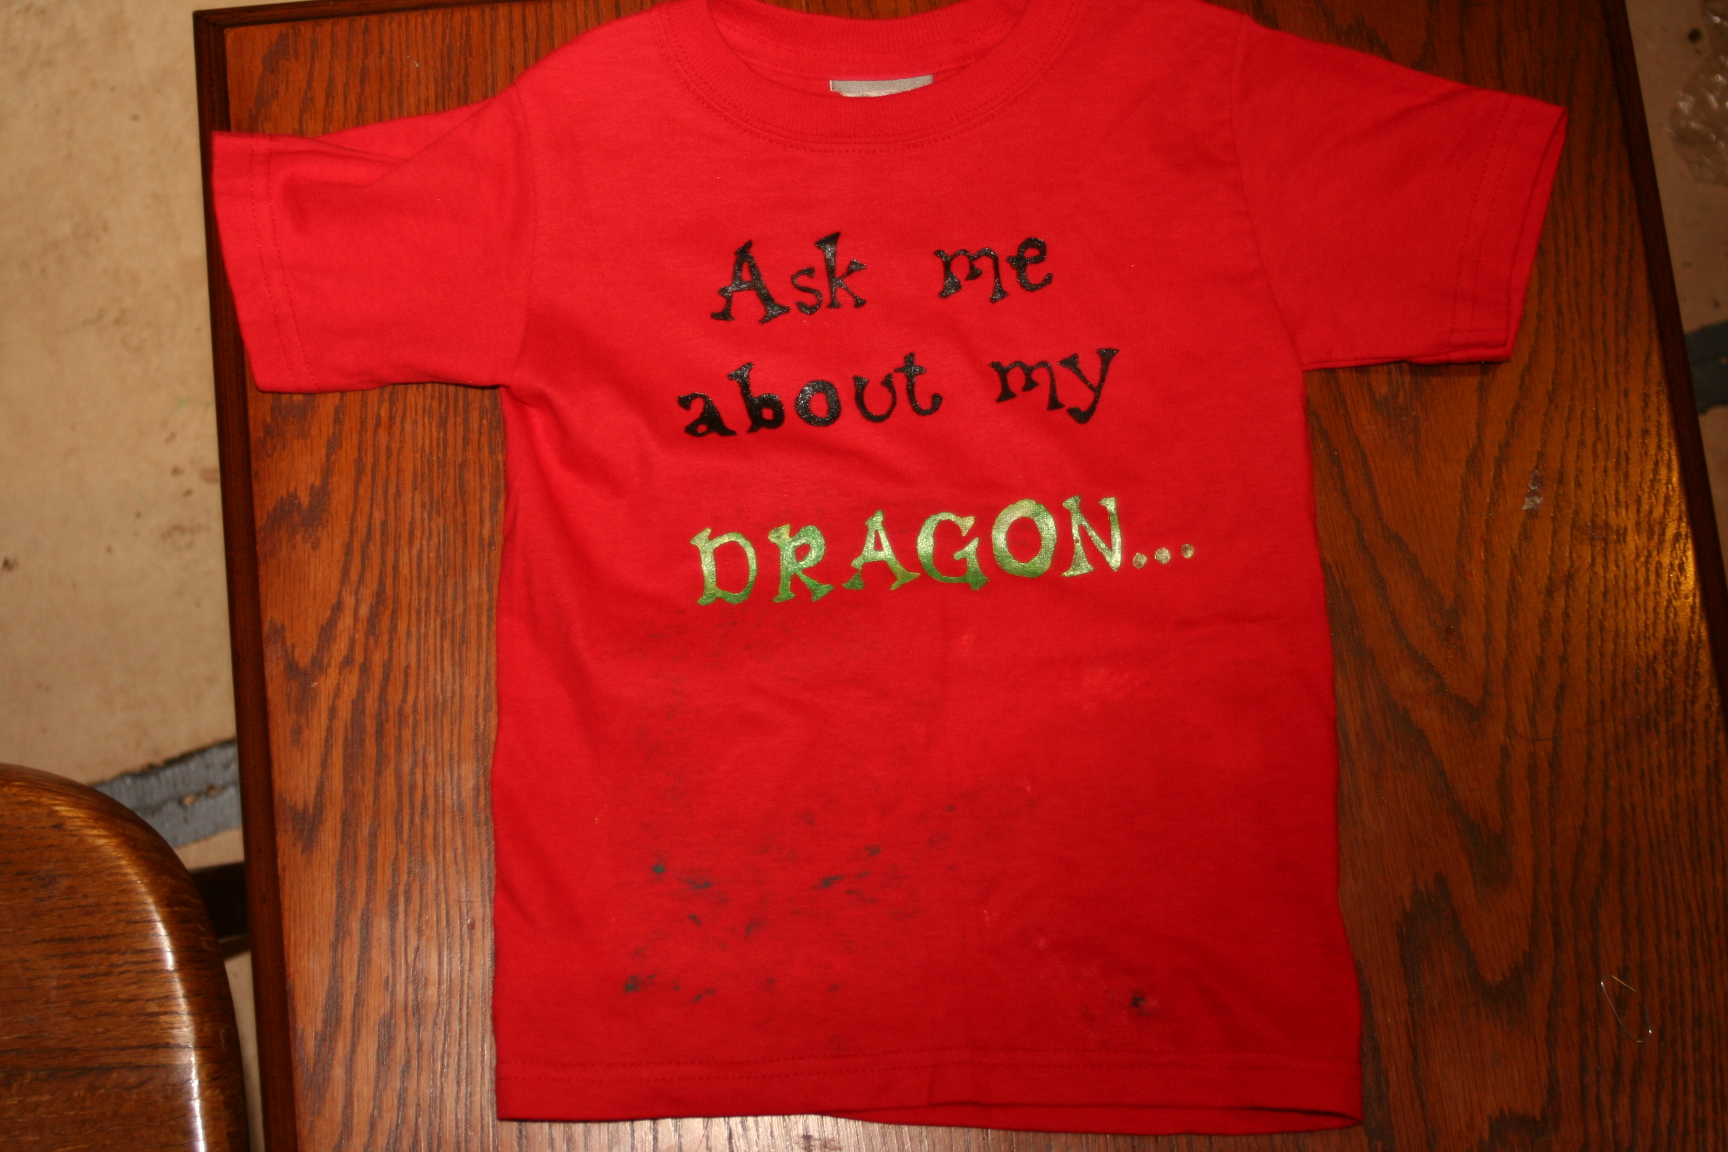
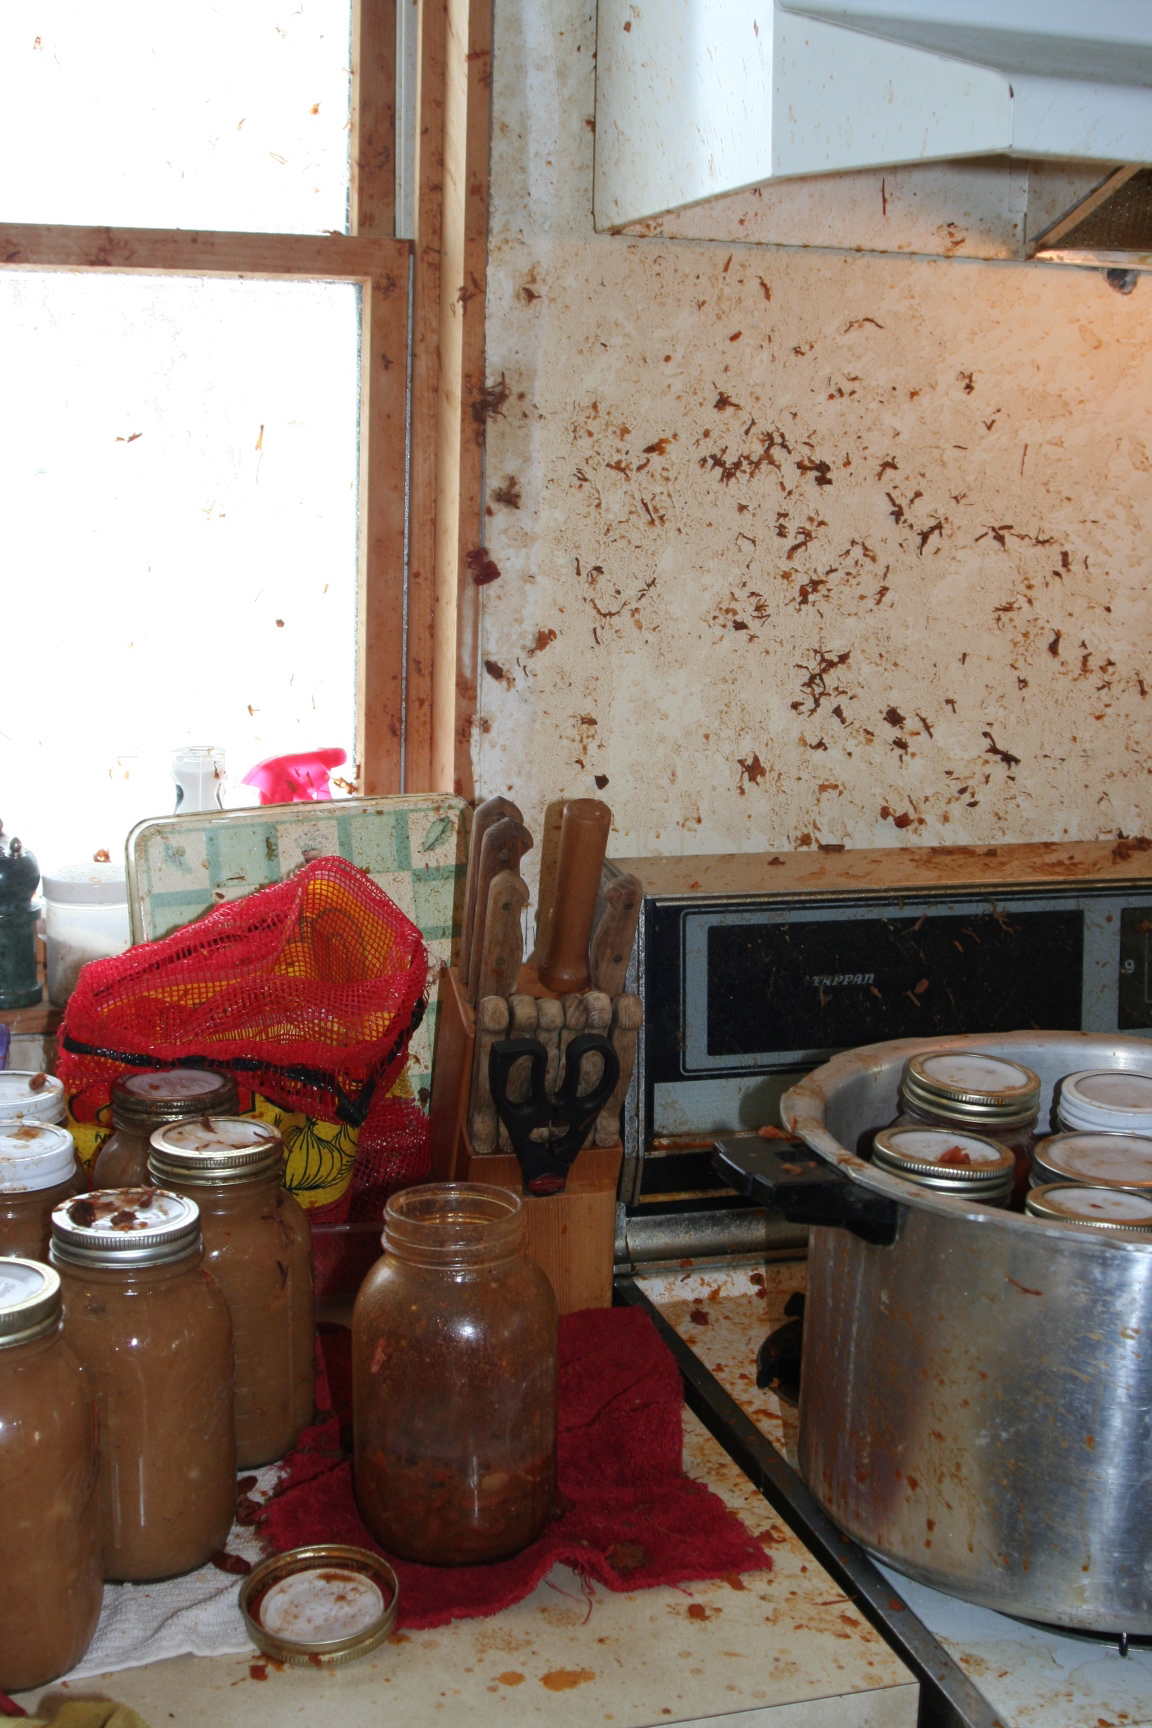
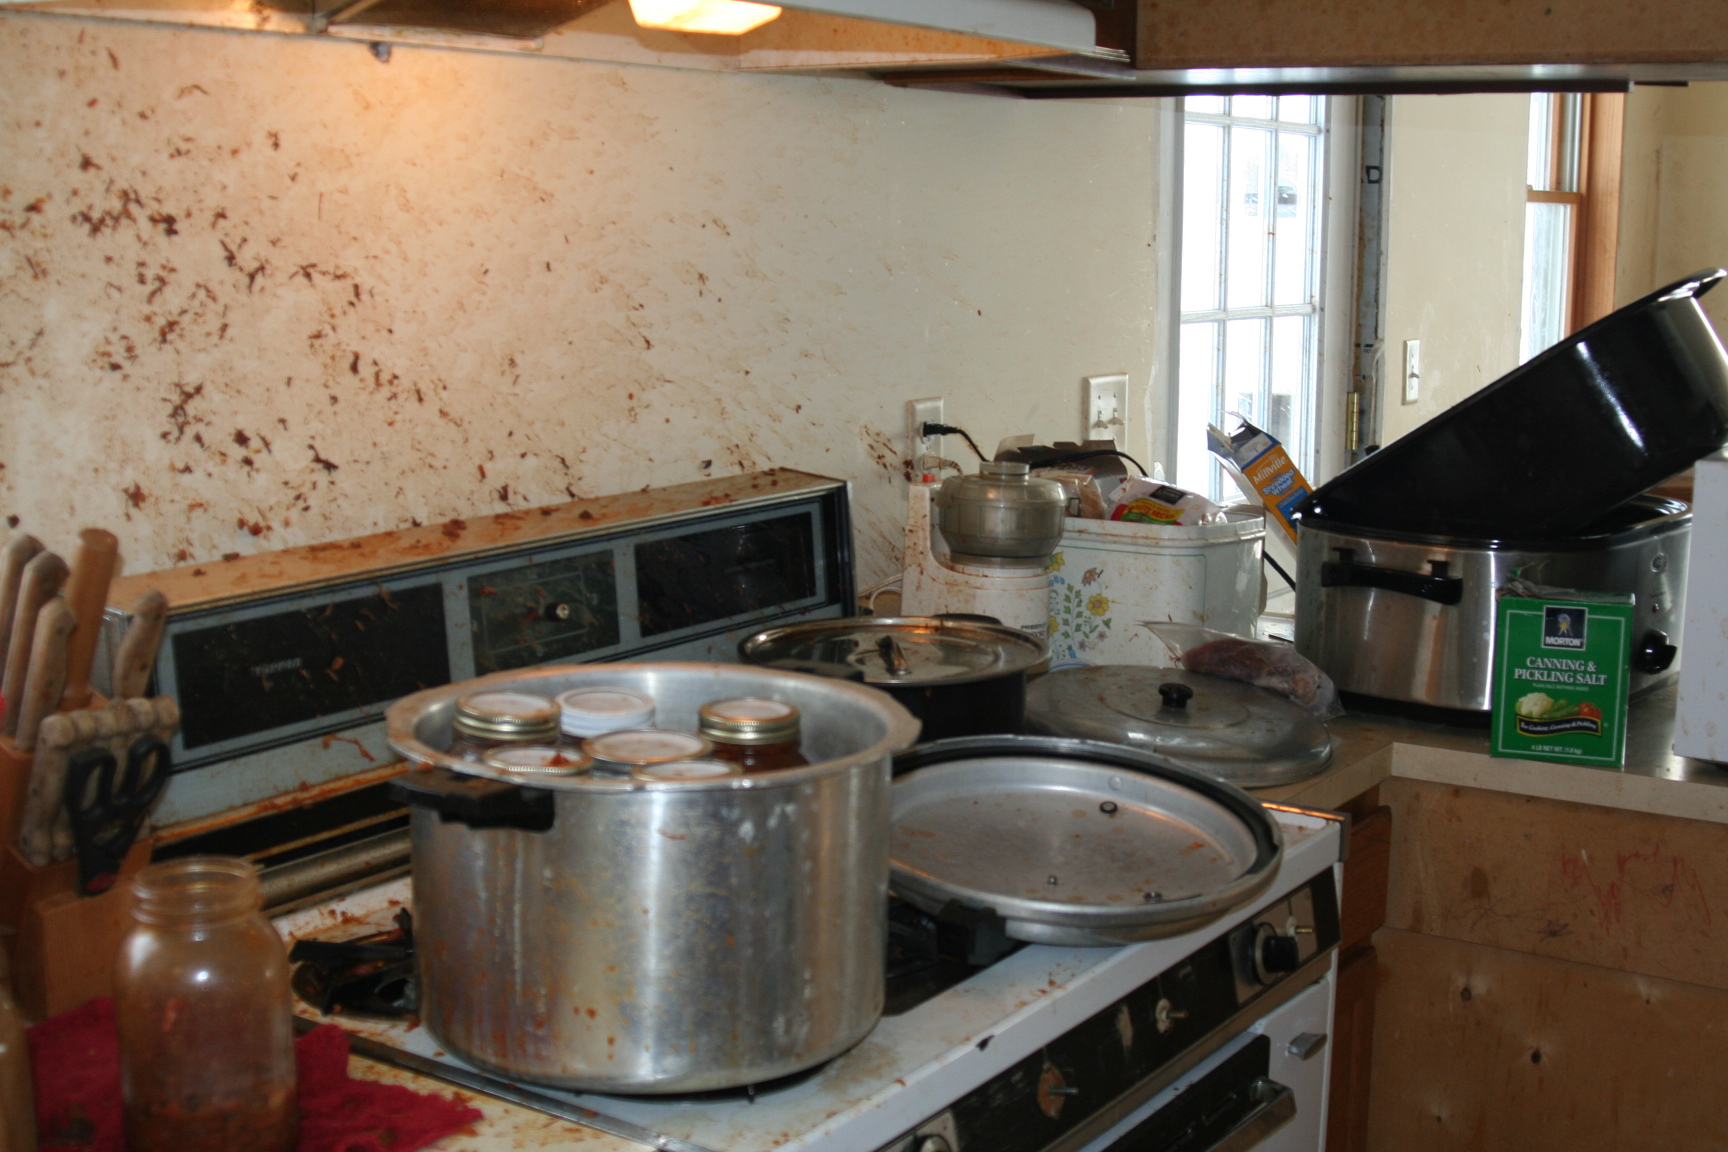
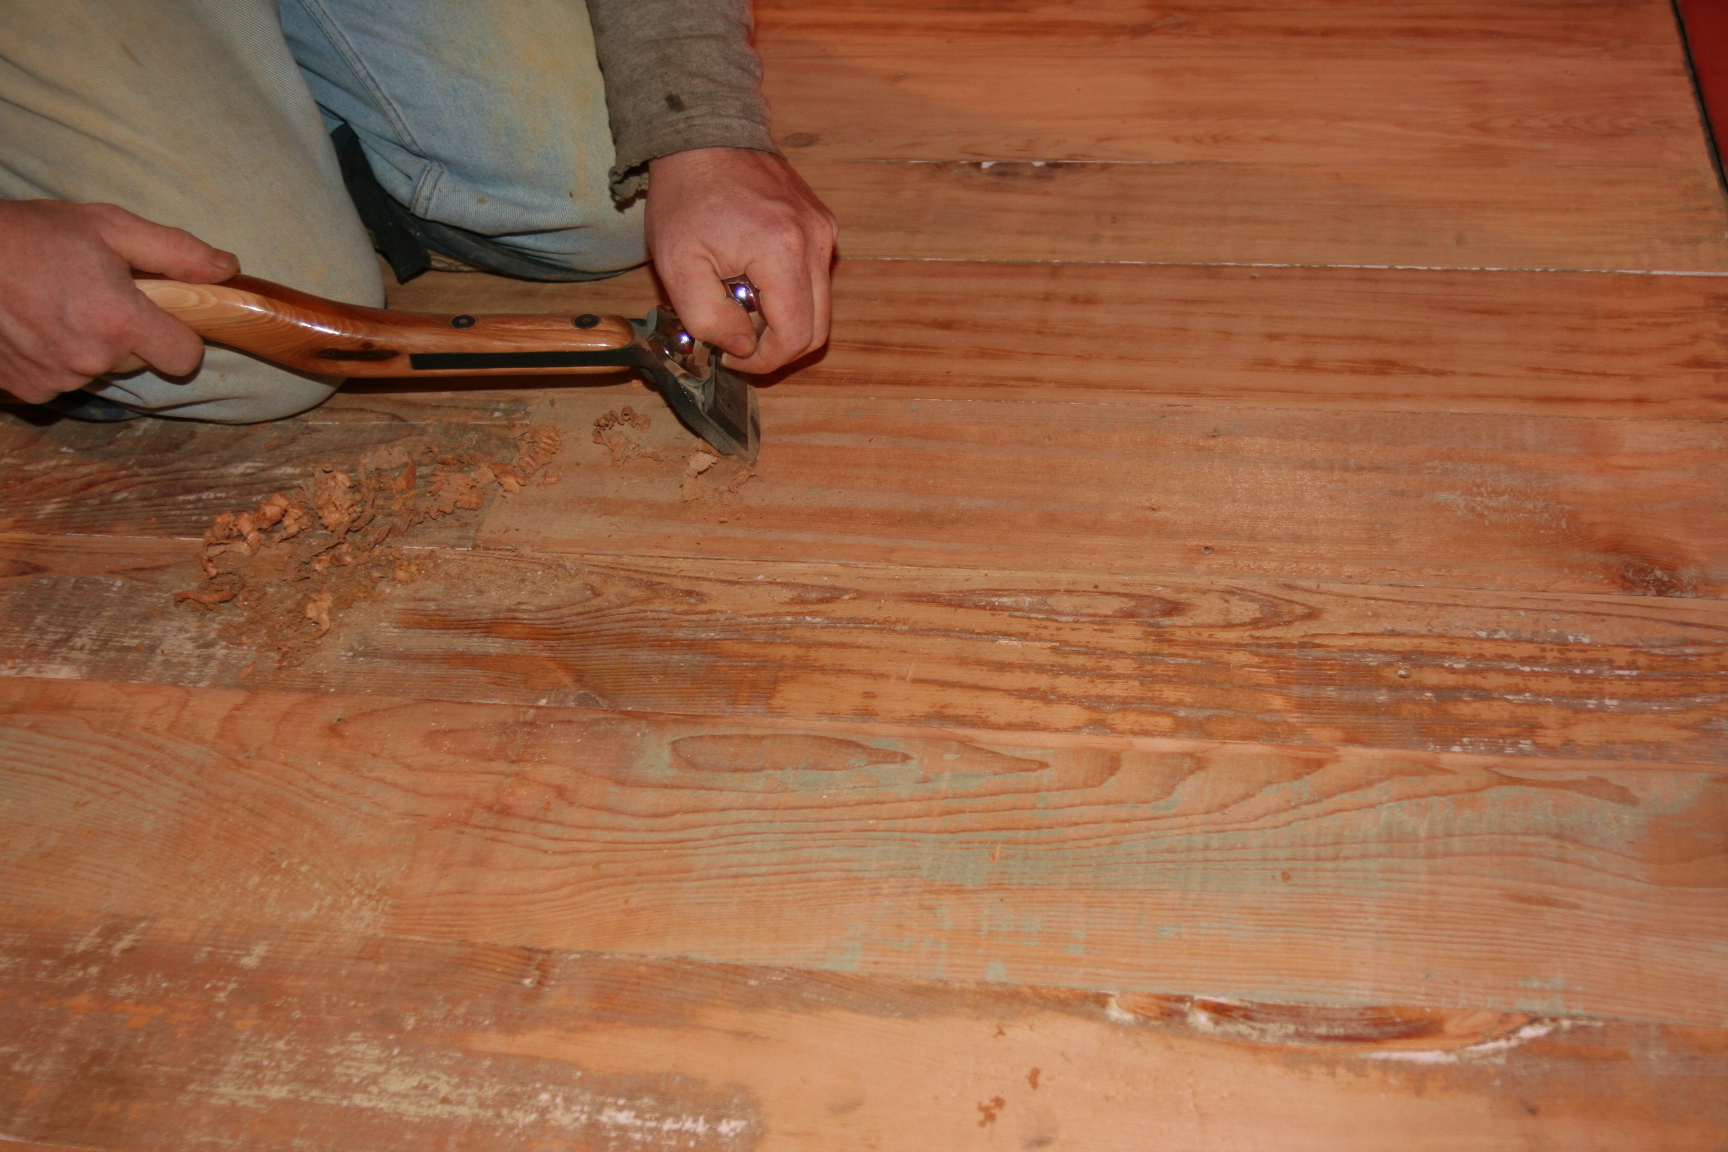
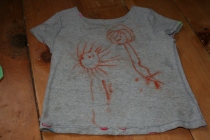
My house does NOT get fully decorated- unless you count the scribbles on every surface in our house, from the walls to the toilet, and the floors to the ceiling.   In that case, we’re probably the most decked out house in the county!

(In case you think I’m kidding, here’s a SMALL sampling if their handiwork… )

colored ceiling

writing on the inside of her shirt

toilet painters

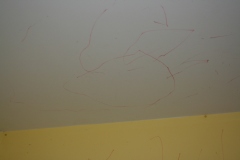
Usually it’s just the tree with ornaments and lights- and tinsel now that I’m married.  We have a nativity set.  There’s a random string of lights somewhere else in the house.  And we have a “Thankful Chain” that we add links to every year.  But my house doesn’t look like a magazine- no Christmas tree in every room, house and yard bright with lights, or wreaths, stockings, and Christmas villages at every turn.

We’re still a young family.  So we’re still navigating what traditions we bring from our families of origin, which ones we want to start ourselves, and which ones we are choosing to let go.  And we are working on the balance of time and energy output, events to go to, activities to do, and time to sit on the couch and enjoy the lights, or reflect on why we celebrate.  

I’m not going to get into traditions like reading a Christmas book each evening, serving at a soup kitchen, making ornaments, packing shoeboxes, or Elf-on-the-shelf.  Those are all perfectly fine traditions, and you should decide within your family what things are most enjoyable and meaningful to you.

But Christmas is much more than the decorations and activities.  I’m going to share two Christmas concepts we’ve adopted that provide some direction and setting for our celebrations.  Before I get started, here’s my disclaimer:

I can’t give you the perspective of a seasoned mom of teens or 20-somethings.  

I can’t tell you how successful this will make you and your children as you navigate middle and high school Christmas seasons.  

I can’t even tell you how it works in Kindergarten yet since I’m just approaching that one myself.  L and J are 5 and B will only have been a 4-year old for 3 days by Christmas.  

So we’re just getting started in this, and our experience is limited.  But we like the way these concepts have worked so far for our family, and we plan to continue them, even if we’re still working out some details as the years go by.  

Okay.  End of disclaimer and onto the content.

This first concept is in regards to Christmas giving in our household.

The average amount spent on Christmas in 2012 was $271 PER CHILD, with 1 in 10 spending over $500 per child.  

Regardless of how much you actually SPEND, there’s still a LOT of time and energy put into deciding what Christmas gifts will be given in your home.  With all the thought, time, energy, and money that goes into selecting Christmas gifts we want them to be more than just a “gimme” list to be tossed aside a few weeks after Christmas.

There’s some clever ways to manage Christmas gifts out there. “Something you want, something you need, something to wear, something to read,” some add “something to give.”  Some say 3 gifts since that’s what Jesus got, and “do you think you’re better than Jesus?”  Some say 1 gift from Santa, 1 from Mommy and Daddy, and a full stocking.  Some just set a number of gifts each child will get, or all they can buy for a certain dollar amount per child.  Some only give as many gifts as their child is willing to give away of their current things.  Some refuse to add more “stuff” to the house and only give consume-able items like tickets to a show, some sort of lessons, or food.  Lots of tactics, and I’m not out to criticize any of them.  

For Christmas of 2010, we started the Gold, Frankincense, and Myrrh- I call it the “Wise men” approach to our Christmas gift giving.  Our twins were two and our youngest was newly one.  Did they understand?  Did they need any gifts?  Not really.  It was mostly a practice year for us as parents to sort out how we were going to tackle this Christmas thing.

We knew we wanted to assign some spiritual meaning to our Christmas giving.  We had heard the concept on FLN at one time in the past- it was one of the news ladies, Sarah Harnisch, that had mentioned it. It wasn’t just giving 3 gifts because Jesus got 3 gifts- it was ascribing meaning to each of those gifts.  

I researched online looking for more information and came across a website with “The Jesus Gifts.”   

Later, after I had done a blog post about it, the man who wrote The Jesus gifts, Clark Smith, contacted me.  From some communication with him, he claims this gift giving concept.  I don’t have any reason not to believe him, so I’ll give him the credit for the concept.

On his site, there was a simple poem that caught my eye.  It describes how their family approached Christmas gift giving.  It still is tacked on my bulletin board in my office- which either means my bulletin board is in desperate need of cleaning, or it is meaningful enough to stay there. I think it’s a bit of both.    

It reads:  

“Gold, we give a gift of enduring worth,

Frankincense, a prayer reaching God above,

Myrrh, all the wonders of life on earth,

Swaddling clothes, surrounded in your parent’s love.”

That didn’t give me 100% exactly what I was looking for, but it was close. I liked that it included the gift from the parents as well as the wise men.  I researched some more to find out more about the gifts the magi brought to Jesus.  I used what I found, combined with some thoughts from others like Clark Smith. This allowed us to decide how we would select and ascribe meaning to our Gold, Frankincense, Myrrh, and Swaddling Clothes gifts to our children.  

Gold may have been given to show Jesus role as the King.  Although Jesus didn’t take on the role of a king that some wanted Him to have when He came to earth, He was, is, and will be King over all.  

Gold was a gift fit for a king.  It has the qualities of being precious and enduring, costly and valuable.  

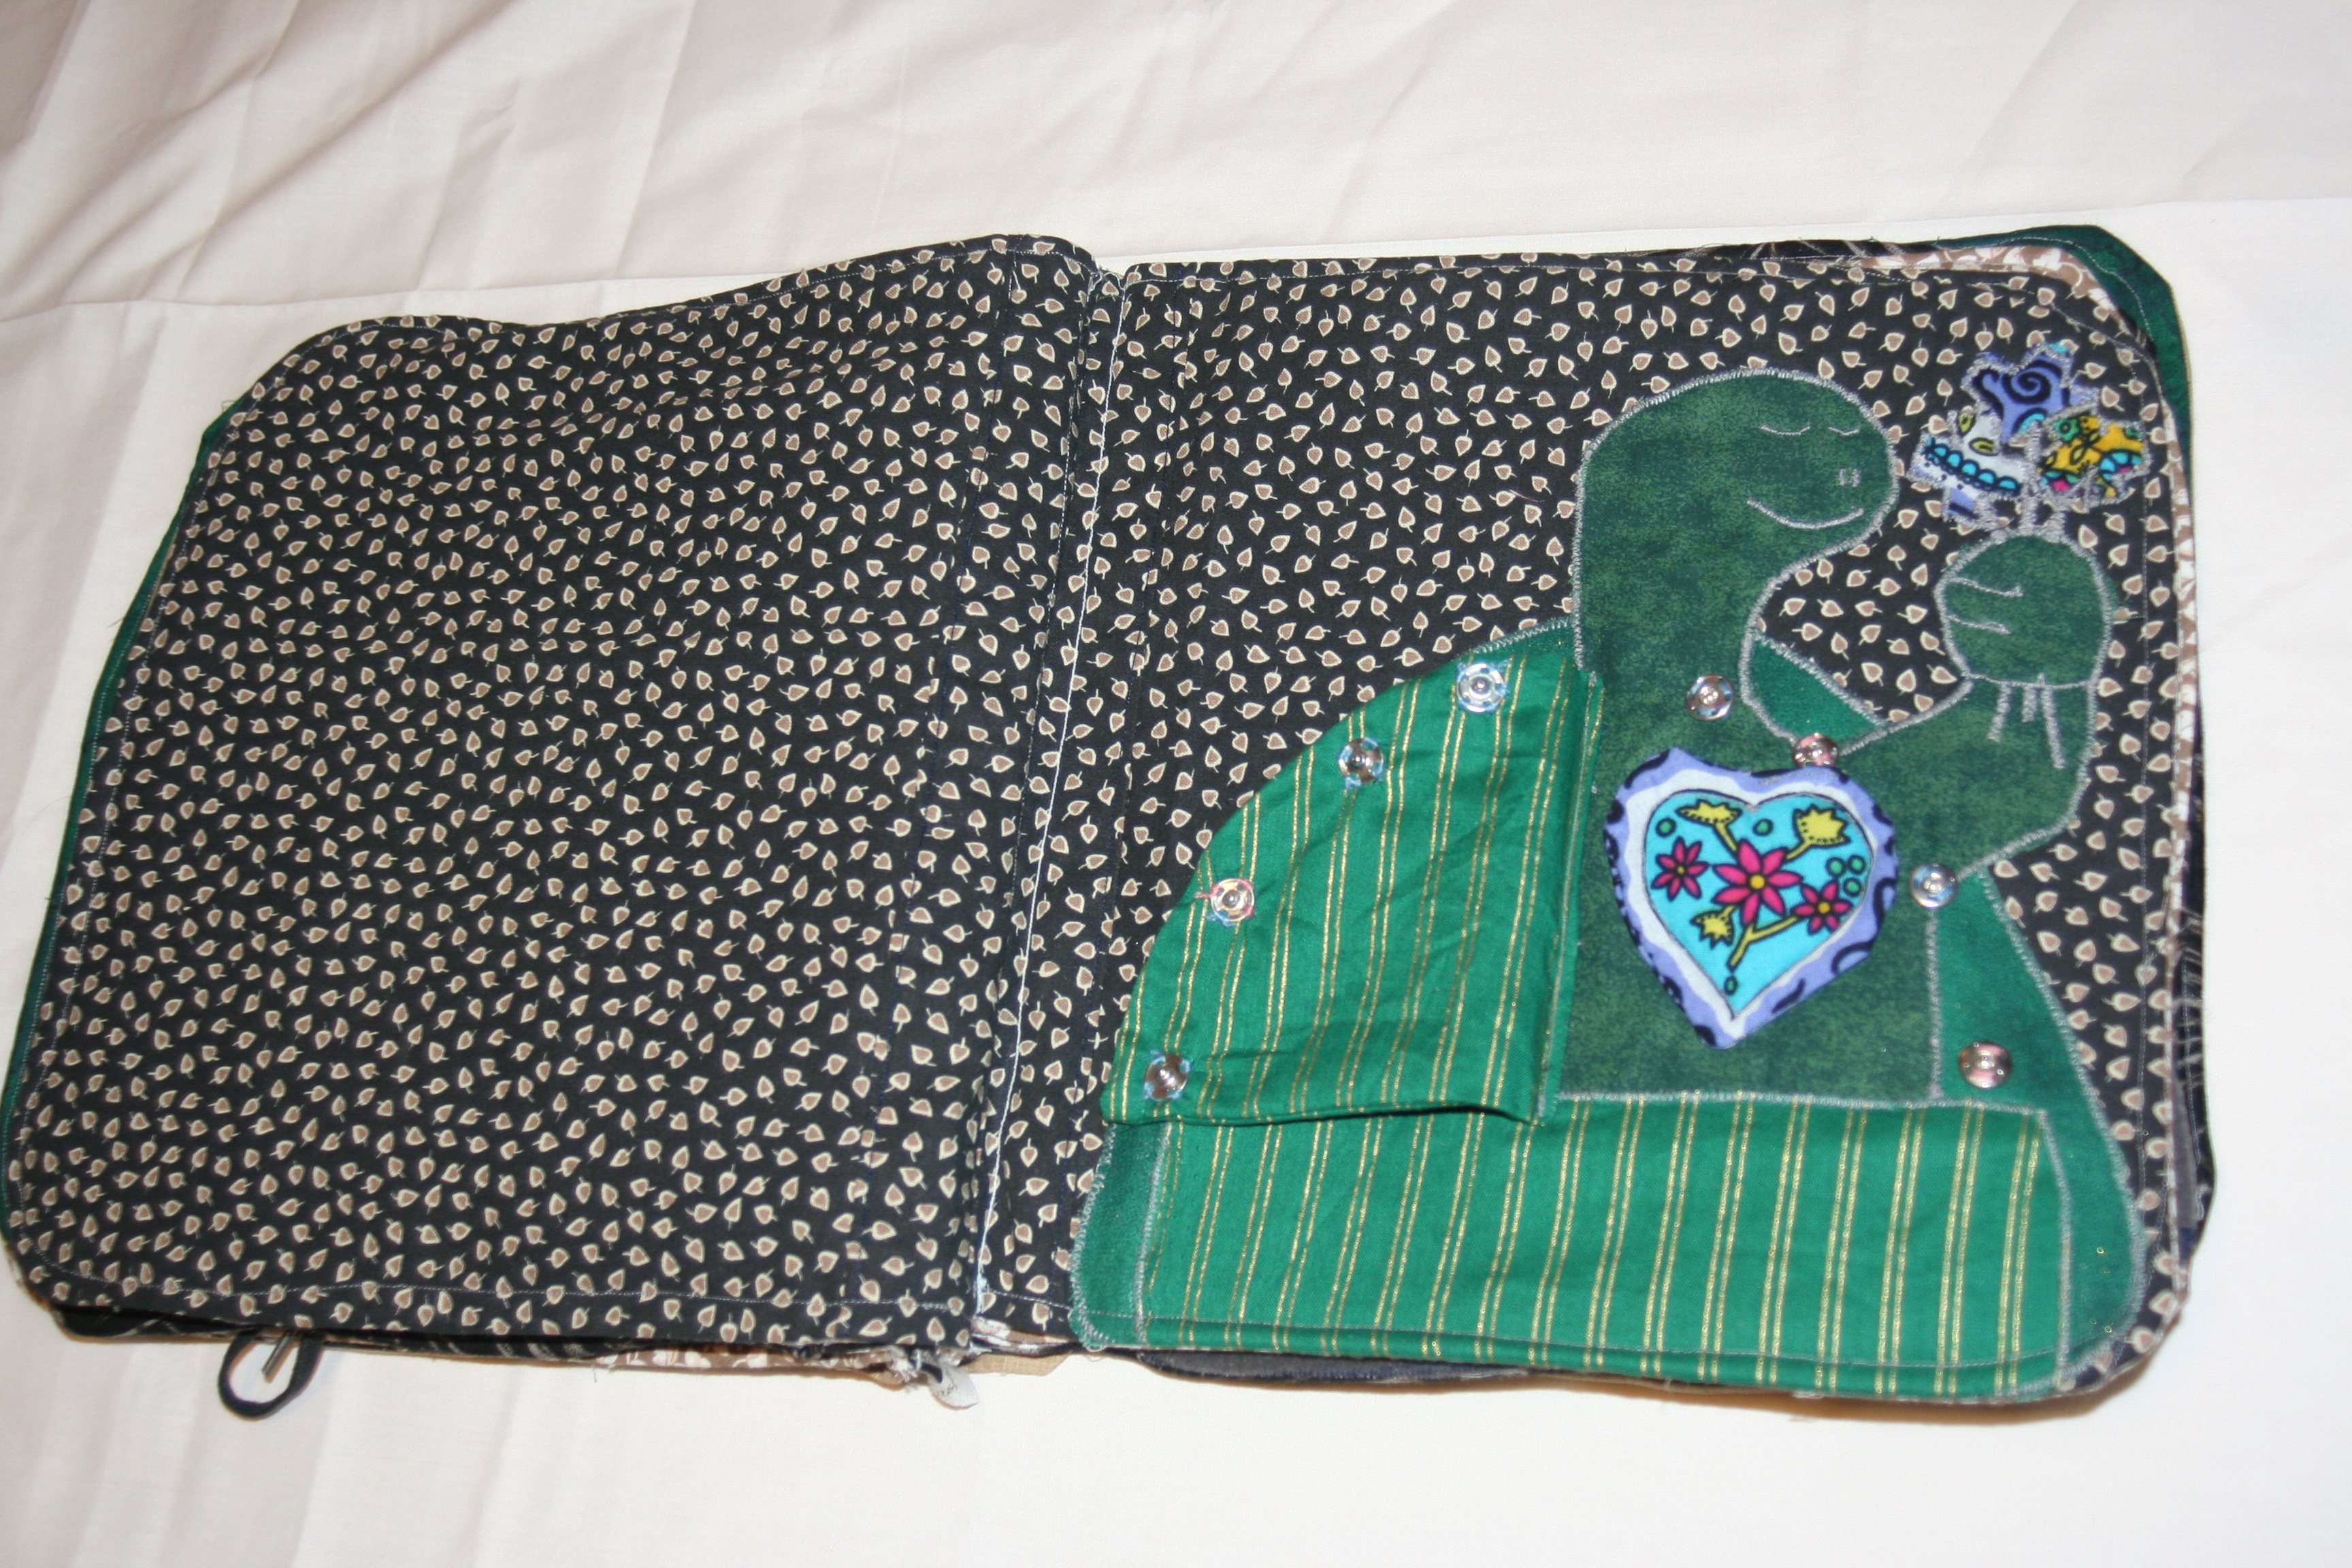
In our Christmas giving, we use this as a gift that carries a lot of importance to our child.  It may or may not be the most expensive or pricy gift.  But it is a gift that will mean a lot to them, and it’s benefits will likely endure over time.  It may even be a consumable or intangible gift, or a “small” gift, but it’s one that is meant to produce lots of memories or develop skills, interests, or relationships.  

(An example from us: busy books/bags.  See the post about making busy bags here)   critter busy book turtle open

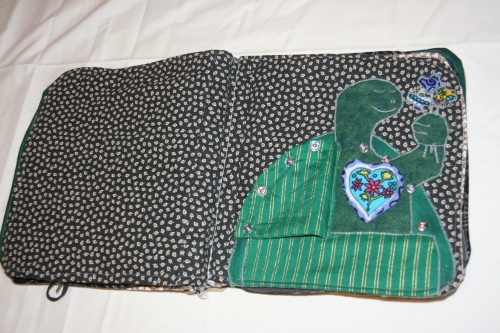
Frankincense may have been given to highlight Jesus role as the Priest. He came to fill the role as our advocate and high priest before God.  

Frankincense was used in prayer time as a visual reminder to the people that their prayers rose up to God and mattered to God.  

In our Christmas giving, we use this as our gift to promote the spiritual health, growth, and understanding of our children.  We want them to learn the importance of a relationship with Jesus and their own intimacy of fellowship with God.  Our gift might be music, a book, a bible or a study tool.  It’s any item we feel will point them to God and draw them into relationship with Him. 

(An example from us:  bibles)  Frankincense gift

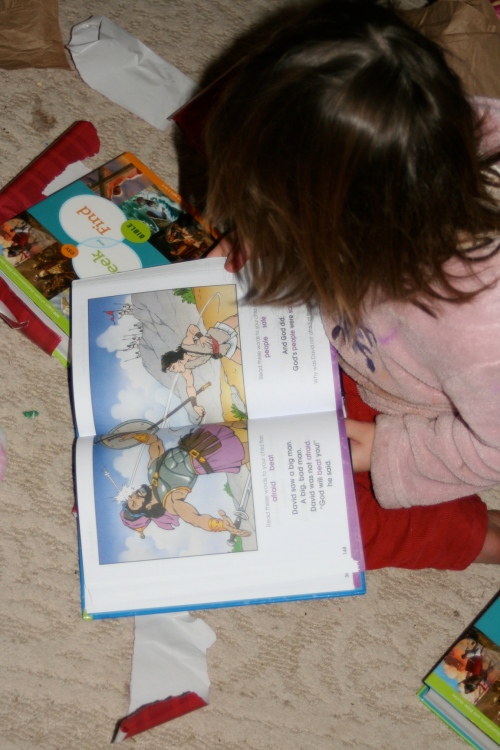
Myrrh may have been given to show Jesus role as our Sacrificial Savior. He experienced a human life, although sinless.  And He then experienced death as a suitable sacrifice to cover our sin before rising again. 

Myrrh was used as an embalming spice.  It has also been used over time as a way to treat suffering and afflictions in healing or numbing, as well as in preventative maintenance health care (like antiseptics, mouthwash, body wash, and toothpaste forms).  

Some give health and beauty type products in this category, some put a clothing gift in this category, some include “all the wonders of life on earth.”  

In our Christmas giving, we use this as our gift to focus on some help or healing, or as a preventative measure for something we think our child may struggle with in the next year.  

This has been our most difficult category to decide on an appropriate gift.  

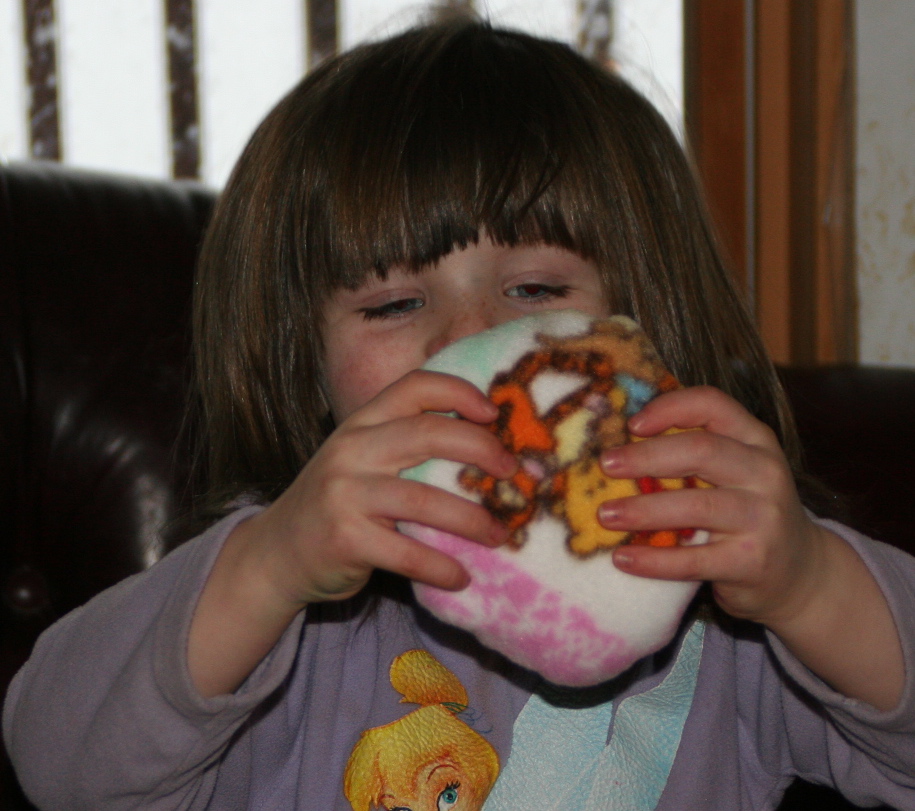
Some years we have given bubble bath or a cute rice pack to put in the freezer for the bumps and bruises that come with being little.  But each year we’re working to develop deeper meaning.  We’re looking for something that may be a struggle or challenge in the next year.

(An example from us:  fleece rice cold (or hot) packs.)  Myrrh gift

The gift of Swaddling Clothes was given to Jesus by Mary and Joseph as His parents, long before the wise men ever entered the scene.  

It surrounded him, provided a physical need of warmth and protection, and wrapped him securely.  We all work to provide for the warmth, protection, and security of our children.  

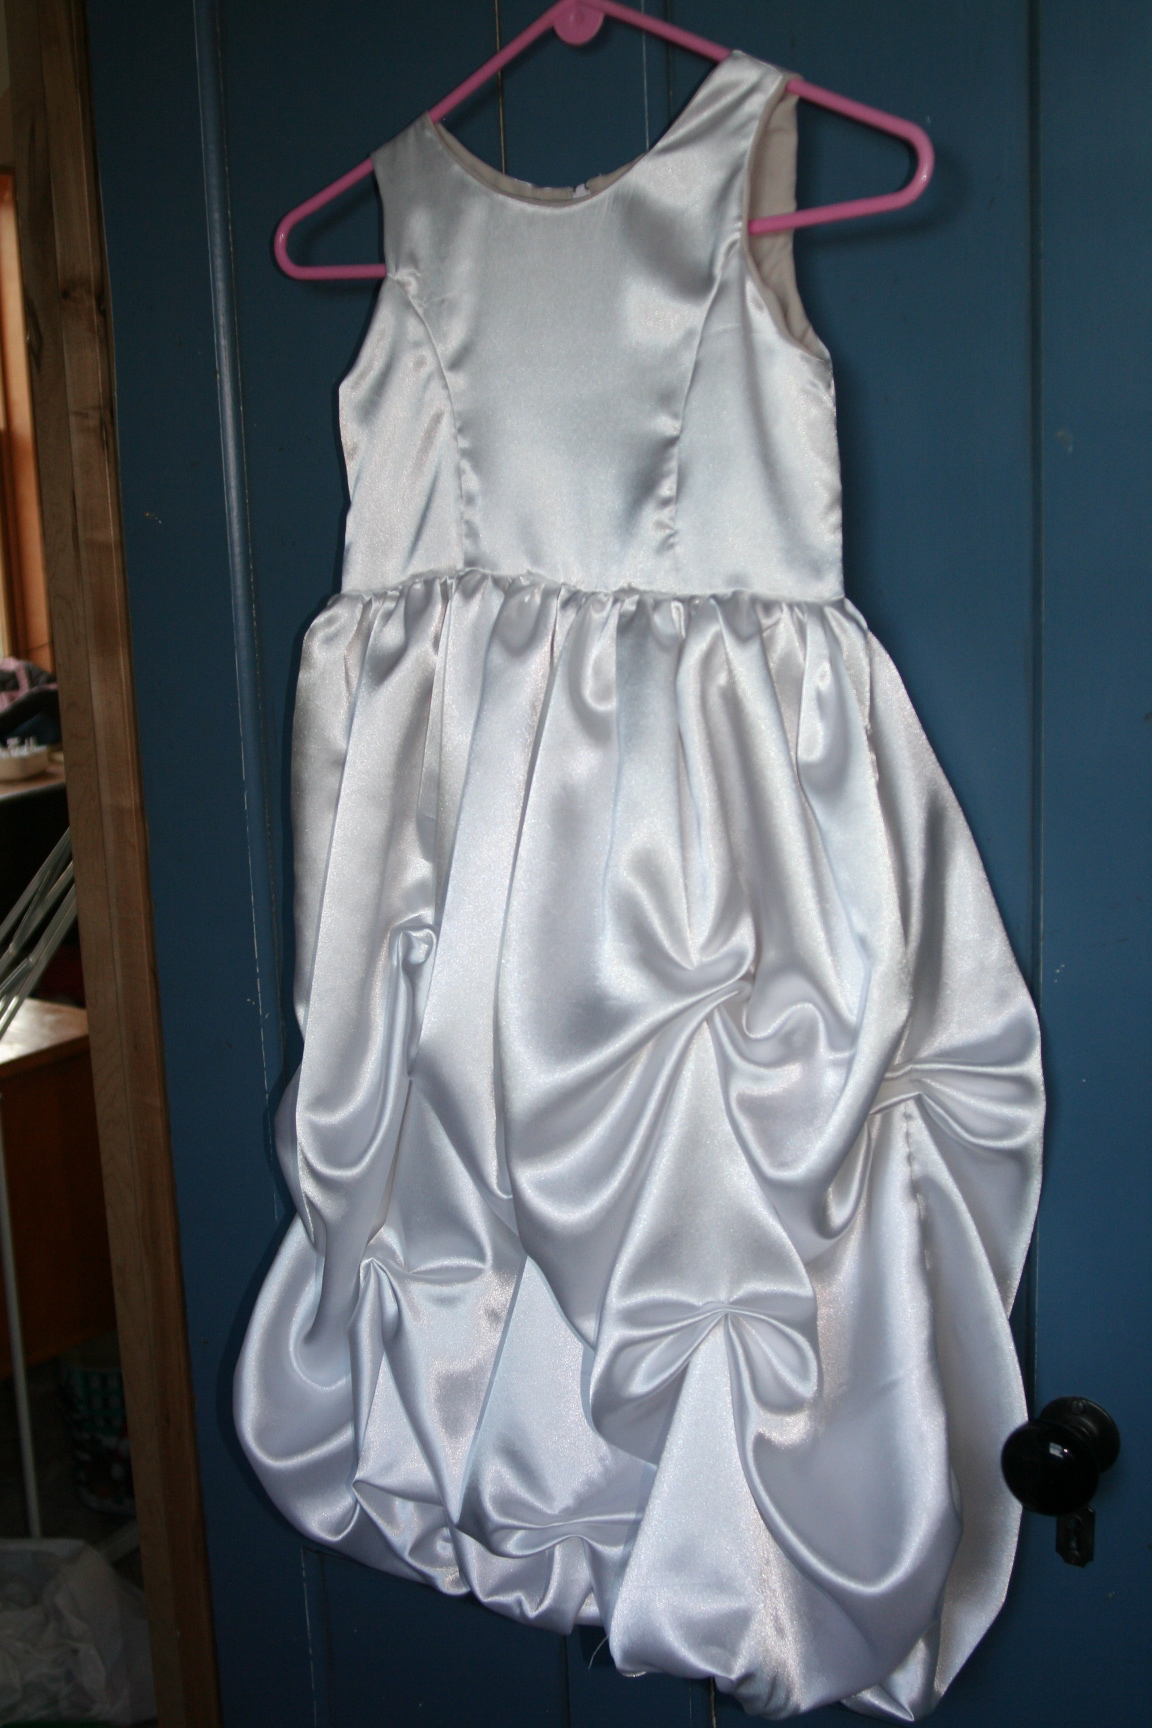
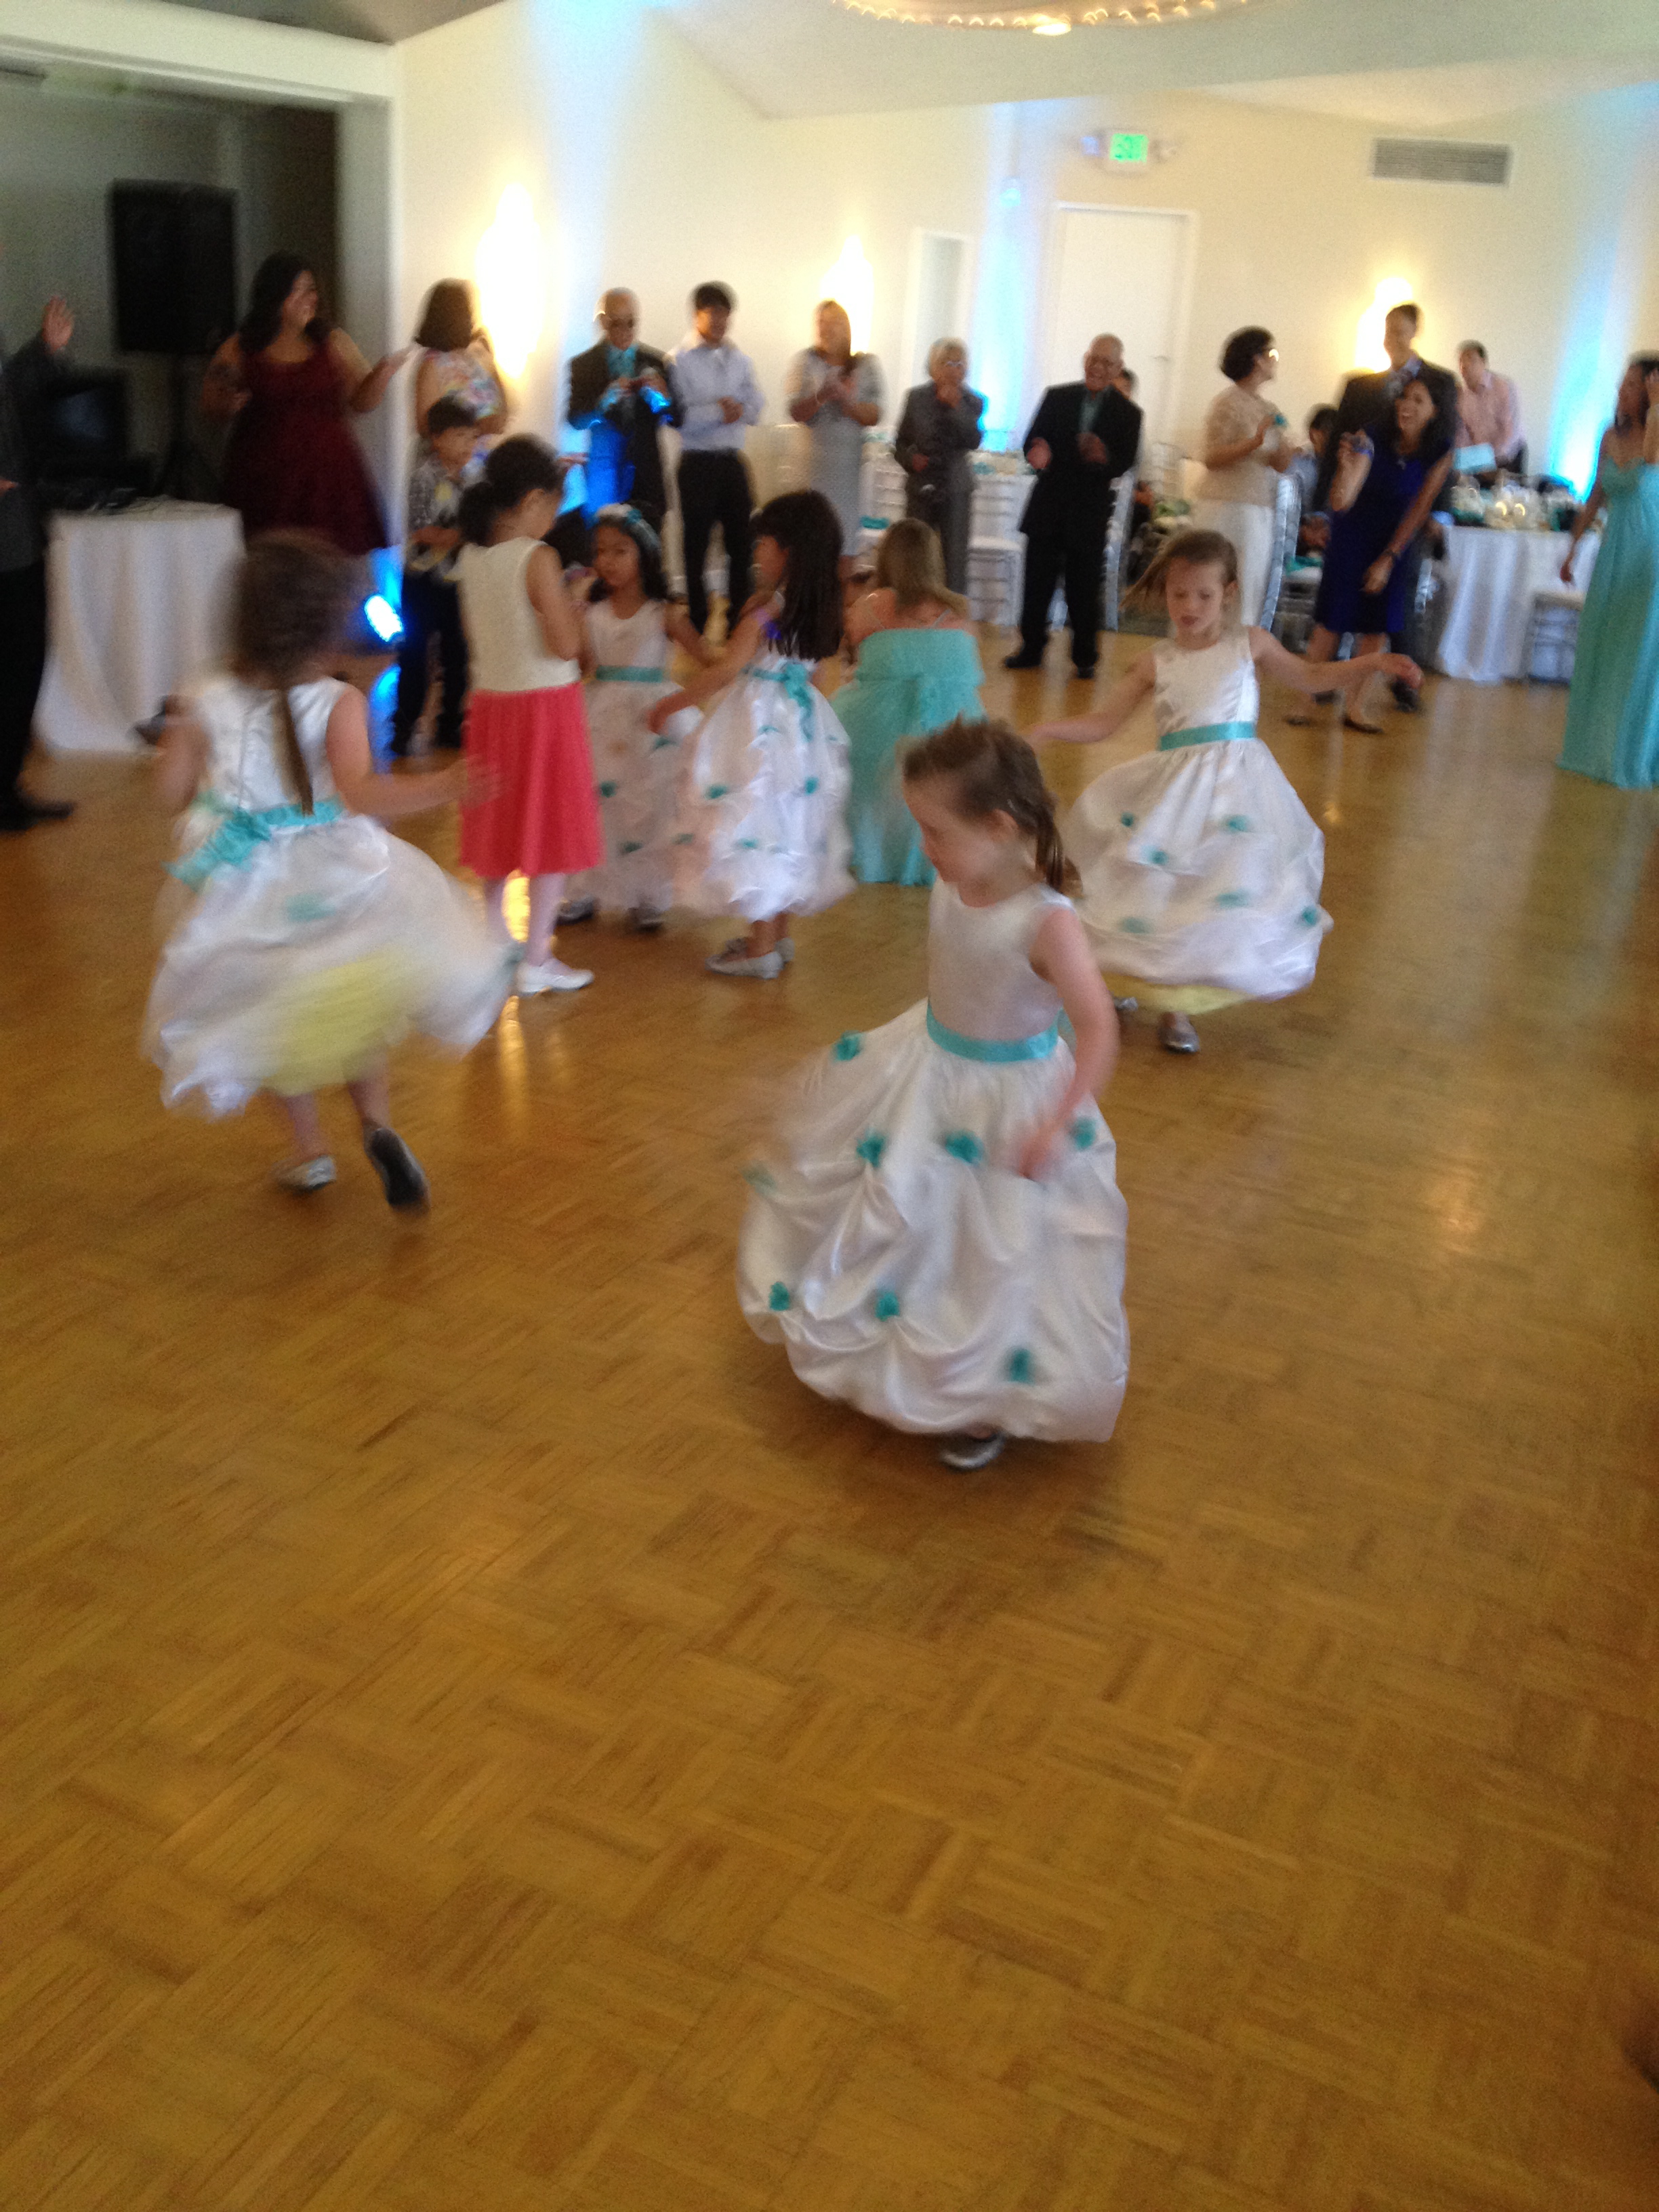
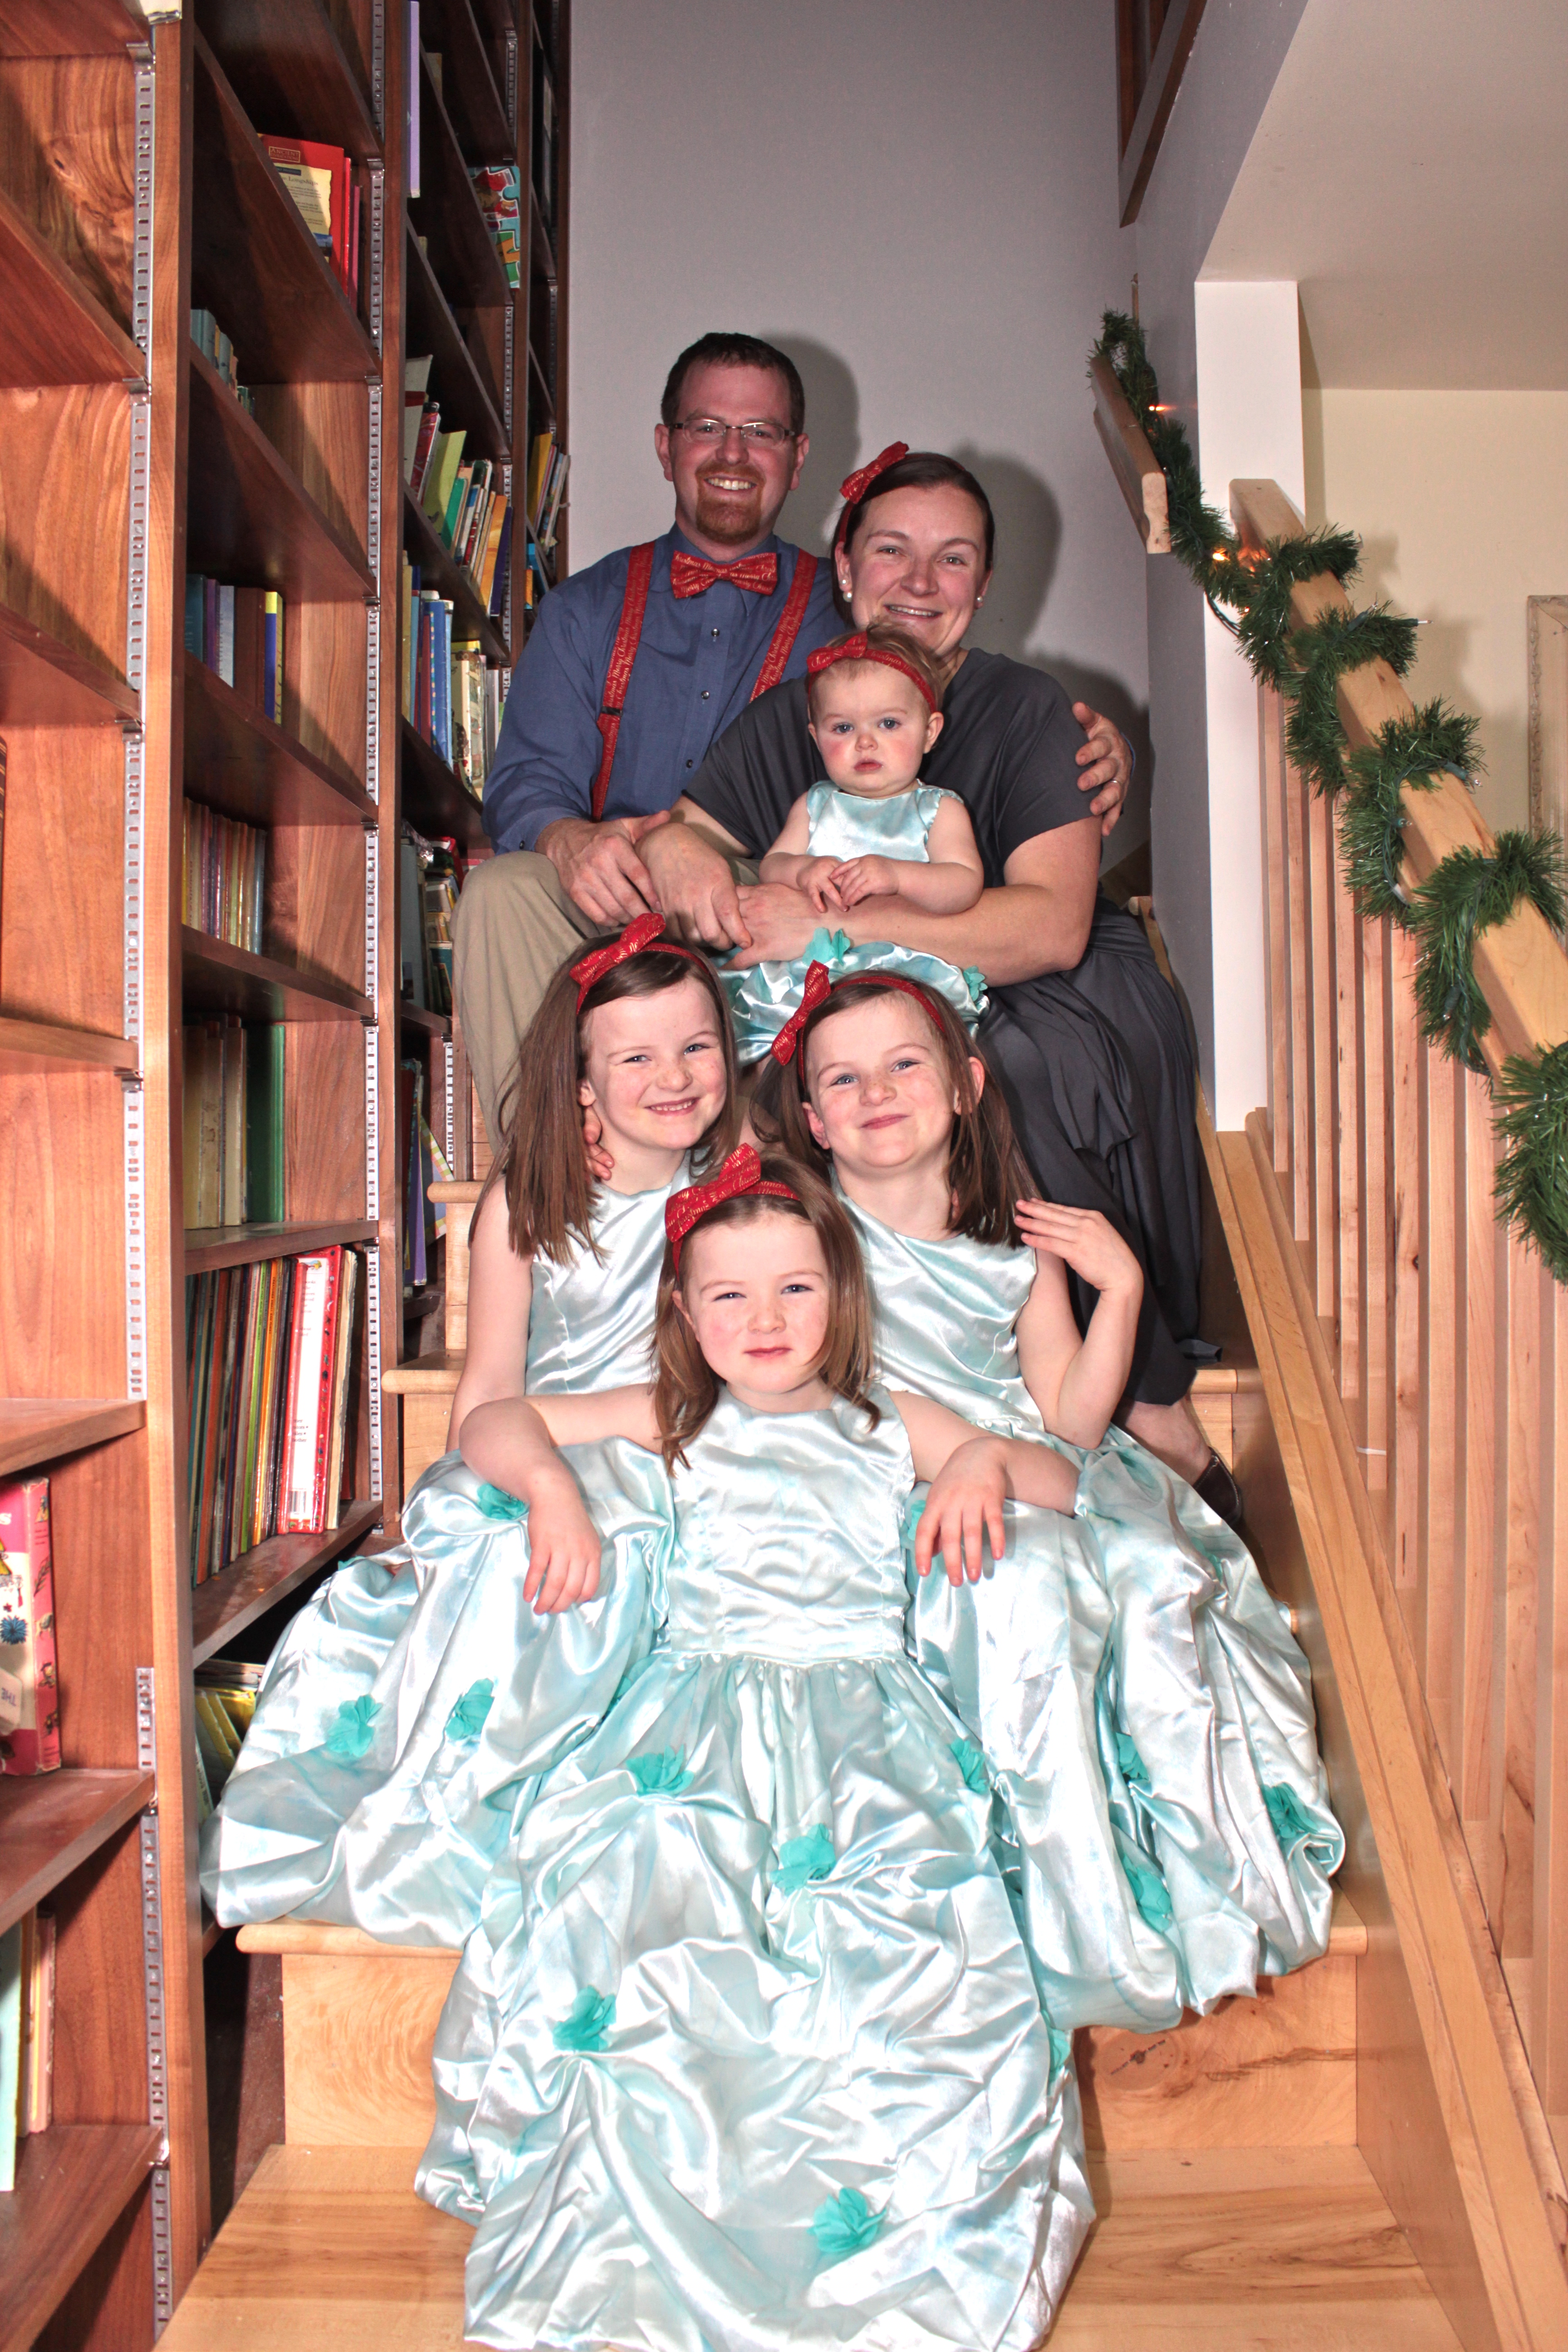
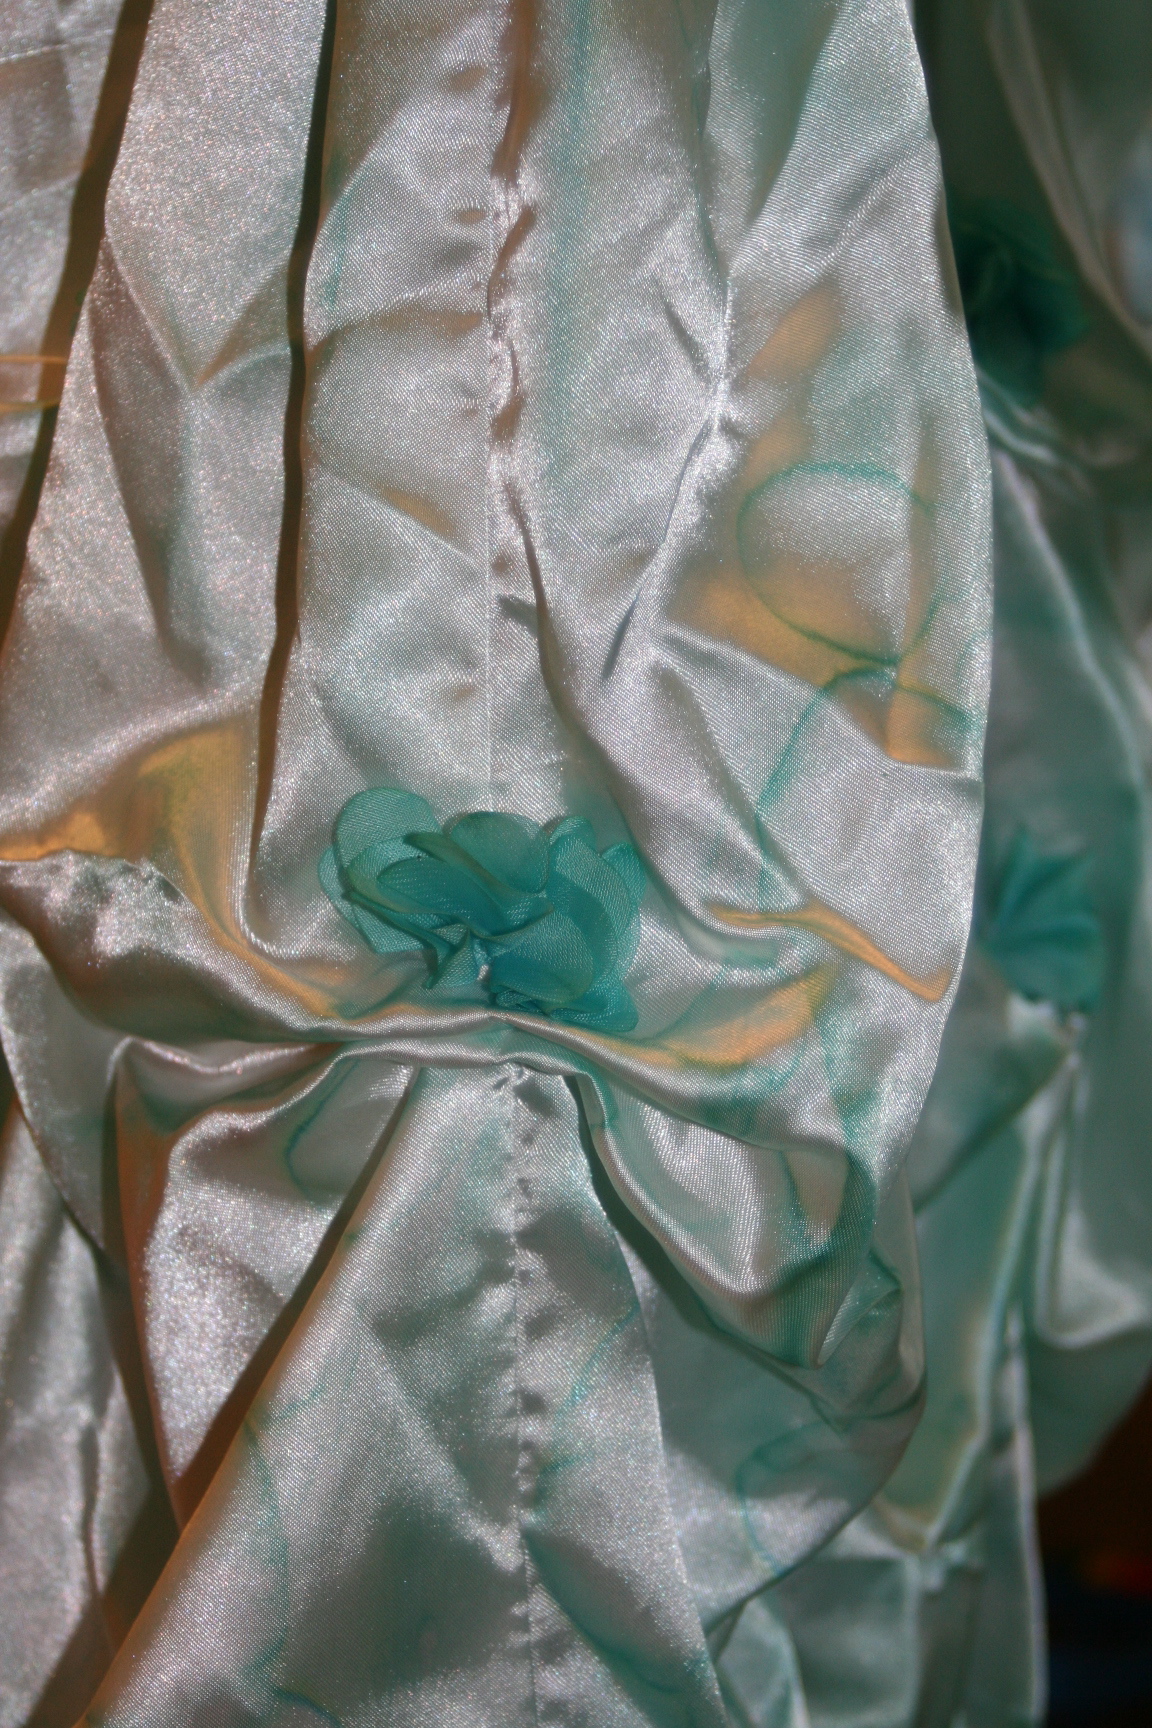
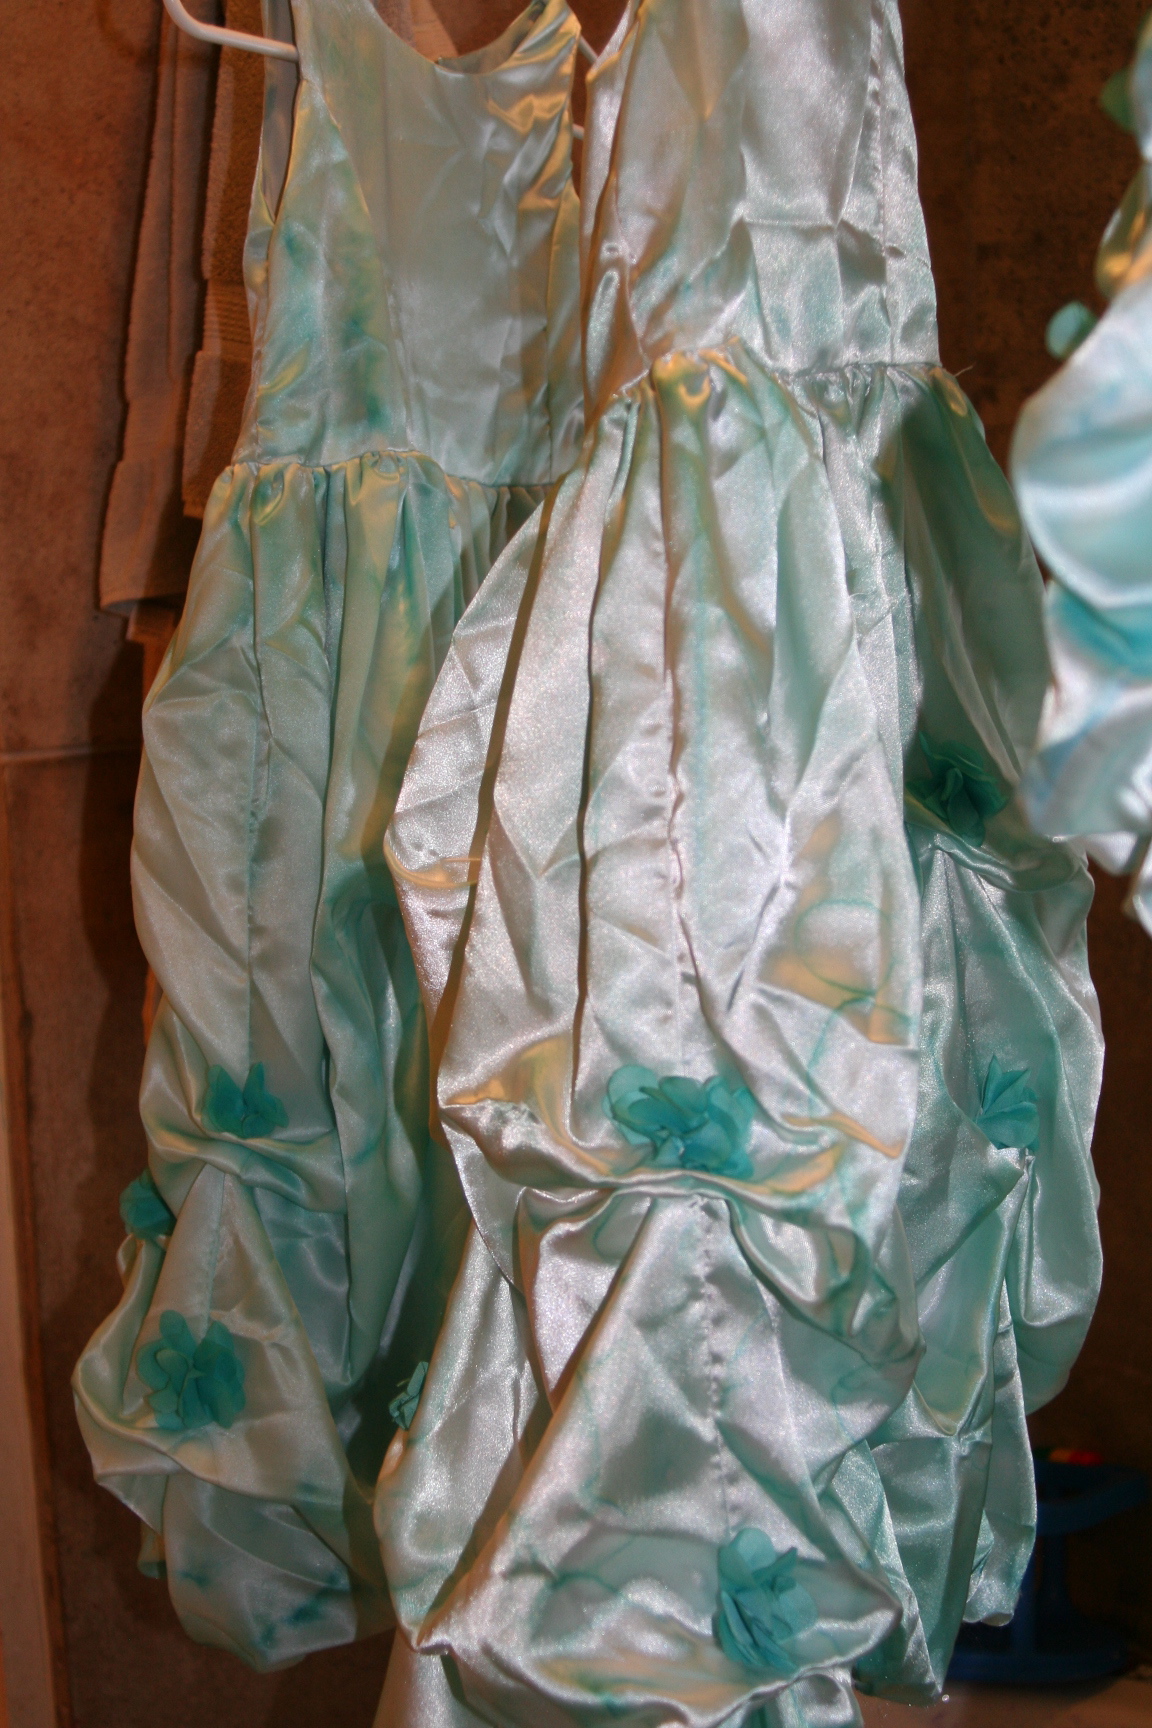
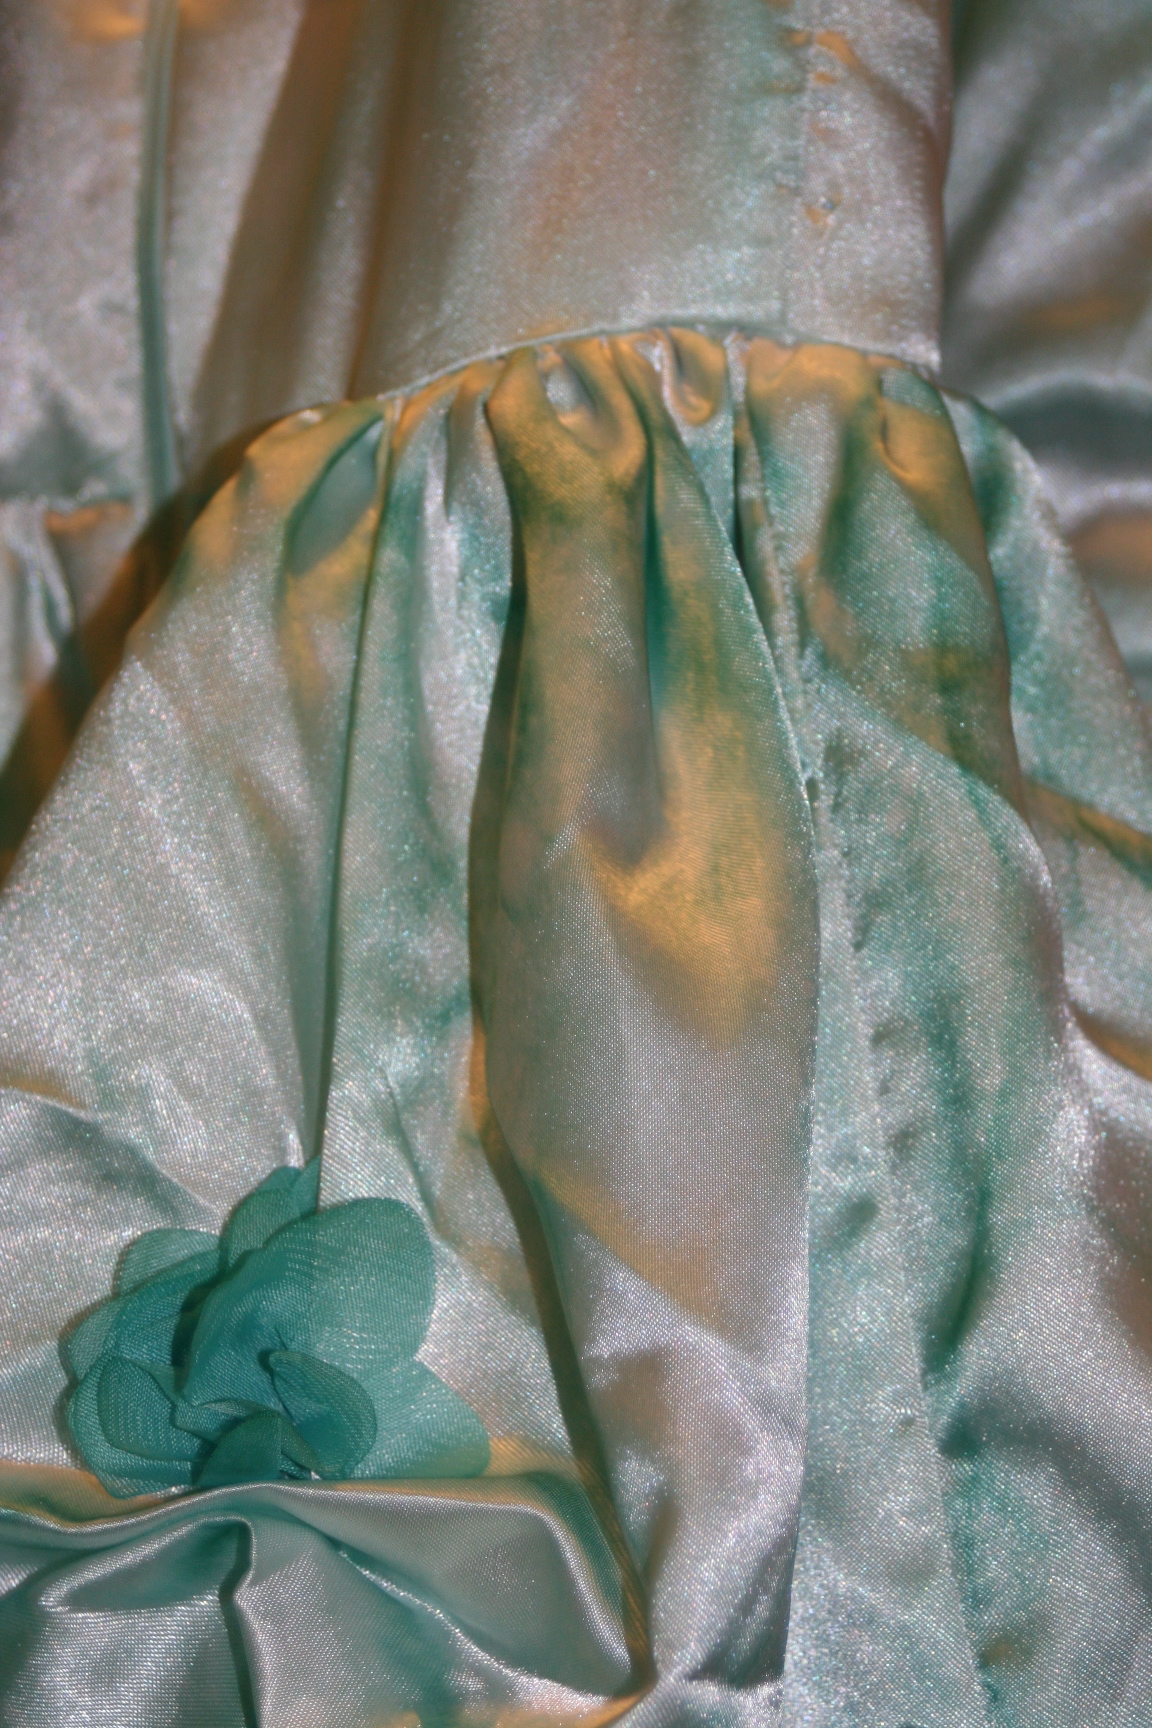
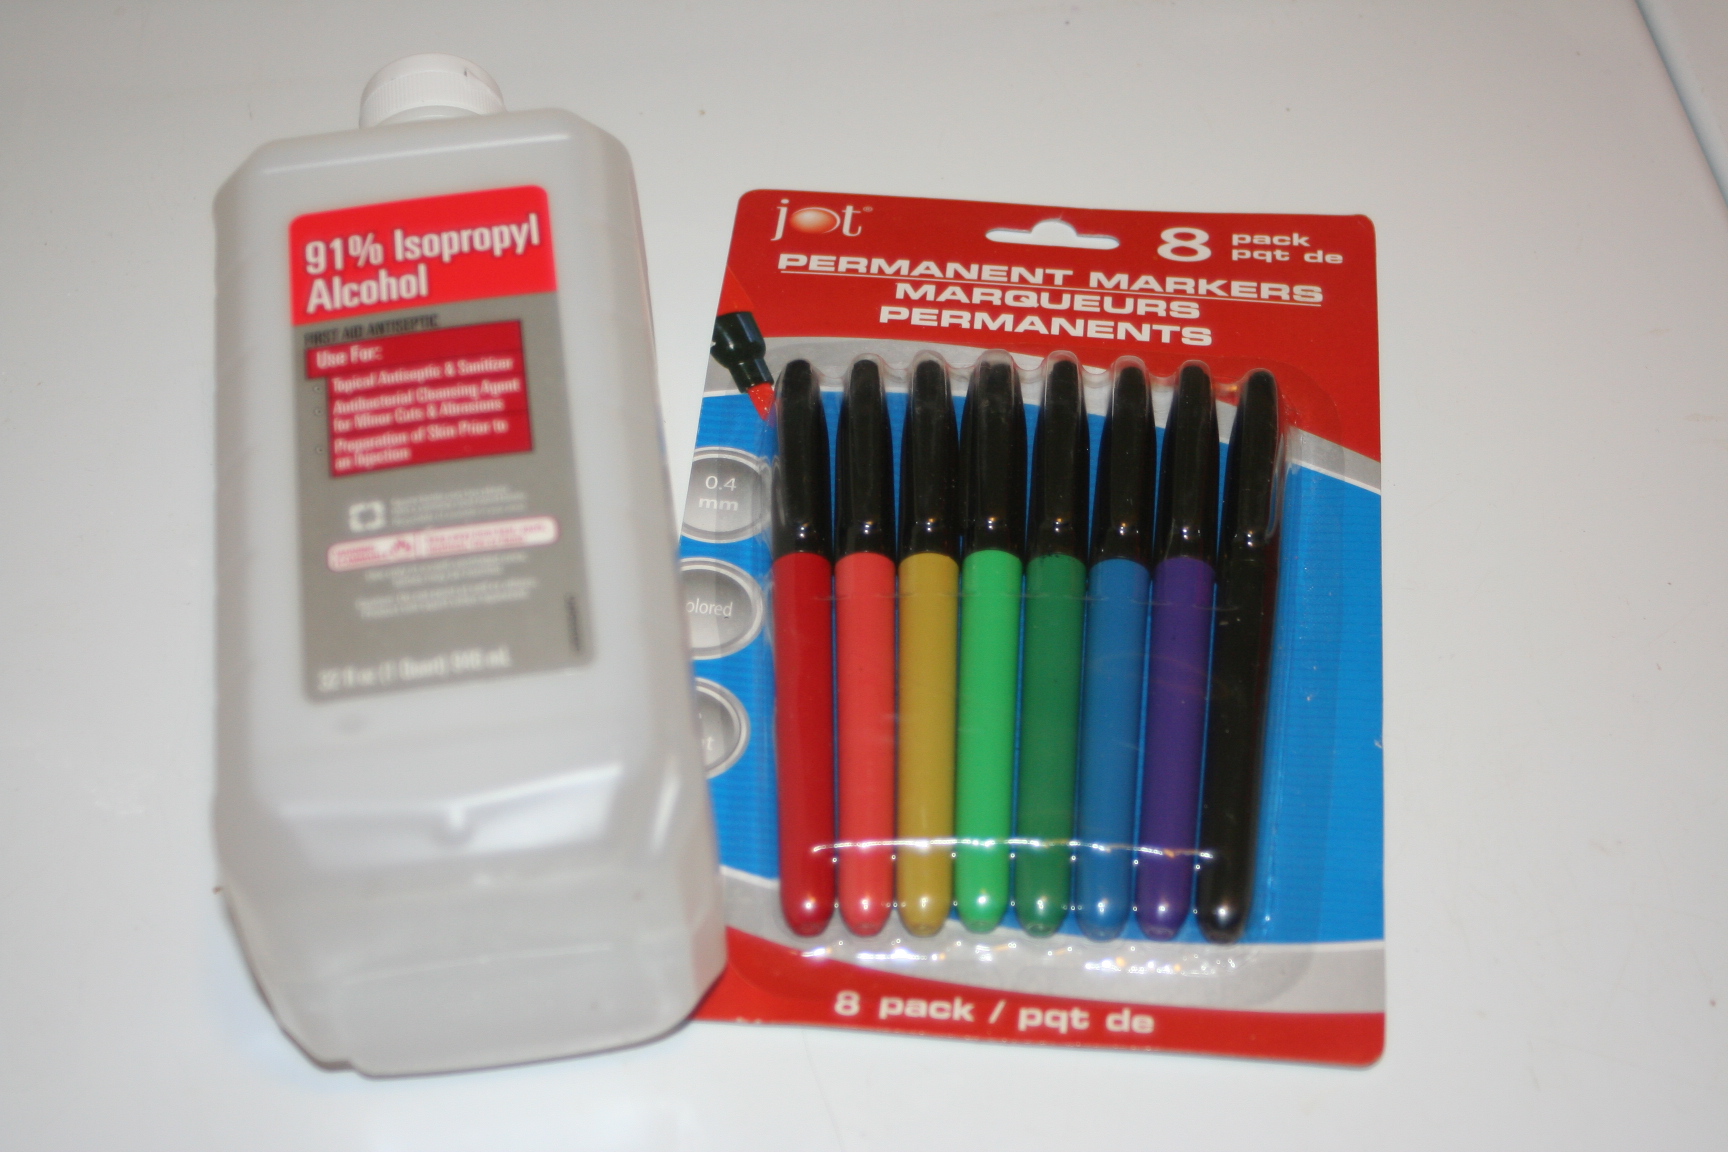
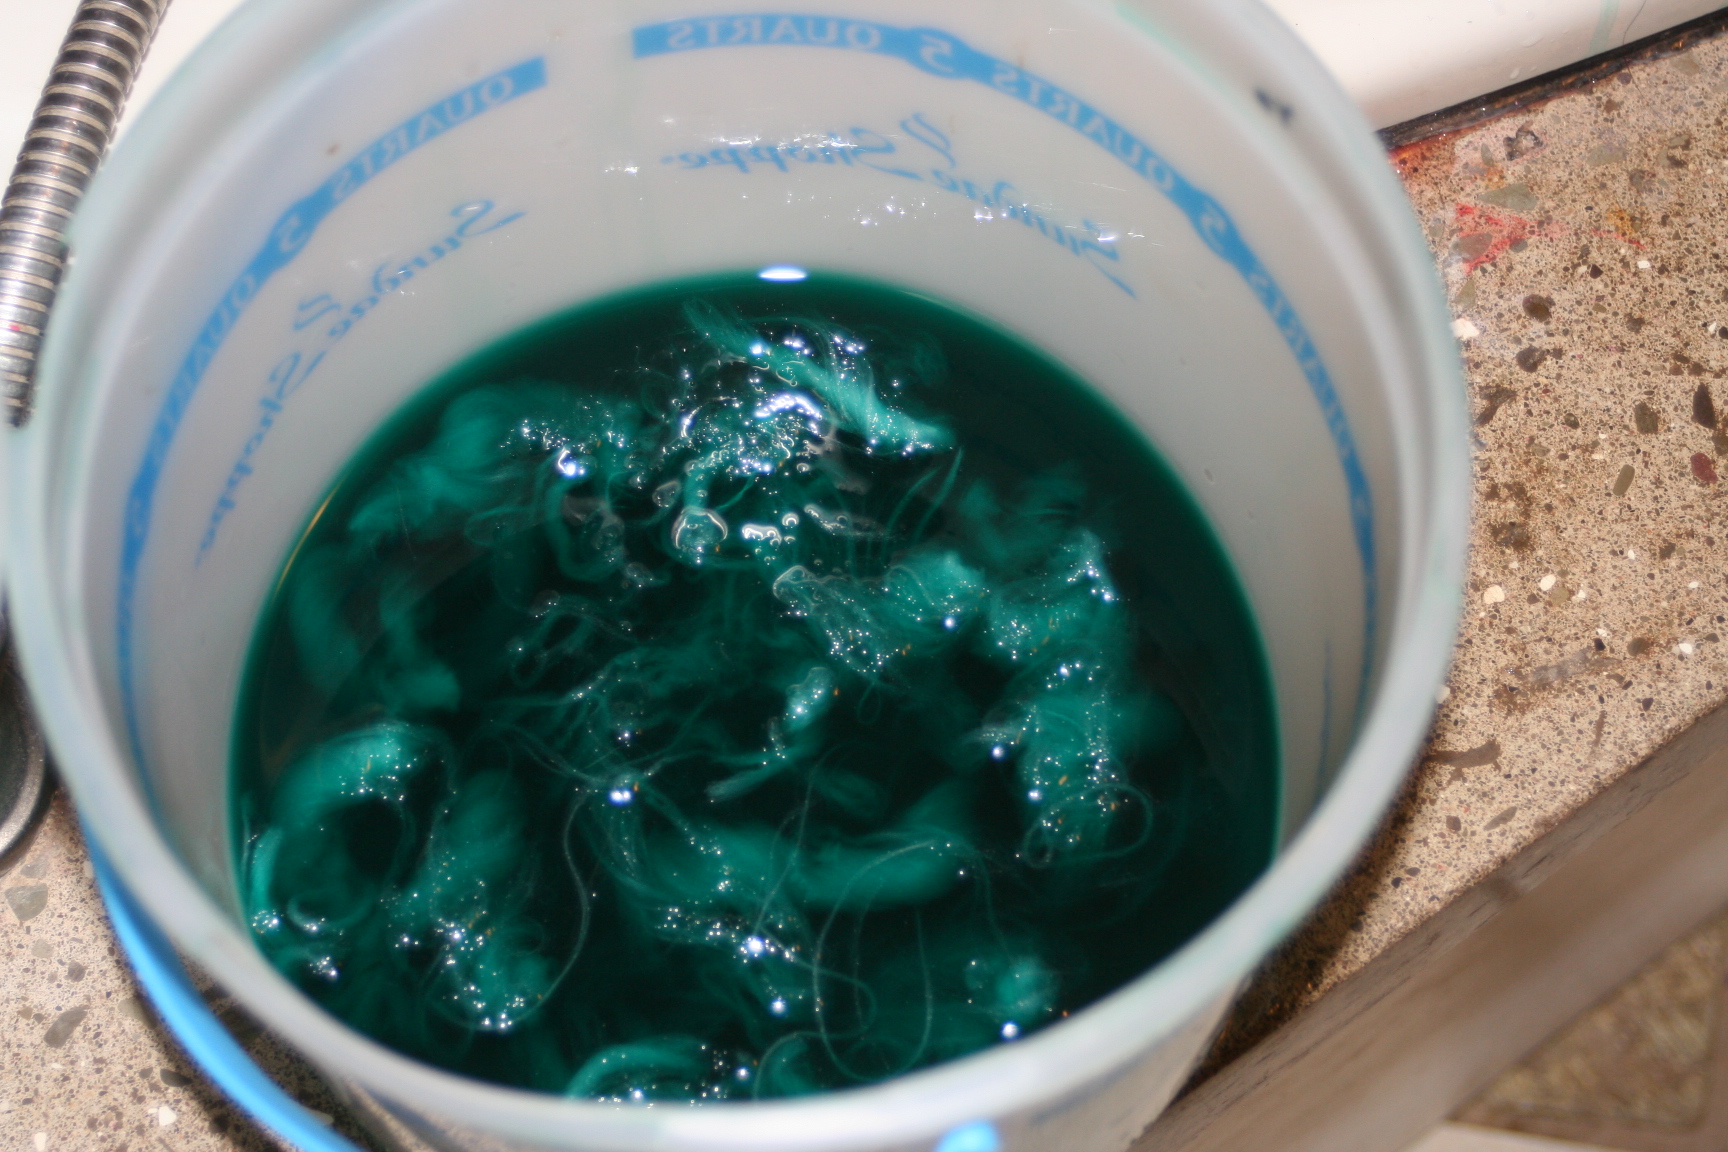
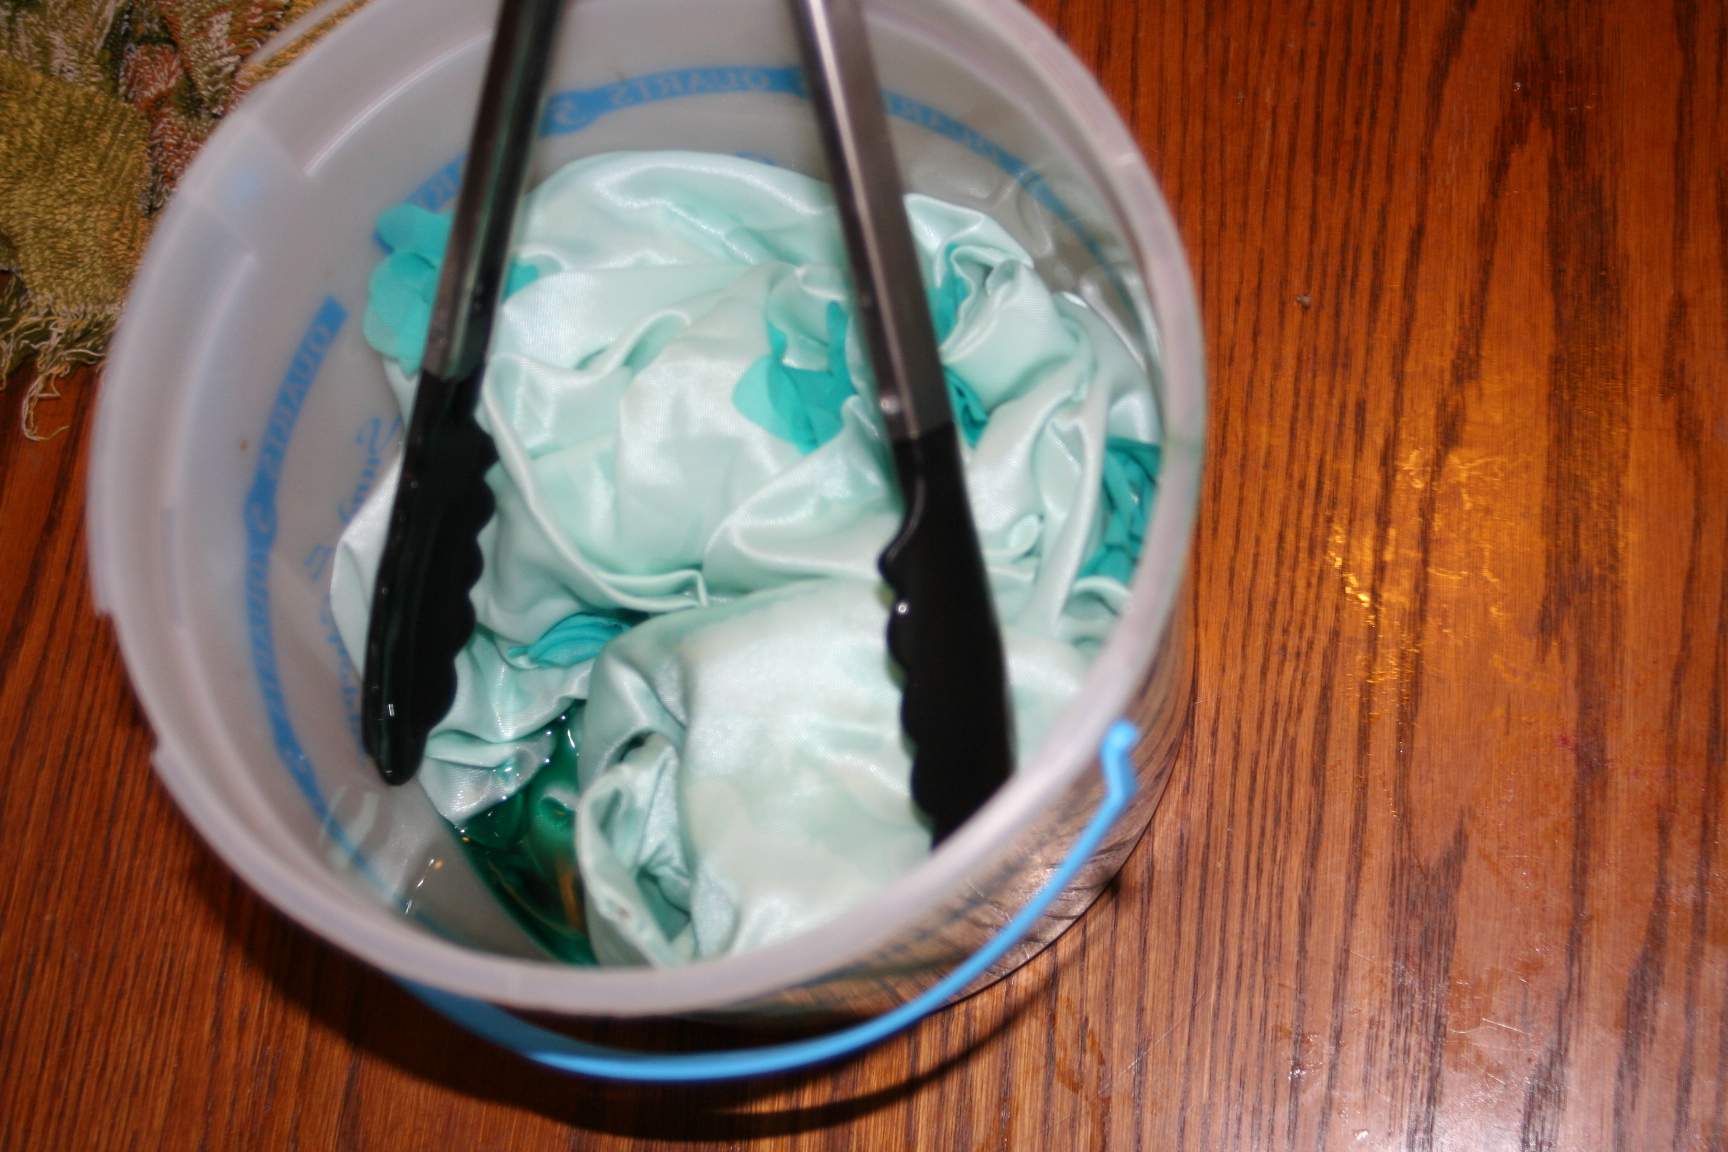
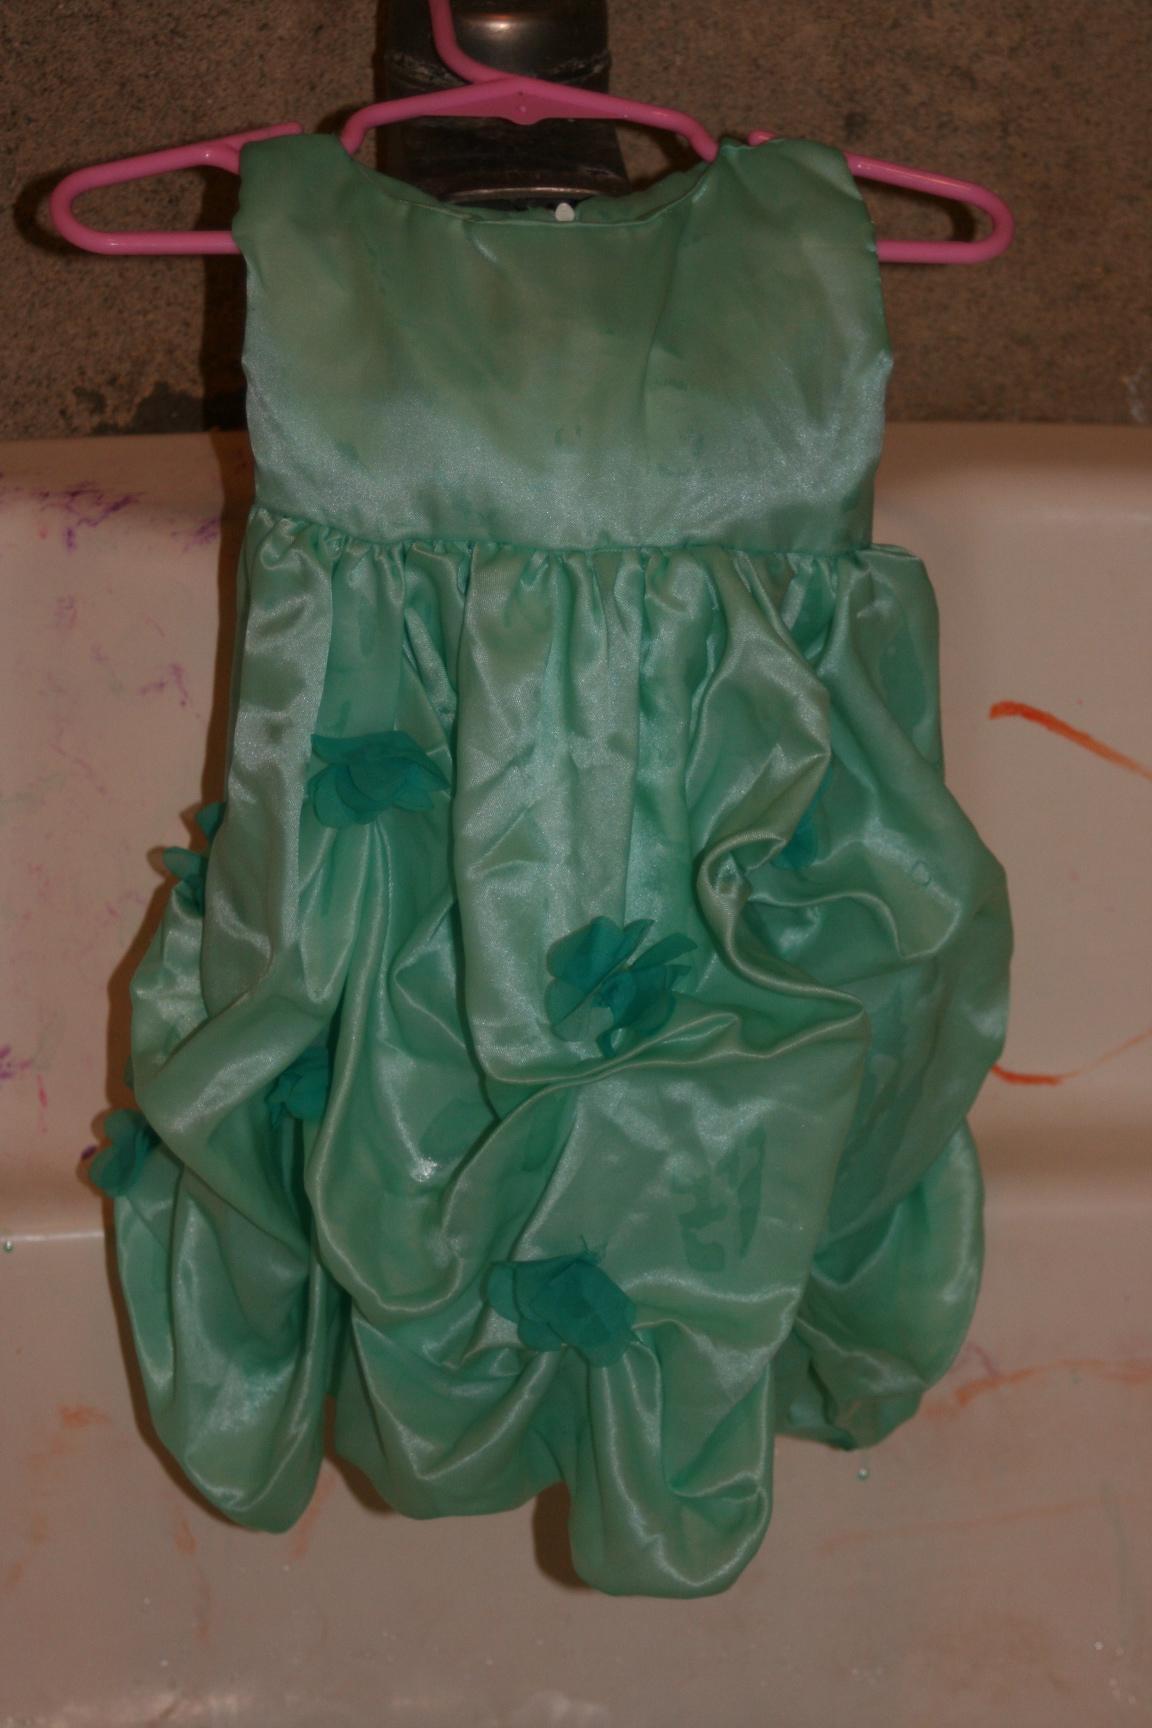
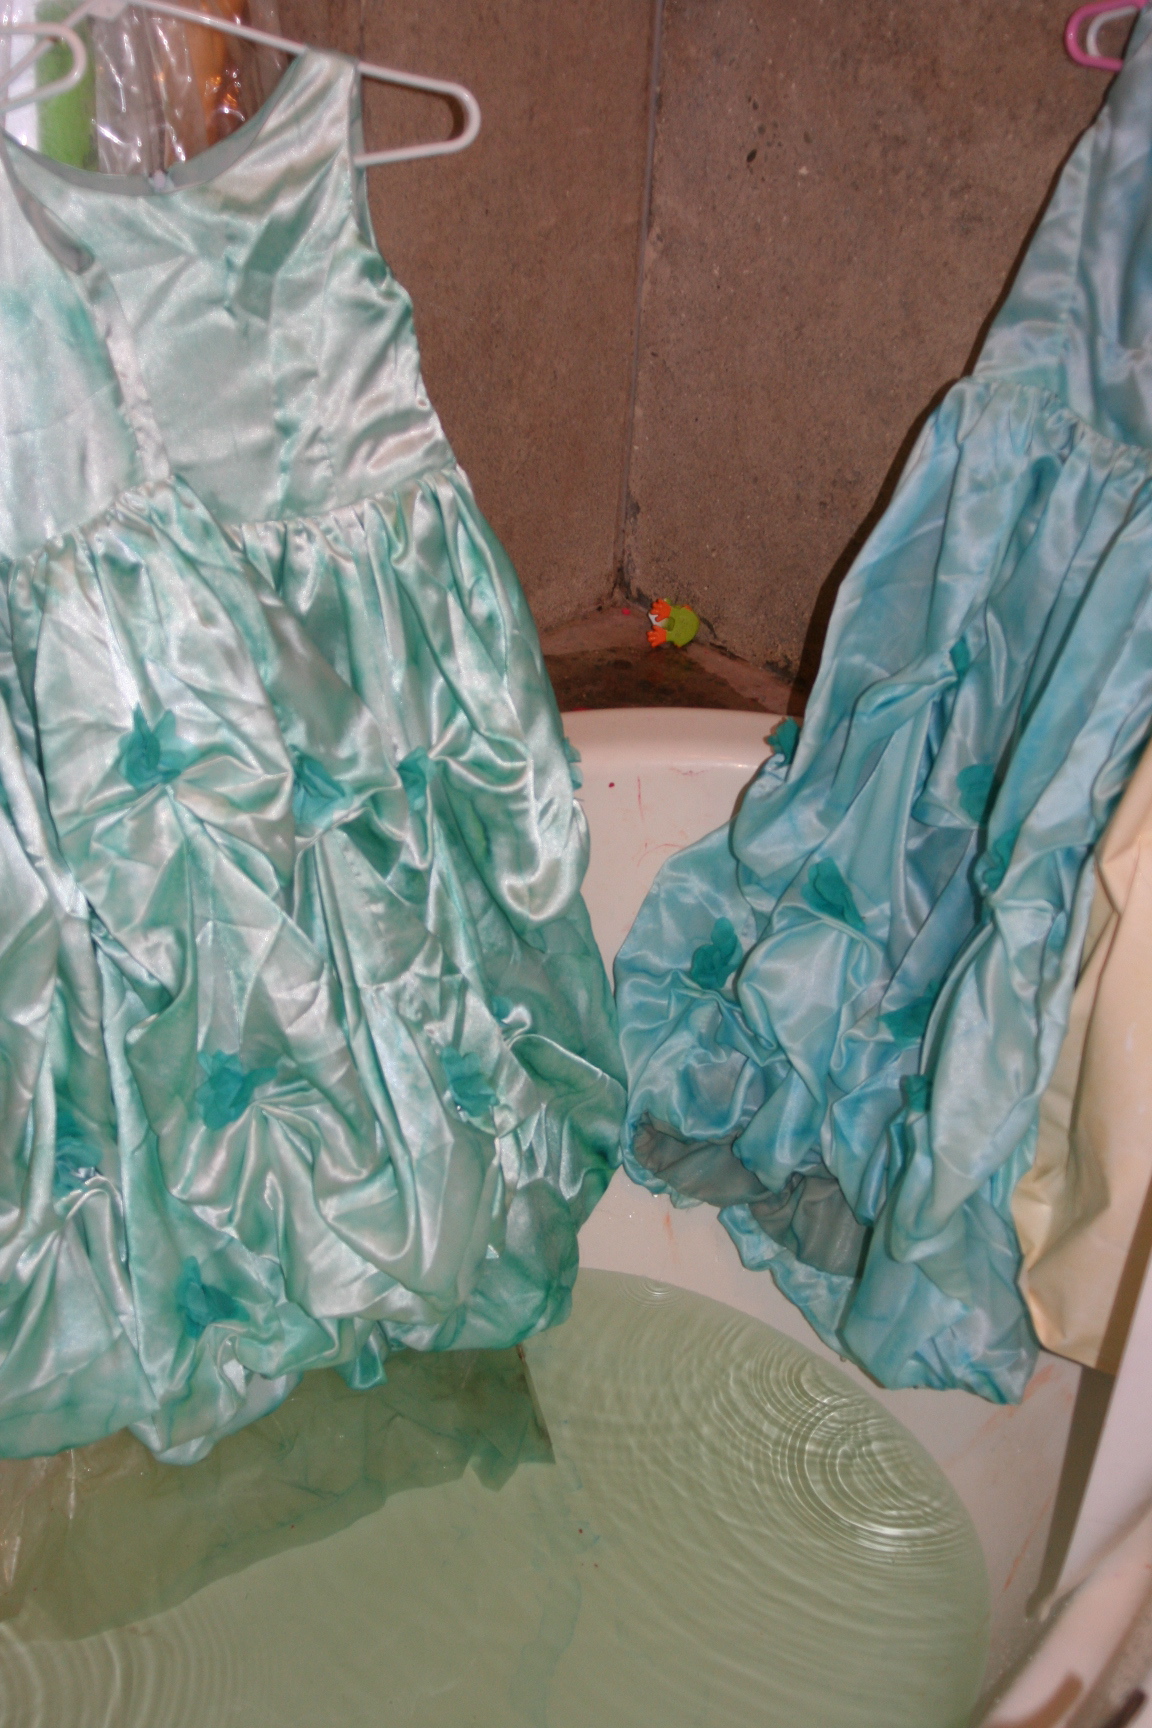
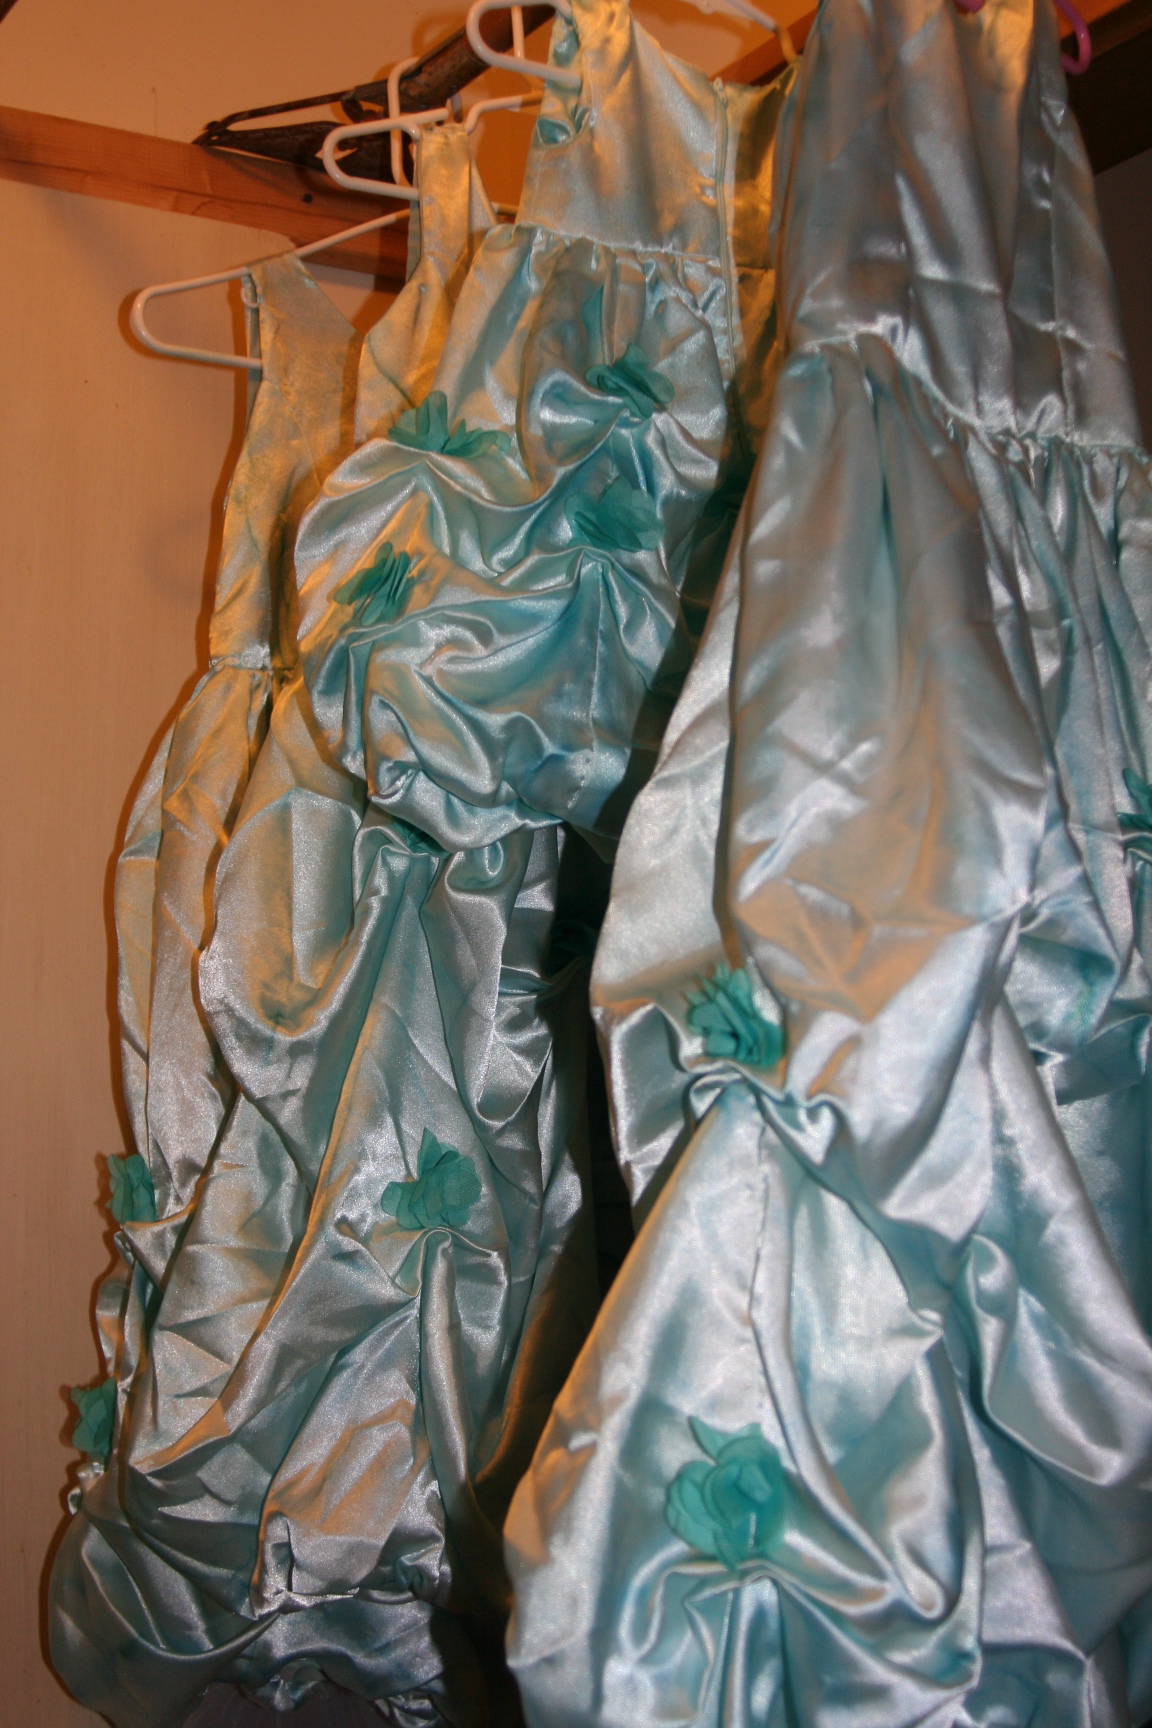
Some use this category for new PJ’s, socks and underwear, a favorite team jersey, a special, desired clothing item, etc. In our Christmas giving, I like to make a dress or something else at Christmas for my girls- something that shows them they are loved and special to their parents.   

(An example from us:  Princess dresses.)  Swaddling clothes gift

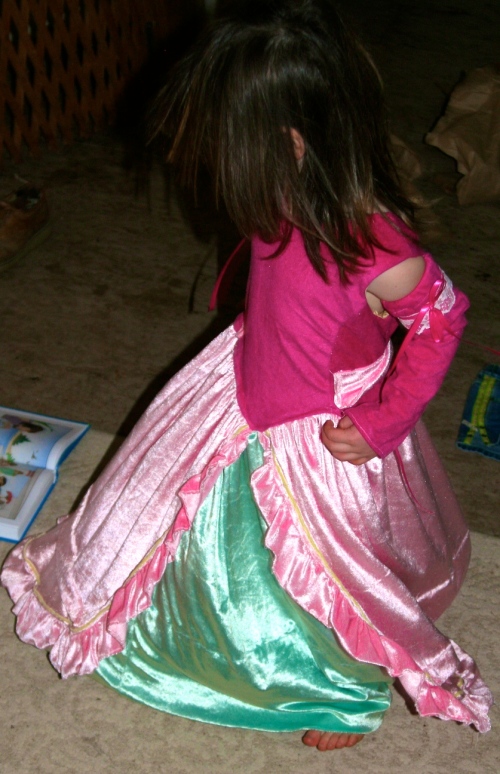
With very little ones, it’s a challenge to fill the gifts with the meanings we intend.  They may not be really able tell us what they want, and we are still learning their personalities, needs, and what makes them tick.  Every year we feeling a little more confident in the fit of our gifts. 

So this is our way of infusing Christmas with it’s true meaning.  It also removes the Santa complication from the day we reserve for celebrating Jesus’ birth.  Our gifts have nothing to do with Santa, but are given using the model of the way the Wise men and Mary and Joseph gave gifts to Jesus to celebrate his coming.  It limits the expectations on how much should be given and increases the value of what will be received.  

As a side note:  We still participate with extended family in the normal traditions- name draws, small gifts for the kids, etc.- That’s outside of what our household does to celebrate Christmas.  

This leads into Christmas concept number 2 for our household.

How do we manage Santa Claus at Christmas time?  

Here are a few ways some of my friends manage Santa.  

One makes sure her children understand the true meaning of Christmas as Celebrating Jesus birth, but lets them also believe in Santa for the excitement and magical pieces while they’re young.  I think this is a pretty typical way of dealing with Santa, and was the way I was raised.  It was even the way Mary and Laura were presented with Christmas in the “Little House” books.  It also gives parents a little bit of an advantage to encourage their children to be obedient and good.  “Santa’s watching…”

Another friend says she CANNOT lie to her children and lead them to believe Santa is real.  She doesn’t want them to later question if Jesus is real because they find out the stories they’ve heard about Santa, or the Easter Bunny, or the Tooth Fairy aren’t real.  

Yet another has always told her children that they as the parents get the gifts for Christmas because they can afford to, so Santa doesn’t have to at their house.  He can concentrate his work elsewhere.  

So what about my house?  Do we hate Santa at my house?  No!  We actually love the roots of Santa and want our kids to know more.  

We just want to make sure that in our family, Christmas day is solely focused on the true reasons we celebrate Christmas.  We decided we didn’t want Santa to compete with Jesus on Christmas day.

Here’s how we’ve BEGUN to manage the Santa dilemma.  Notice I didn’t say solve the dilemma completely!

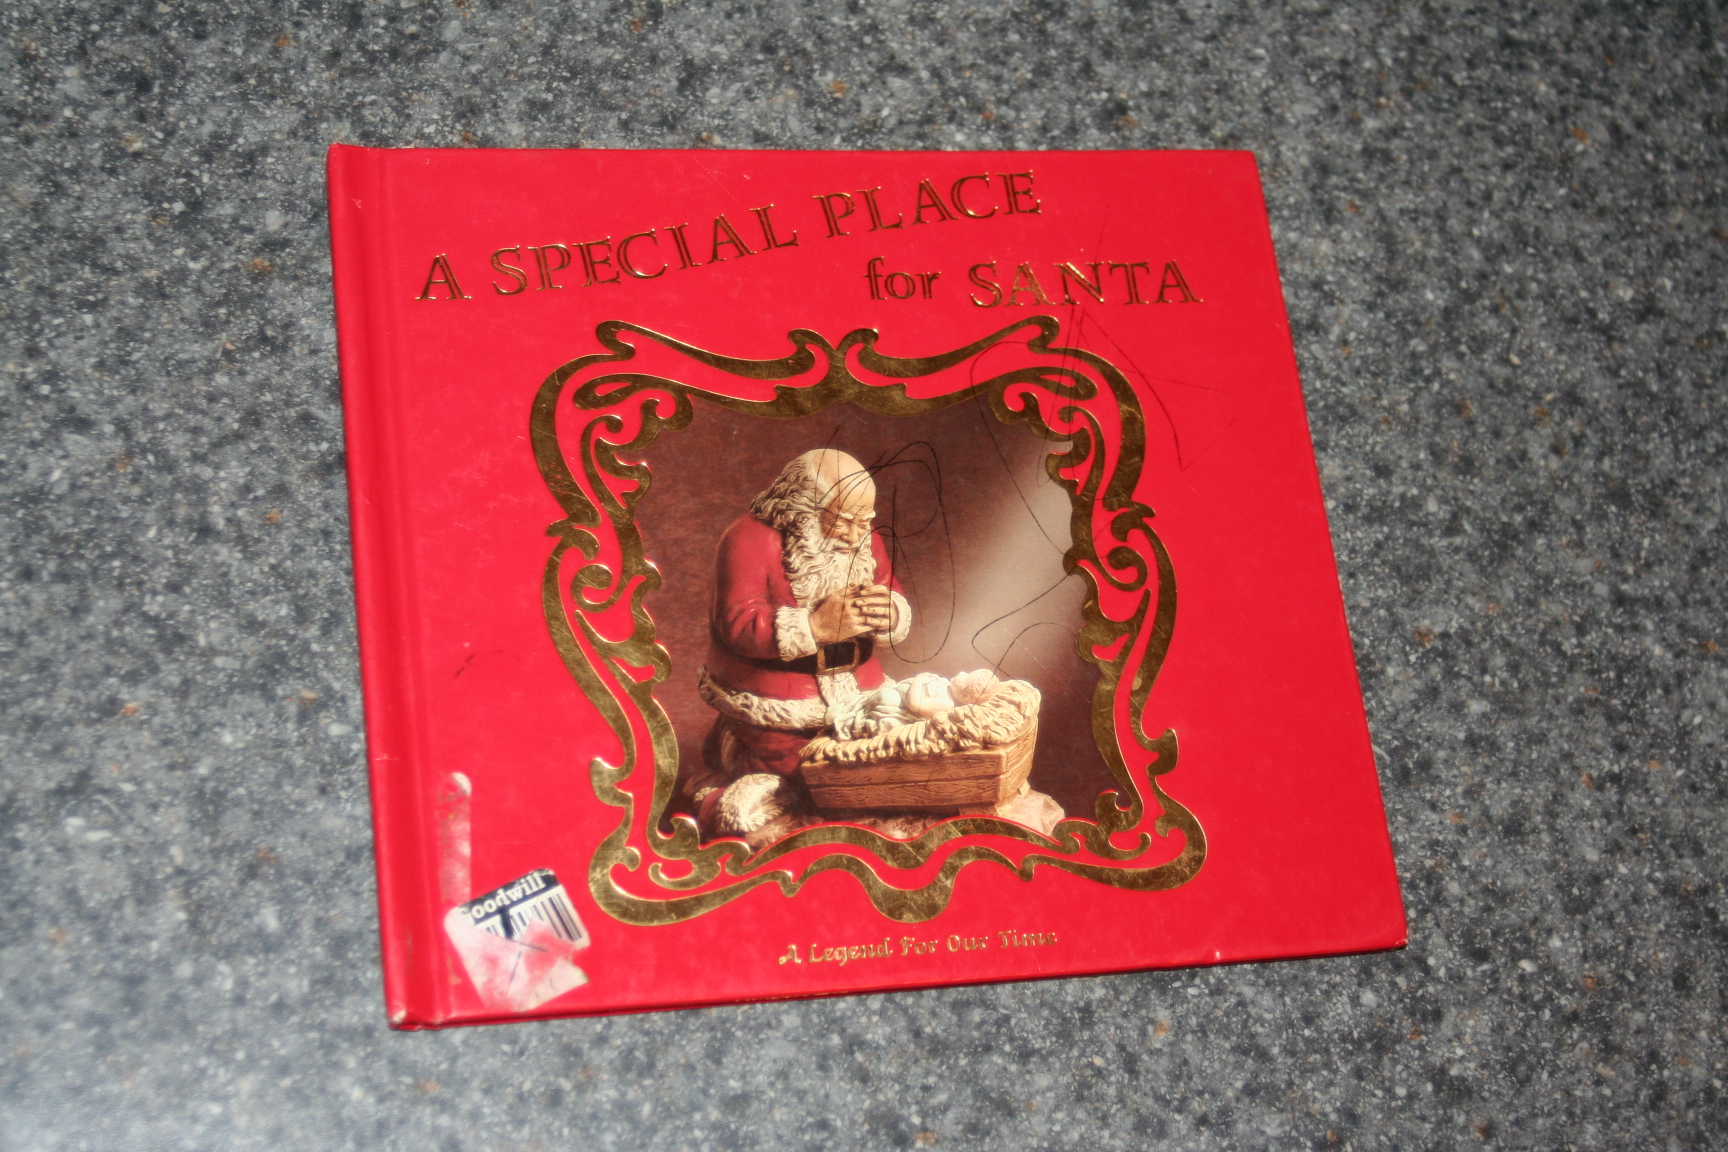
A book we found and like is “A Special Place for Santa.”  If you’ve ever seen a painting or ornament of Santa kneeling at the manger, this is the story.  It does present Santa as “Real.”  But wraps into the story some of the history of St. Nicholas and the development of different views of St. Nicholas and Santa over time.  

A special place for Santa

It presents Santa as being sad that people are focused on him rather than on Jesus.  It recognizes the role of “Santa” in filing hearts with love and joy on “Jesus Special day”- preparing their hearts for the Christ Child on Christmas morning.  

It also has Santa kneeling to worship baby Jesus in a nativity at a church, and presenting Him with a present- the same gift Santa brings to Jesus every year- “Santa’s lists of the kind and loving things people-young and old- had done for one another during the year.”

The story has it’s own imperfections for us to manage and is only a piece of the puzzle for us.  We don’t believe in Christmas as a JUST a time for love and joy in our hearts, and we as a family still don’t represent Santa as “real.”  

But we like the historical roots and development it shows, so our kids understand more of the modern Christmas culture that surrounds them.  

And we like that it gives them a view of “Santa” or St. Nicholas as a worshiper and servant to help fulfill SOME of God’s purposes for Christmas.  It emphasizes the importance of Jesus over Santa at Christmas.

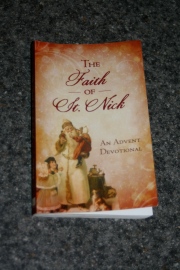
Our church also offered an advent book about St. Nicholas 2 years ago.  It’s “The Faith of St. Nick, an Advent Devotional” by Ann Nichols.    

The Faith of St. Nick

We read it aloud in the advent season.  The kids may not “get” it all yet, but they get pieces, and much more than we sometimes realize.  

As a way to recognize St. Nicholas (and the originating source of modern day Santa) we celebrate St. Nicholas Day on Dec. 6th.  We have the girls set out their shoes and in the morning they find some little treats- stickers, candy, an orange.  Simple little things.  

St Nicholas day shoes

We’ve had some discussions about people giving gifts at Christmas just as St. Nicholas gave gifts to people.  Our girls are still little and curious and ask questions.  Like, does St. Nicholas or Santa put the stuff in our shoes?  Do reindeer pull Santa’s sleigh?  Can Santa get in locked doors?

Anytime my girls ask me one of these questions, I revert back to defining where “Santa” comes from and understanding that people (including mom and dad) give gifts in the model of St. Nicholas.  Yes, St, Nicholas was a real person, but he isn’t around anymore and he doesn’t actually come delivering gifts.  

One more thing I think is important is letting our kids know that some kids think Santa IS real.  But it’s the parents job to talk to them about Santa, not my girls job to tell them.  However, they’re also free to share where the tradition of Santa comes from historically (As much as they can grasp at ages 3 and 5).  

There’s too much of other Christmas tradition in our culture- like modern Santa, flying reindeer and sleighs, and magical sacks of toys to be delivered around the world on one night for us to ignore.  Our kids WILL hear it and we need to interface with it somehow. 

By using St. Nicholas day in our family, it lets us recognized and celebrate some of the concepts and learn about the source of our modern day culture’s Christmas season.   But it keeps it separated from the special Christmas day.  And the little gifts associated with St. Nicholas are not as important to them.   They enjoy them, but they aren’t big gifts that magically appeared by the mystical Santa.  

Instead, their gifts on Christmas day are representations of Gold, Frankincense, Myrrh, and Swaddling clothes.  Their gifts are teaching them the deeper meaning associated with the original gifts given to Jesus.  We talk with them about what each of their gifts represent.

Their gifts should help them in celebrating Jesus birth, life, and ultimate purpose.  They celebrate Jesus as our King, Priest, and Savior, as well as reminding us of His humanity.  And that is the more important thing we want them to learn.  

If you tell your kids Santa brings Christmas gifts- please don’t feel I’m putting you down in any way.  Each family has to decide how they best feel they can navigate this tricky topic.  I’m just sharing how our family has chosen to approach it in case it can be helpful to you. 

Whether your kids think Santa is real or whether you’ve always told them there’s no such thing as Santa-I encourage you to start to include (if you don’t already) some of the church history origins of Old St. Nick.  And remember to teach them why we celebrate Christmas in the first place- as the introduction of our Savior to this world.  

Any questions?


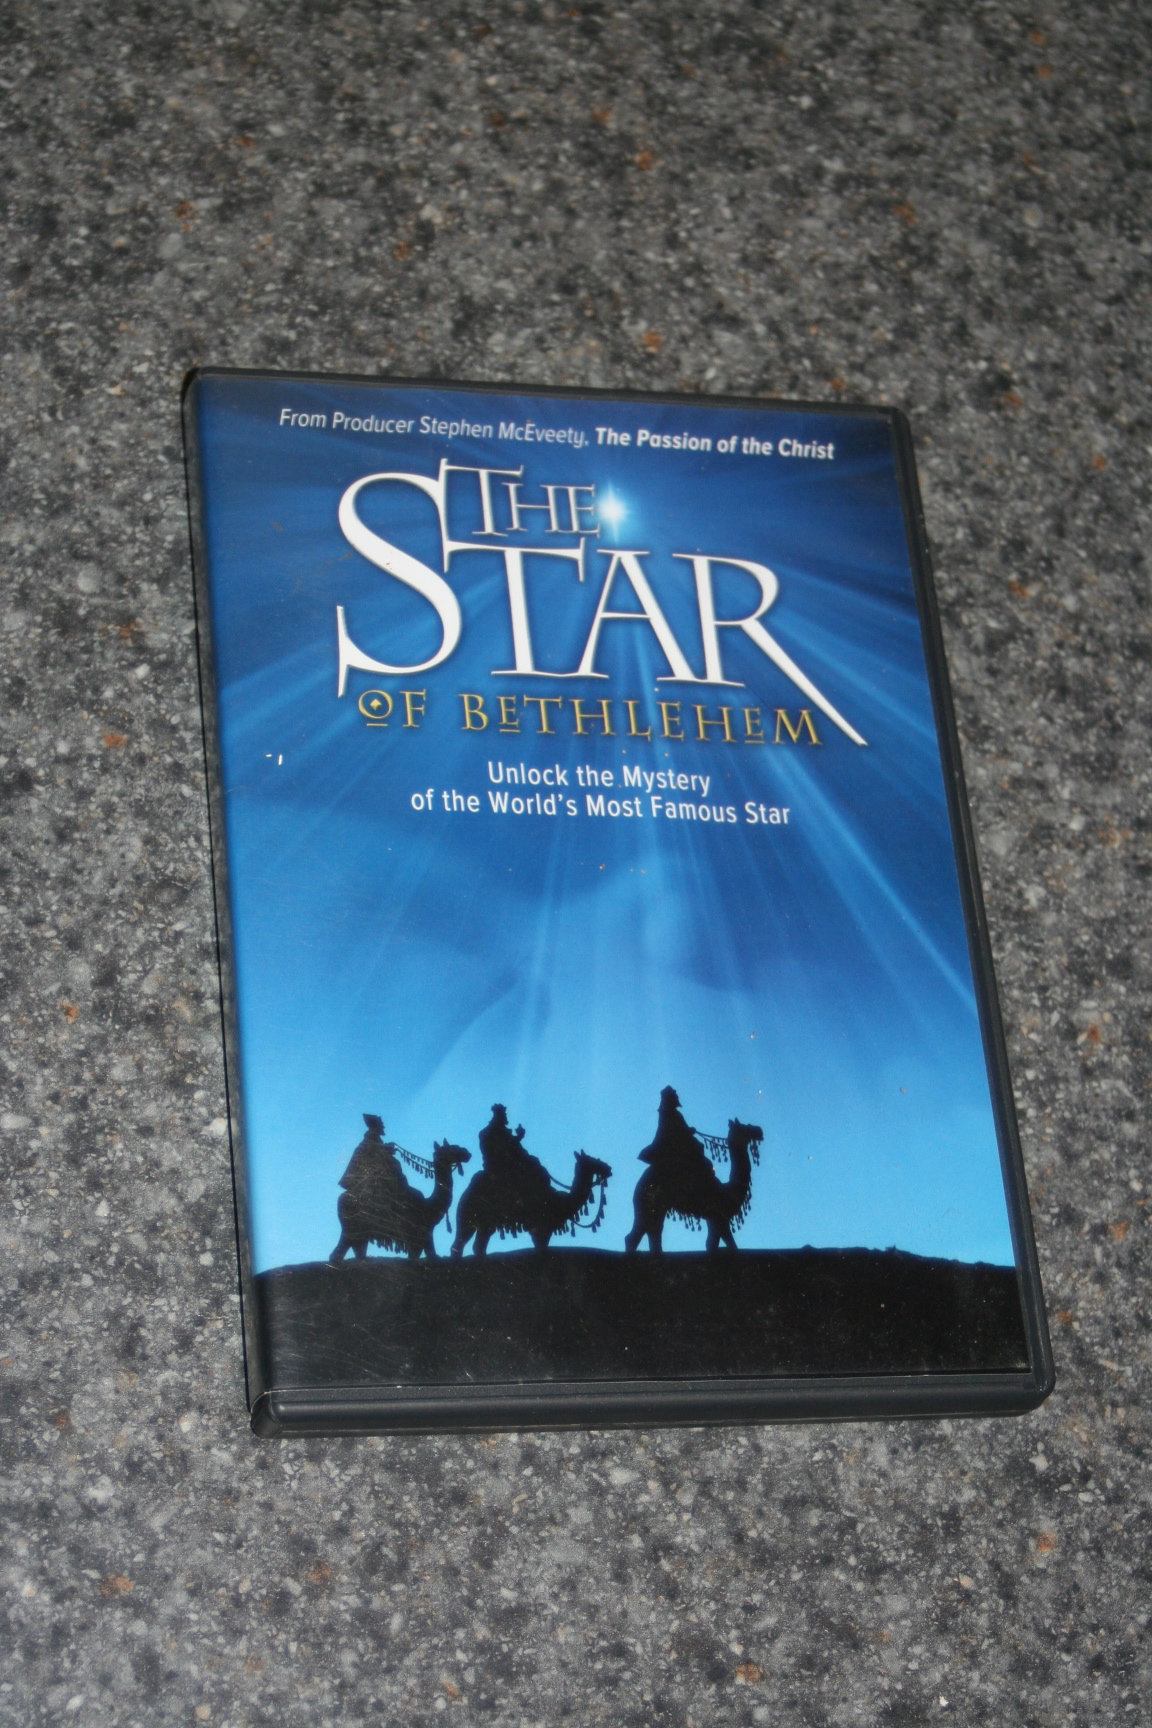
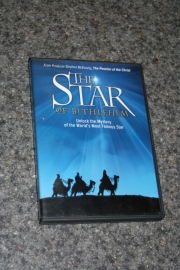
One final Christmas resource I love and would recommend is the Star of Bethlehem video.  While it has little to do with gift giving and nothing to do with St. Nicholas, it holds some wonderful concepts about the Christmas season, Jesus and his birth, the Christmas star, and the biblical, historical, and astronomy pieces of the coming of our Savior.  And while it doesn’t portray itself as a set-in-stone fact, it is a very plausible and likely history of the Christmas star.  

The Star of Bethlehem

Discussion questions:

How has your family approached celebrating Christmas? Gift giving? Our culture’s portrayal of Christmas (or “Winter Solstice” or “The holiday season”)?

What things do you do to focus on the true meaning of Christmas?

What would you like to see your family do differently in the Christmas celebration?

What do you think of the Santa dilemma?  How do you handle it?

What do you do to place meaning into ALL holidays- Thanksgiving, Easter, etc.- to make it more than a day shopping sales, a day off of school, or a day to have a big meal?

Resources to check out if you want to explore more:

A Special Place for Santa:  A Legend For Our Time by Jeanne Pieper

The Faith of St. Nick, An Advent Devotional by Ann Nichols

my blog posts on what we do:

Christmas gift concept we’ve decided to use for our family

Wisemen concept of giving this Christmas

some of the websites I utilized in researching that were helpful:

The Jesus Gifts– Clark Smith who claims this gift giving concept

Todays Christian Woman: Begging for Myrrh -stressed out by Christmas presents?

SPWickstrom – this  article by Steven Wickstrom gives a spiritual look at how we can give Jesus the 3 gifts of the wise men.

Counting My Blessings: more about Gold

Counting My Blessings: more about Frankincense

Counting My Blessings: more about Myrrh

How the gifts of the magi simplified our christmas– the basic run-down of the “Counting My Blessings” gift giving method

Psycho with 6: Are you celebrating Christmas the right way? -some thoughts on celebrating Christmas the “right” way

Jen Hatmaker:  The Christmas conundrum -another article on how one woman is guiding her family’s celebrations of Christmas, and the change from how she has in the past.

The Star of Bethlehem DVD, web site with more info is here.

Jumbo molasses cookies

I tried this recipe several years ago out of a “Quick Cooking” Magazine. It instantly became a favorite!

baby L with a jumbo molasses cookie Baby J with a jumbo molasses cookie

These cookies are huge and chewy and not overly spiced. The recipe makes a very large batch- I always get between 36 and 42 cookies if I make them full size.

I’ve also made them smaller and I’ve flash frozen them and pulled them out to bake later (just roll in sugar before baking).

It does make a huge batch- so unless you’ve got a 6qt. mixer bowl or another huge bowl with a hand mixer, you’ll need to half the recipe.

jumbo molasses cookie closeup

Here’s the recipe (link to online recipe at Taste of Home is here).

3 c butter-flavored shortening (I use a combination of butter or margarine and shortening instead)

4 c sugar

1 c molasses

4 eggs

8 c flour

2T plus 2t baking soda

2 t ground cinnamon

1 t salt

1t ground cloves

1t ground ginger

Additional sugar

In large bowl, cream shortening and sugar. Beat in molasses and eggs. Combine dry ingredients (except for additional sugar), gradually add to creamed mixture.

(I mix together everything but the flour first. Then add about half the flour, then add 1c at a time while mixing to get the remaining flour in.)

Cover and refrigerate 1-2 hrs.

Shape 1/4 cupfuls of dough into balls, roll in sugar. (The big ice-cream scoop, if you use them to scoop your cookies.)

icecream scoop cookies rolled in sugar

Place 4 cookies on a greased baking sheet at a time. (I sometimes flatten mine a bit)

jumbo molases cookies 4 on a sheet

Bake at 350 for 18-20 minutes or until edges are set. (check by 15 minutes, watch closely, rotate in your oven if it doesn’t heat evenly. I used 325 the last time I made them just so I’d be less likely to burn them.)

Remove to wire racks to cool. (Often they have to cool on the sheet for a minute, or they disintegrate when you try to transfer them to the cooling racks, or fall to pieces through the wires once on the cooling racks.)

jumbo molassses cookies cooling

Yield 3 1/2 dozen JUMBO cookies.

My dear friend and sister-in-law pinned a T-shirt on pinterest- it says “Ask me about my T-rex” then you can flip the T-shirt over your head and it’s like dress-up pretend play for boys in a T-shirt.  (Boys-if any of you read my crafty posts- correct me if I’m wrong?)  The T-shirt can be seen here at Crazy dog t-shirts.

Anyhow, since she liked it for her little boy (aka my handsome nephew) I wanted to try to make one.  And since he had a thing for dragons when he visited last summer, I changed it up a bit.

I picked up a simple T-shirt from the dollar store.  Using some fabric paint and a brush, “Ask Me About My Dragon” went on the front.  I used a stencil for the lettering on freezer paper, then cut out the letters and did the freezer-paper stencil thing to keep it nice and neat while painting the letters on the shirt.  (Lots of tutorials available online about freezer paper stenciling).  If you can do awesome lettering by hand, you can skip this part!

Ask me about my dragon text  Ask me about my dragon freezer paper stencils and fabric paint

On the inside, I had to come up with the dragon.  Since he’s only 3, I opted for a cutesy only slightly scary looking dragon- freehand drawing with a bit of consulting to get some dragon look ideas from a few kids books.

I drew this on freezer paper as well.  Once I liked my drawing, I darkened the basic lines- keep it simple!   I transferred a little differently.  I cut around the outline of the dragon and a few larger details, like the eyes.  Then ironed it on the shirt.

Remember:

1) upside-down

2) on the inside-out shirt

3) on the front of the shirt

so it comes out right when you’re done!


After outlining, I lifted more portions of the freezer paper and drew in the main lines as I went to get the basic outline onto the shirt.

Then the fabric paint and brush again.

Ask me about my dragon dragon

If I was going to do it again, I would go with my first instincts (that I later dis-regarded and regretted)

I’d use a scrap of T-shirt to insert the dragon on the inside to keep the bleed-through of the paint from showing on the front of the shirt.  Boo 😦

Ask me about my dragon bleed-through

One option would be to cut a block of scrap T-shirt in the same size and shape (except for the sleeves) as the front of this T-shirt.  Then paint the dragon upside-down at the bottom, and then stitch it to the inside of the T-shirt- along the side seam, in front of the arm, along the shoulder, and at the neckline, plus across the bottom.

The other option would be to cut a strip as wide as the t-shirt but that would fold in half (more detail following).  Re-work the seam at the side of the shirt – a slit on each side up most of the way to the armpit.  The T-shirt strip I cut would be seamed to the sides that were cut- the strip being twice as tall as the slit and folding in half.  It would fill in the gap- so the strip creates a new bottom hem of the t-shirt as well as a lift up flap with the existing T-shirt.  probably it would need to be seamed across the center of the T-shirt as well to keep it from sagging.  Then velcro on the sides to hold the flap down when it wasn’t being lifted to show off the awesome dragon (or whatever else).  You could do an opening mouth for all sorts of critters with the fold this way.

More work, but it won’t show anyone’s belly (if you’re modifying this for a girl) and it works for little kids who have heads that are so much larger in proportion to their body, or may not want to put anything over their faces that obscures their vision, or are sensitive to the cold, scratchy fabric paint against their tummies.

IMG_6110

About our pigs

One (castrated) male and one female from the same litter of yorkshire/old spot pigs (mostly to be able to compare the bacon on a male vs. a female).  I noticed a small bit of that “pig” odor in the bacon, but nowhere near the amount I had on our first pig.  Male vs. female made no difference in smell to me- both had a faint smell- on the fat in the inner cavity only.  Because my husband and dad found it easier to gut the female vs. the male, I’ll probably stick to raising just females in the future.

Feeding and Care

Regarding raising pigs this year, I tried a little something different.  Feed consisted of scraps and a fresh spot of pasture in the am and hog feed in the pm.  We used 1300 lbs of feed on 2 pigs for about 6 months in the pig tractor.  The last 2 months relied more heavily on grain both am and pm since vegetation was limited and the pigs were much larger.

The drawback:  The pigs acted like they were starving (although they were not really) at all meals- very loud, and no way was I going to step in that pen unless the feed was in the pan!

The pig tractor still worked well, but is in need of some repairs before next year.  2 corners have pulled apart at the bottom of the framing (probably from the lift and shift method of moving, since the wheels are still not installed).  The wire is a little more bent, but still useable.  The tarp I have to replace every year, and usually needs a fix part way through the summer and reinforcement in the fall.  I’ve still had no one escape under the tractor, but one pig jumped out 3 times this year- always only as I was bringing feed.  I put barbed wire on 3 sides of the pen to keep them from jumping up, and that worked until there was  a hole in the tarp and it jumped through there once.

Regarding growth:  I taped a few times, with these figures:

6/16 (8 weeks old, 4 weeks here)

female 21″ Girth 23″ length = 25 lbs

male 22″ girth 23″ length = 27 lbs

9/24 (22 weeks?)

female:  34.5 girth x36 length= 107 lbs

male 37.5girth x36 length= 126 lbs

11/9

female:  45 girth x42.5 length=215 lbs

male:  40 girth x 40 length=160 lbs

The male was larger until the last 1 1/2 months or so, then the female grew significantly larger.

I didn’t tape just before butchering.  We also didn’t check hanging weight (we don’t have a proper scale for that).  Thanksgiving day was the start of our processing.

I DO have weights for what we ended up with in the fridge/freezer.  No skin, fairly well trimmed of fat, and the only bones included in this weight were ribs and some bone in chops- “hams” were de-boned, I didn’t use any organs, head, or feet, and no lard weight is counted.  The female pig yielded 125 lbs in the freezer, The male 100 lbs.

Processing

We processed both pigs at the same time this year.  This was our timeline:

Day 1:  Butchering (gutting and skinning)  took about half of the day- then the pigs were wrapped in a sheet and hung in the garage.

Day 2:  Both pigs were cut up (My husband uses his sawz-all to cut it into big chunks, the remaining cutting is done inside).  We packaged chops, loins, and ribs immediately and chunked everything up to be ground for sausage.  the “hams” and other suitable larger chunks for brined roasts were set aside.

Day 3:  All the sausage was ground.  We’ve got a small grinder my husband had for deer and we’ve got access to a larger grinder from family (that works 3x as fast).  It took a solid evening to double grind our 100 lbs of ground pork.  We packaged most of it (using mainly ground meat bags) in 1 1/2 lb. portions.  We also made up 45 lbs of breakfast sausage, about 15 lbs of Italian sausage, and have about 15 lbs left in the fridge to be finished into something or packaged.

Day 4:  I spent several hours in the morning brining roasts/hams and rubbing bacon with cure.  The brine is the same as previously used.  The bacon is based on last years recipes- some is just a simple brown sugar and salt mixture.  Some has the addition of maple flavoring.  I’m solely using the ziplock method- no dry rubs this year.

Day 5:  (after brining and bacon curing is done)- packaging and some slicing of brined roasts and bacon.

If we had pushed hard to do it all, it would have been done (except for packaging the bacon and brined roasts) in 2 solid days.

Packaging

For packaging this year, we wanted to try something more substantial than ziplocks for longer than 6 months of storage.  I purchased shrink bags (we used some in our first chicken processing venture this fall) in 6×11,7×14, and 11×16 sizes.  I had picked up a heat bar sealer (Dazey seal-a-meal) at a yard sale.  That worked fairly well to seal the tops of bags- if it was wiped clean inside.  There’s also a bit of a learning curve.  THe longer it’s on, the hotter it gets, so  you have to be quick on the seal or it melts a hole in the bag.  But if it’s too cool, it won’t seal. As long as there’s head room, a twist tie or zip tie will suffice on the shrink bags.   For bone edges, I cut up a white t-shirt to use for bone pads.

pork cuts shrink wrapped in the freezer

pork cuts shrink wrapped in the freezer

Ground pork and sausage in commercial ground meat bags.  The 1 lb packages can hold 1 1/2 lbs 😉

italian sausage, breakfast sausage, and ground pork

italian sausage, breakfast sausage, and ground pork

Bacon was shrink wrapped in 1-2lb chunks and we’ll slice it as we open it to use- so it keeps better.

Once packaged, a small slit is made in the bag, then it’s dipped in a pot of hot water (170-190 ish) for a couple seconds.  I used my jar lifter for canning, but you can also use a dip basket.  There is some bubbling/splattering as the air escapes the bag as it shrinks.  Then dry, put a piece of tape or a freezer safe label over the hole, and label it for the freezer.  Even if it gets a hole, it doesn’t open back up to allow air exposure to as much surface area of the meat.  It’s user friendly, requires little for extra materials, and is reasonably priced in comparison to freezer paper, vacuum packaging or even ziplocks (depending on where you buy and in what quantity).

We packaged some of our meat in ziplocks to be used sooner.  If the bags end up failing miserably in the long run, I’ll have to update, but here’s some comparison pictures after 2 1/2 m0nths.

pork ribs- shrink wrapped vs. ziplocks at 2 1/2 moths

pork ribs (above) and boneless pork chops (below)- shrink wrapped vs. ziplocks at 2 1/2 monthsIMG_7108

Costs

Our feed averaged about $23 for a 100 lb bag (including tax) this year, so $300 of feed.

Piglet prices were about $70 each for piglets (although we traded for these), so $140

$440 for 225 lbs in the freezer = $1.95/lb.

Plus packaging (although when I buy at the store I still have some packaging costs), scraps, electric, water, time for their care and processing, seasonings and spices for the sausage, bacon, and brined roasts, wear on the pig pen, wormer (didn’t use this year), etc.

Wegman’s (where we would probably buy otherwise) club pack price is currently priced at $2.98/lb for boneless pork chops, $1.49 for bone-in shoulder blade roast, $2.79 tender loin, $1.99 whole loin,  $3.49 for country style ribs, $4.49 for bone in chops, $3.99 for ground pork or jimmy dean sausage, $4.99 for bacon.  I usually stock my meats when I find them on sale, so I wouldn’t often pay most of these prices, but it’s a comparison none the less.

See my previous posts from last year to learn more about our pig tractor, specifics of what we did for sausage, bacon, and brined roasts/ham.

These treats aren’t from scratch, but they’re pretty neat (and easy!)

an assortment of finished giant jolly rancher lolipops

an assortment of finished giant jolly rancher lollipops

I found them on pinterest last fall, you can see them over here at The Decorated Cookie.    There’s tons of tutorials out there now on how to make these.  There’s one here from recently that shows you how to make them into shapes (like hearts.  I think they put the crushed candies in a cookie cutter to make the shape, then remove the cutter before baking- but I didn’t see that detail in the directions).

Hard candies of your choice, placed on a baking sheet lined with baking parchment.  I put my candies inclose together, but not necessarily touching since they meld together some as they melt down in the oven.  Oddly placed candies should still be okay, as long as there’s something within, say 1/2 and inch.  Melt in a 275 degree oven for 5-10 minutes (melt them, but don’t let them get too thin and runny, and/or bubbly around the edges).  Add a stick immediately when you pull them out of the oven, then let sit to cool.  (Roll the stick to cover it with the molten candy when you put it into the lollipop.)

candies in the parchment paper 'form'

candies in the parchment paper ‘form’

lolipops baked/melted with sticks inserted

lolipops baked/melted with sticks inserted

I used jolly ranchers.  I also made one from warheads.  Most any hard candy *should* work.

So here’s my spin:  I used round wooden dowels (3/16, about 12″long).  These are inserted after baking just like the original post.  They can also be put in the oven without a problem if you prefer to have that part done ahead of time.

I also used a lot more candies and molded my parchment paper to a lid to form about a 6″ circle- not precise, but enough to give it the basic shape.  (Remove the lid from the paper before continuing!)  Then I proceeded with the melting.  These took closer to 10 minutes with all that candy.  I didn’t chop/smash/grind up the candies in any way, just put them in whole and they melted together.  If you use crushed candy, don’t leave spaces or get the layer too thin.

forming the parchment paper into a large circle

forming the parchment paper into a large circle

I wrapped in plastic wrap once they cooled.

The result was jumbo lollipops (Christmas gifts- well received!  Need to see if my mom has a picture of some with theirs.)

Canning safety

I had my first scary experience as a canner the other day.

Background:  I’ve canned independently (aka-not with my mom) for 8 years and used tattler lids for 2- several hundred cans in most of those years, using mostly Tattler lids in the past 2 years.

I went to tighten the band on my jar of chili- just pulled out of the pressure canner (NOTE:  normal metal lids don’t get tightened in this process, Tattlers do- just a reference for anyone unfamiliar with them).

And it happened.  The lid and screw band burst off the top of the can- and scalding chili flew on my window, wall, counter, floor ceiling, stove, the 12 quarts of applesauce cooling on the counter, 15 feet down the wall at the dining nook, EVERYWHERE.  Some ended up on me- a bit at my elbow and some on my face.  About 1/4 of the jar was left in the jar.

canning jar explosion- what's left in the offending jar.

canning jar explosion- what’s left in the offending jar.

canning jar explosion- all over everything, including 15 feet down the wall to the dining nook

canning jar explosion- all over everything, including 15 feet down the wall to the dining nook

canning jar explosion- all over the window and walls

canning jar explosion- all over the window and walls

canning jar explosion- on the ceiling

canning jar explosion- on the ceiling

SCARY!

I immediately went to the bathroom (with my eyes closed to keep the chili out of them) and rinsed repeatedly with cold water.  I tried to process what had happened and thanked God most importantly that my little girls were not in the kitchen when it happened.  And then that it wasn’t any worse for me.   I used a cool wet cloth and some ice to keep my face comfortable for a while.  It had some “burning” sensation even after an hour- heat and/or chili spices related.  I had red spots, but somehow no blistering.

Here’s what was GOOD that I did:

#1 I had an oven mitt on one hand that protected me from some splatters, and

#2 I had a dry washcloth over the top to hold and tighten the lid.  That saved a lot of spewing scalding liquid from coming my way and potentially causing more damage.

Here’s what I think I may have done WRONG:

#1 I  didn’t let the jars cool once I took of the pressure canner lid.  While I haven’t had a problem before, I read (now) that it’s best to let the jars sit 5-10 minutes after removing the pressure canner lid before moving the cans.

#2 I MAY have left the band too tight when I put the can in the canner.  This is one of those subjective things- how tight is finger tight?  With Tattlers (again, different from metal lids), you tighten finger tight and back it off 1/4 inch.  Metals you just tighten to finger tight (still subjective).

This can (as others have in the past- pressure and HWB canning) had a bubbled up lid when I took it out of the canner.  So it may not have been able to vent as much as it needed and there may have been excessive pressure inside the can for that reason.  I’ll be careful in the future to observe this more carefully and err on the side of a bit looser.  And I’d suggest handling any can with a lid that bubbles up very carefully as well- maybe let it sit for longer before handling so it can vent more.

#3 the jar possibly may have been over-full.  Although I believe I left appropriate headspace, it did contain rehydrated beans that may have expanded more in canning). Or it may have had an air bubble in the can somewhere.  I don’t think so, but I don’t know for sure.

I’ll also use a larger towel (hand towel size) from now on instead of just washcloth size.  Less convenient, but more protection, I think.  I definitely did when I finally worked up the courage to take the rest of the cans from the canner so I wouldn’t “lose” them to not sealing.  But I did so with much trepidation and closed my eyes and turned my head as I tightened the remaining 6 cans!

Here’s a link I found helpful in analyzing what may have happened.  It’s on the Homesteading Today Forum.

I’m going to agree with the original poster at the forum- In my case as it was in hers, this was user error and had nothing to do with the Tattler lids as a dangerous product.  I like them, I feel they do what they should do and love that they’re reusable- you just need to be aware of the differences in how to use them, and follow general safe practices in canning regardless of the lid type.

Another poster commented that they’ve had a metal lid explode out of the canner as well.  I’ve had metal lids seep boiling liquids (peach juice, tomato juice, etc), but never explode them.

Lessons learned.  Hopefully it will never happen again, and hopefully it will never happen to you.  I know I’ll be relaying this info to any of my canning interested friends.

Leave the cans to cool 5-10 minutes after opening the pressure canner.  

Always use a hand towel over the top of the can in the tightening process (tightening for tattlers only).  I may be inclined to don a long sleeve shirt when removing cans- metal or tattler lids.

(Continue to) Keep the kids out of the kitchen when removing cans from the canner.

Hand scraped flooring

Here’s a quick look at the latest progress in building our house- hand scraped flooring.  John ordered the scraper online and tried it out- the scraper is from Hardwood Industry Products if you’re looking for one (no sponsorship, just a link). The floor is made of salvaged pine boards that used to be a wall in an old house. John scraped and sealed it over the past week.

Although he’d removed some paint from the boards with the planer and some with a hand paint scraper, the blades wear down a lot quicker with boards that have paint on them.  If you’re curious about details, ask below and I’ll answer.  He scraped the entire board, leaving some high spots/patina.

Next time (on boards without the paint) he thinks he will try just at the edges to smooth the transitions between boards but leave more of that old patina on the boards.  (Also would be a quicker floor.) He spent 2 days scraping this one- approximately  12’x14′ room.

IMG_7085

Close up hand scraping a foor

IMG_7084

Hand scraping a floor

IMG_7080

hand scraped floor- upper portion has been scraped, lower portion has not

Hand scraped floor sealed

Hand scraped floor sealed

hand scraped floor detail

hand scraped floor detail

hand scraped floor

hand scraped floor

hand scraped floor close/profile

hand scraped floor close/profile

hand scraped floor detail

hand scraped floor detail