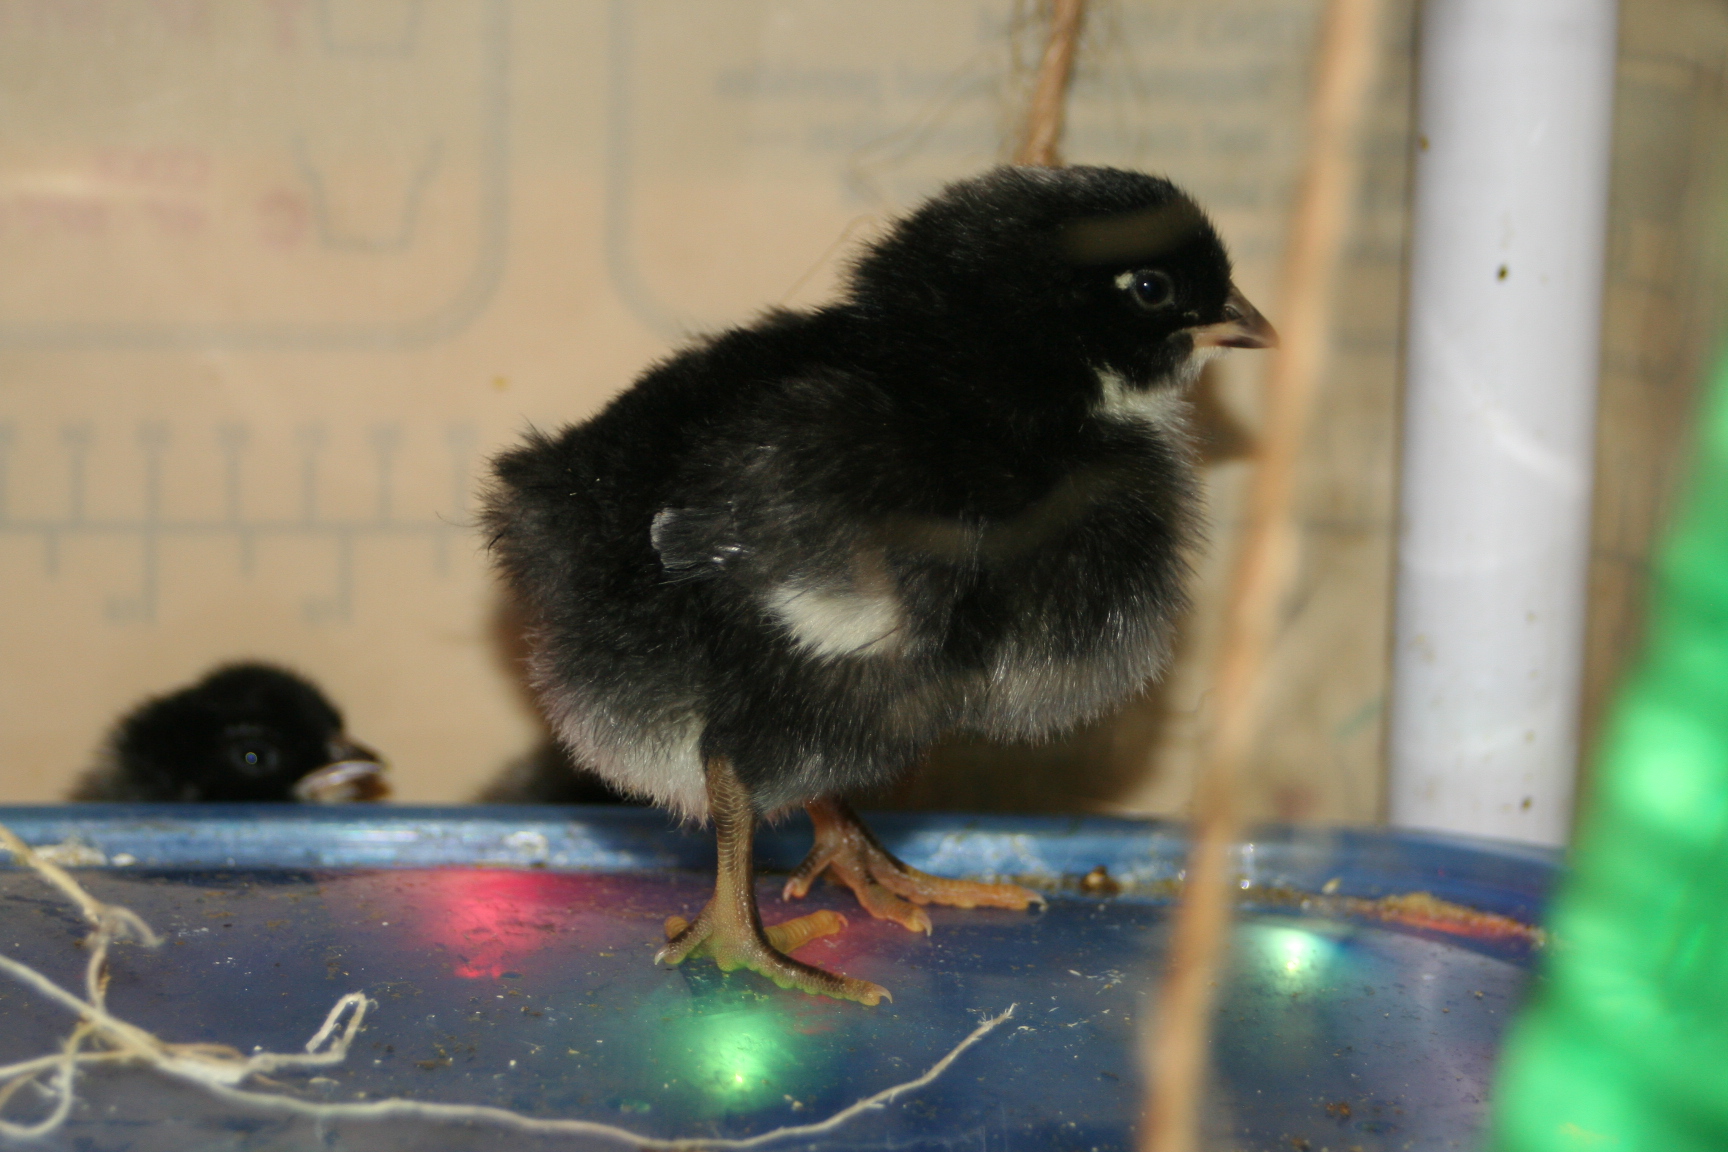
This is a first attempt, there’s tons of room for improvement. Take the concept and run with it- specialize it to meet your brooding preferences and needs. This is my first version, and I’ve just gotten chicks to legitimize it works 🙂
 What you’ll need:
A (seal-able) container, a string of mini Christmas lights, and some sand
Some wide tape and a utility knife
A way to suspend the brooder- some baler twine, heavy string (P-cord), and a simple frame/table or shelf of wood, sturdy pvc, metal, whatever you have available
This is like an “ecoglow” in that it provides radiant heat/ direct heat that the chicks snuggle up to.
I looked into purchasing one, but it’s out of my price range and I couldn’t justify the cost, especially since I don’t brood very many chicks.
There’s a concept from Confederate Money Farm that uses bulb Christmas lights in a pipe to brood chicks- their “PVC pipe pet warmer”. The other concept I drew from is from Jessie: Improved. The idea is using Christmas tree lights in sand under seedlings as a warming/propagation mat.
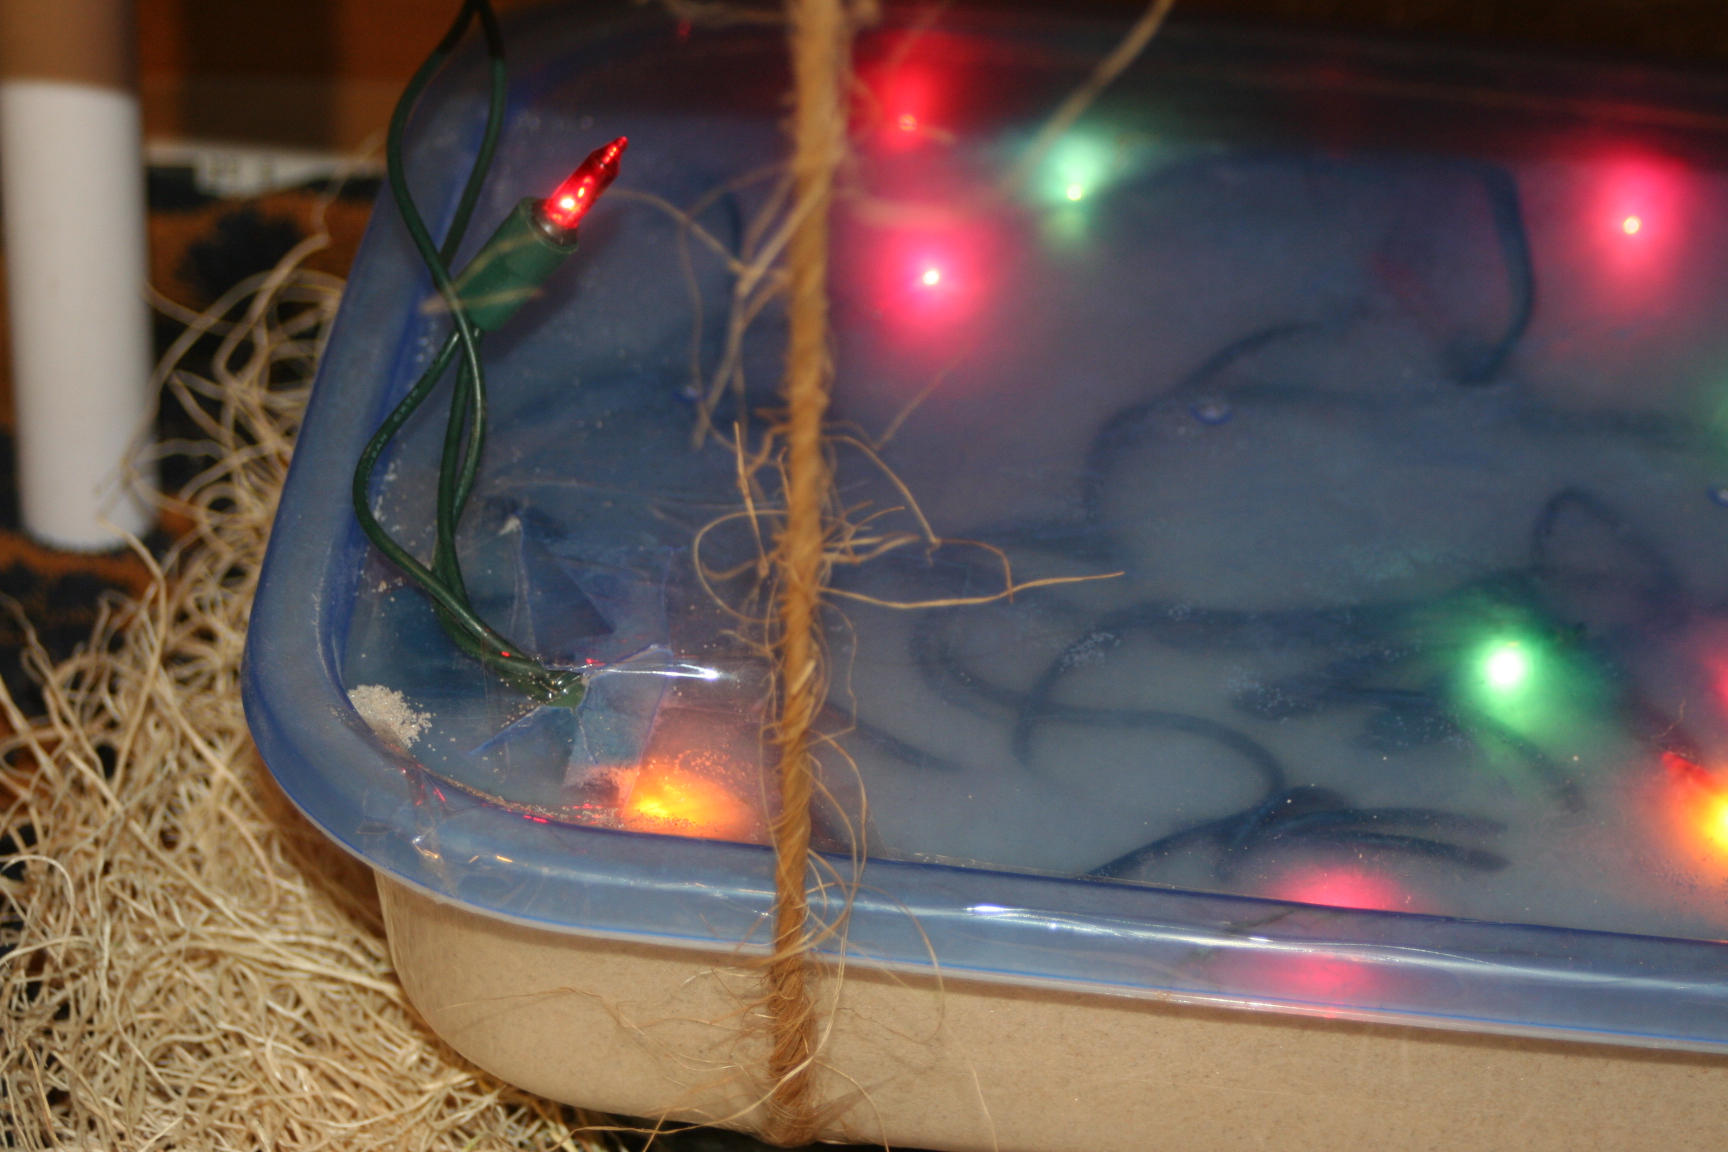
I started with a (roughly) 9×13 plastic lidded container from the dollar store. I cut a hole in the top for the christmas lights to exit and spread the remainder in the container, then filled the container with sand. I used clear packing tape and taped the hole inside and out where the lights exit, then taped the lid to the container on all 4 sides. (Duct tape or something similar will do equally well.)
Use a bigger container or make 2 if you have more chicks to brood. This one provides plenty of space for 15 and I’m sure would easily accommodate 25 (it’s larger than the “ecoglow 20” that says it’s good for 20 chicks).
Guidelines here: More lights= hotter. If yours is too hot, here’s some options:
1) Use a dimmer
2) use a smaller strand of lights
3) pull part of your strand of lights out of the container before filling with sand
4) use a strand with a good portion of lights burned out
5) use a bigger container and more sand
Bottom line: Adjust your lights and container size, or use a dimmer to get the temperature you need, whether you need it hotter or cooler.
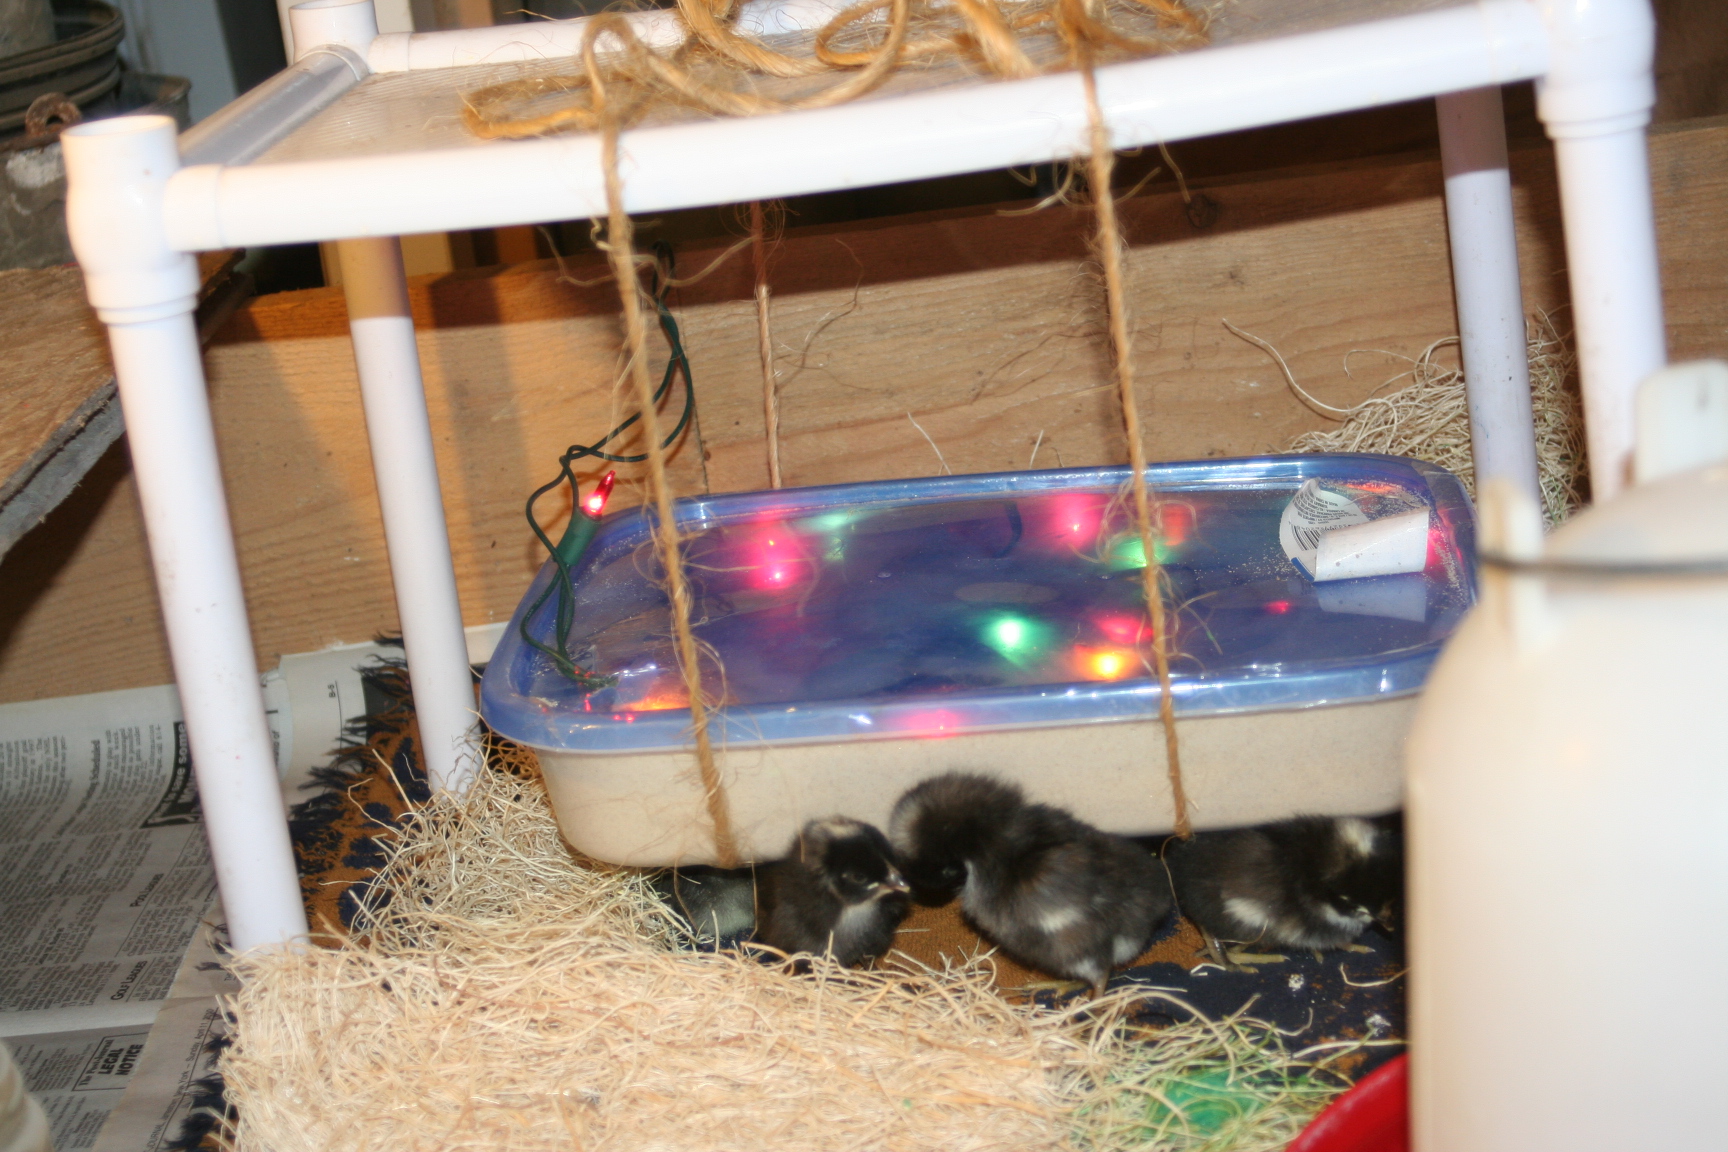
The chicks will also move around to find a spot with a temperature they like. If it’s a bit hot in the center, they’ll move closer to an edge, or just hand out along the side, or hop up on top- just as you sometimes see them do to a broody hen. I found half a dozen of them contentedly sitting on the top last night.
My first attempt was too hot- interior temp of the sand was almost 160, directly underneath was 110- too hot for chicks! (Good thing I didn’t have any live subjects in the trial phase!) I think this may have caused some of my lights to burn out. But, that solved my temperature problem.
Next step is to suspend your brooder at the right height. I used part of a shelf system, but a simple PVC frame could be used, or wood or metal frame.
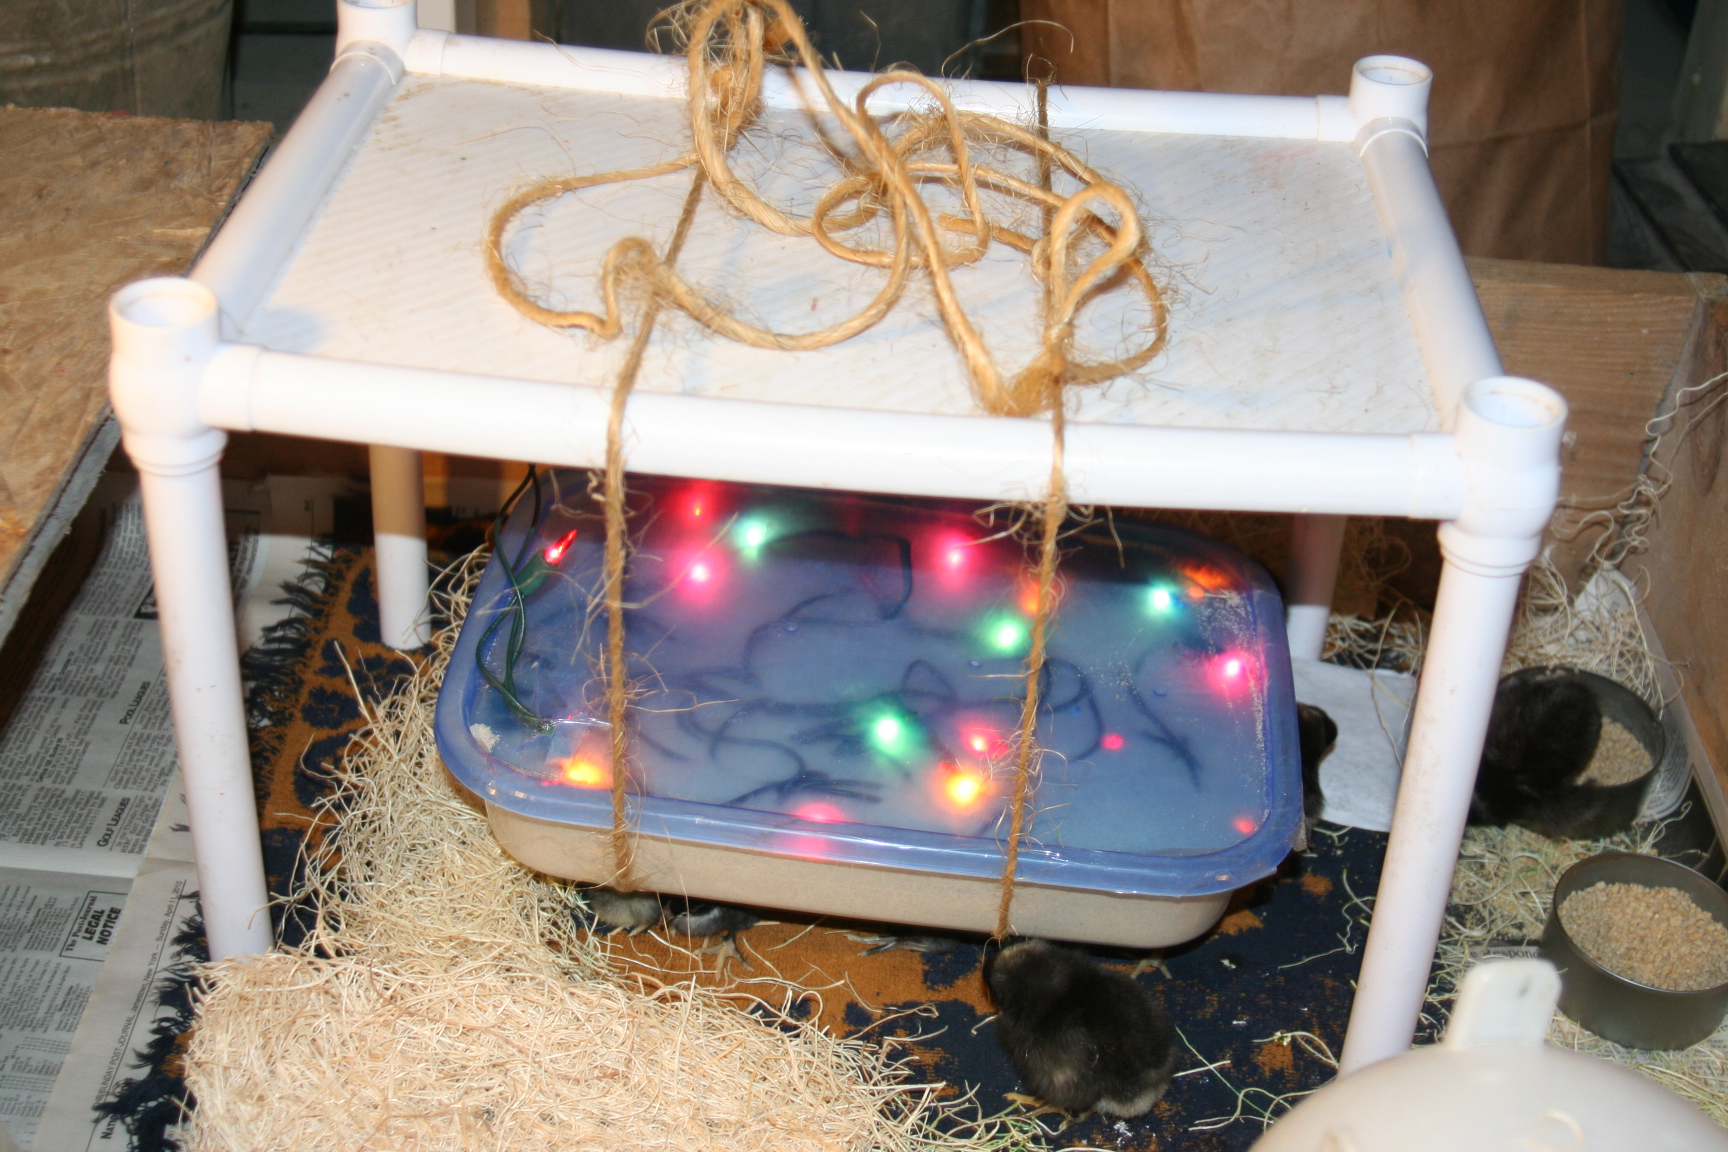
Mine is high tech: suspended at the correct height with 2 strands of baler twine, taped on the bottom to keep if from shifting. Please assemble and adjust your brooder BEFORE you put your chicks in! You want it secure and safe so you don’t squish a baby with that heavy container full of sand!
To make an easy-to-adjust knot/hitch: tie a loop on one end of your twine (I used an overhand knot on a bite).
Put your knots on the top of the frame, run the twine under the brooder, back around to the top, and through the loop. Pull the loose end of the twine back the direction it came.
Once you have it at the height you want, pinch it at the loop so it can’t slide. Tie a “slip knot” with the loose end at your pinch- pull a loop of the loose end close to the loop through- just as if you were tying a simple knot, but only using a small portion near the loop.
Tighten and repeat with the other twine.

Secure with tape on the bottom of the brooder.
If you have chicks of different sizes and want an uneven surface as you can with the “ecoglow”, you can tie one end of the brooder a little higher than the other.
Some other possibilities for suspension:
You could suspend with chain or small rope, either going underneath the brooder or attached to the rim of your container if it’s sturdy enough. You may also be able to construct legs- perhaps threaded rod with nuts fixed to the corners of a frame supporting the lip of your container- to allow for twist-up or twist-down fine adjustments as the chicks grow.
You could just prop it up on blocks or bricks, but that uses up your brooding space pretty quickly.
I put mine in a corner of my brooder to keep it a cozy little heat-holding space. I also built up bedding at one side, so it’s mainly one side that is “open” but they can get out another side if they need to. 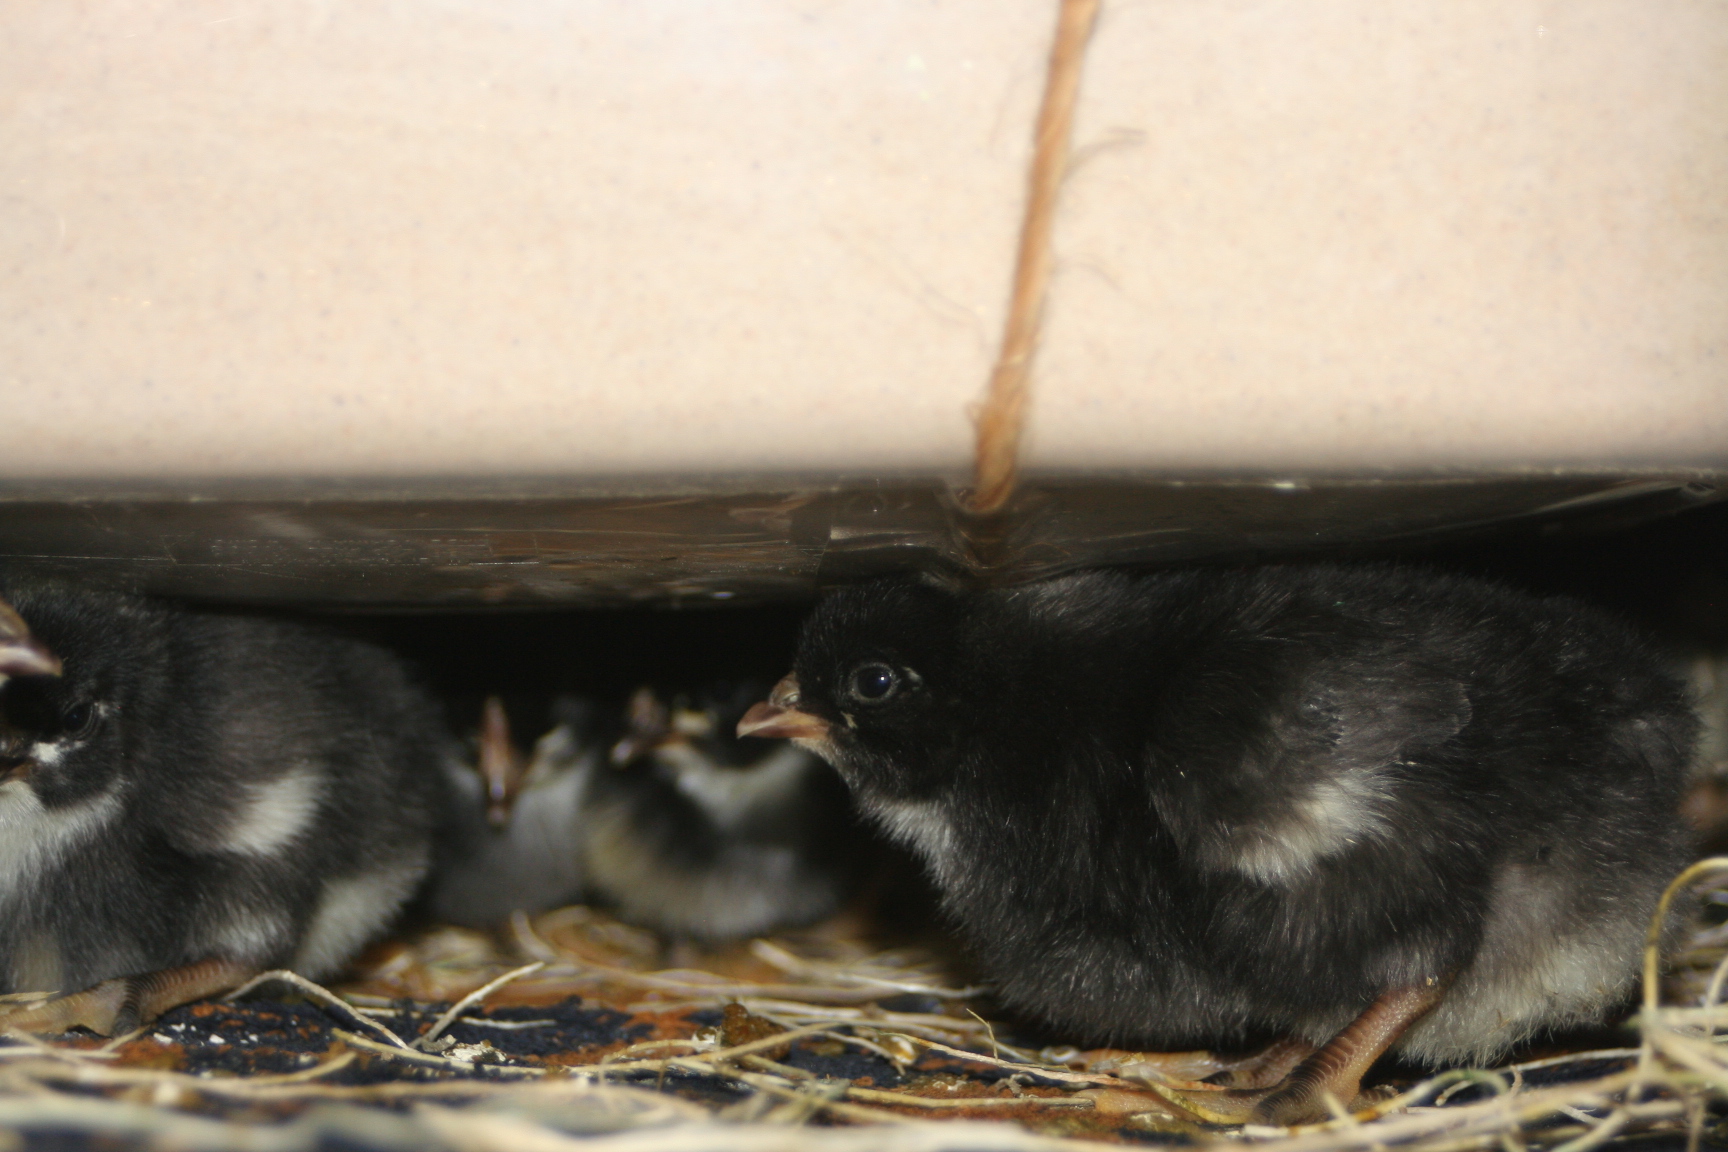
Advantages: cheaper (especially if you have materials kicking around), DIY, provides a little bit of light so the chicks can see to eat and drink at night, less power input, less fire risk, and a final benefit this booder has that an “ecoglow” or a heat lamp doesn’t have- A built-in reserve of heat. If your power goes off or your light(s) fail, the heat that has been absorbed and stored by the sand will stay warm for quite a while, extending the time your chicks will survive, especially since they’re already used to snuggling down together under it’s semi-enclosed space- kind of like an ‘igloo”‘ in the ‘cold brooder’ models (see more about cold brooding at The Natural Chicken).
Disadvantages: It’s heavy, you cannot see your chicks (just as with the ecoglow), it still takes some materials and time to assemble and tweak, and it’s not very refined (yet- but that means a benefit of flexing the concept to meet your wants and needs).


Great idea. And it is jolly too! I’m hanging onto this idea for the next batch of chicks.